Superusers can update and edit the list of countries and country-related objects, such as regions, places, and translations, via the Admin App.
Access to the Admin App is available via a direct link by adding /appadmin to your COMET homepage address, e.g., http://comet.concacaf.com/appadmin or http://comet.irishfa.com/appadmin.
Add/Edit Countries
-
Access the COMET Admin App (by adding /appadmin to your COMET homepage address)
-
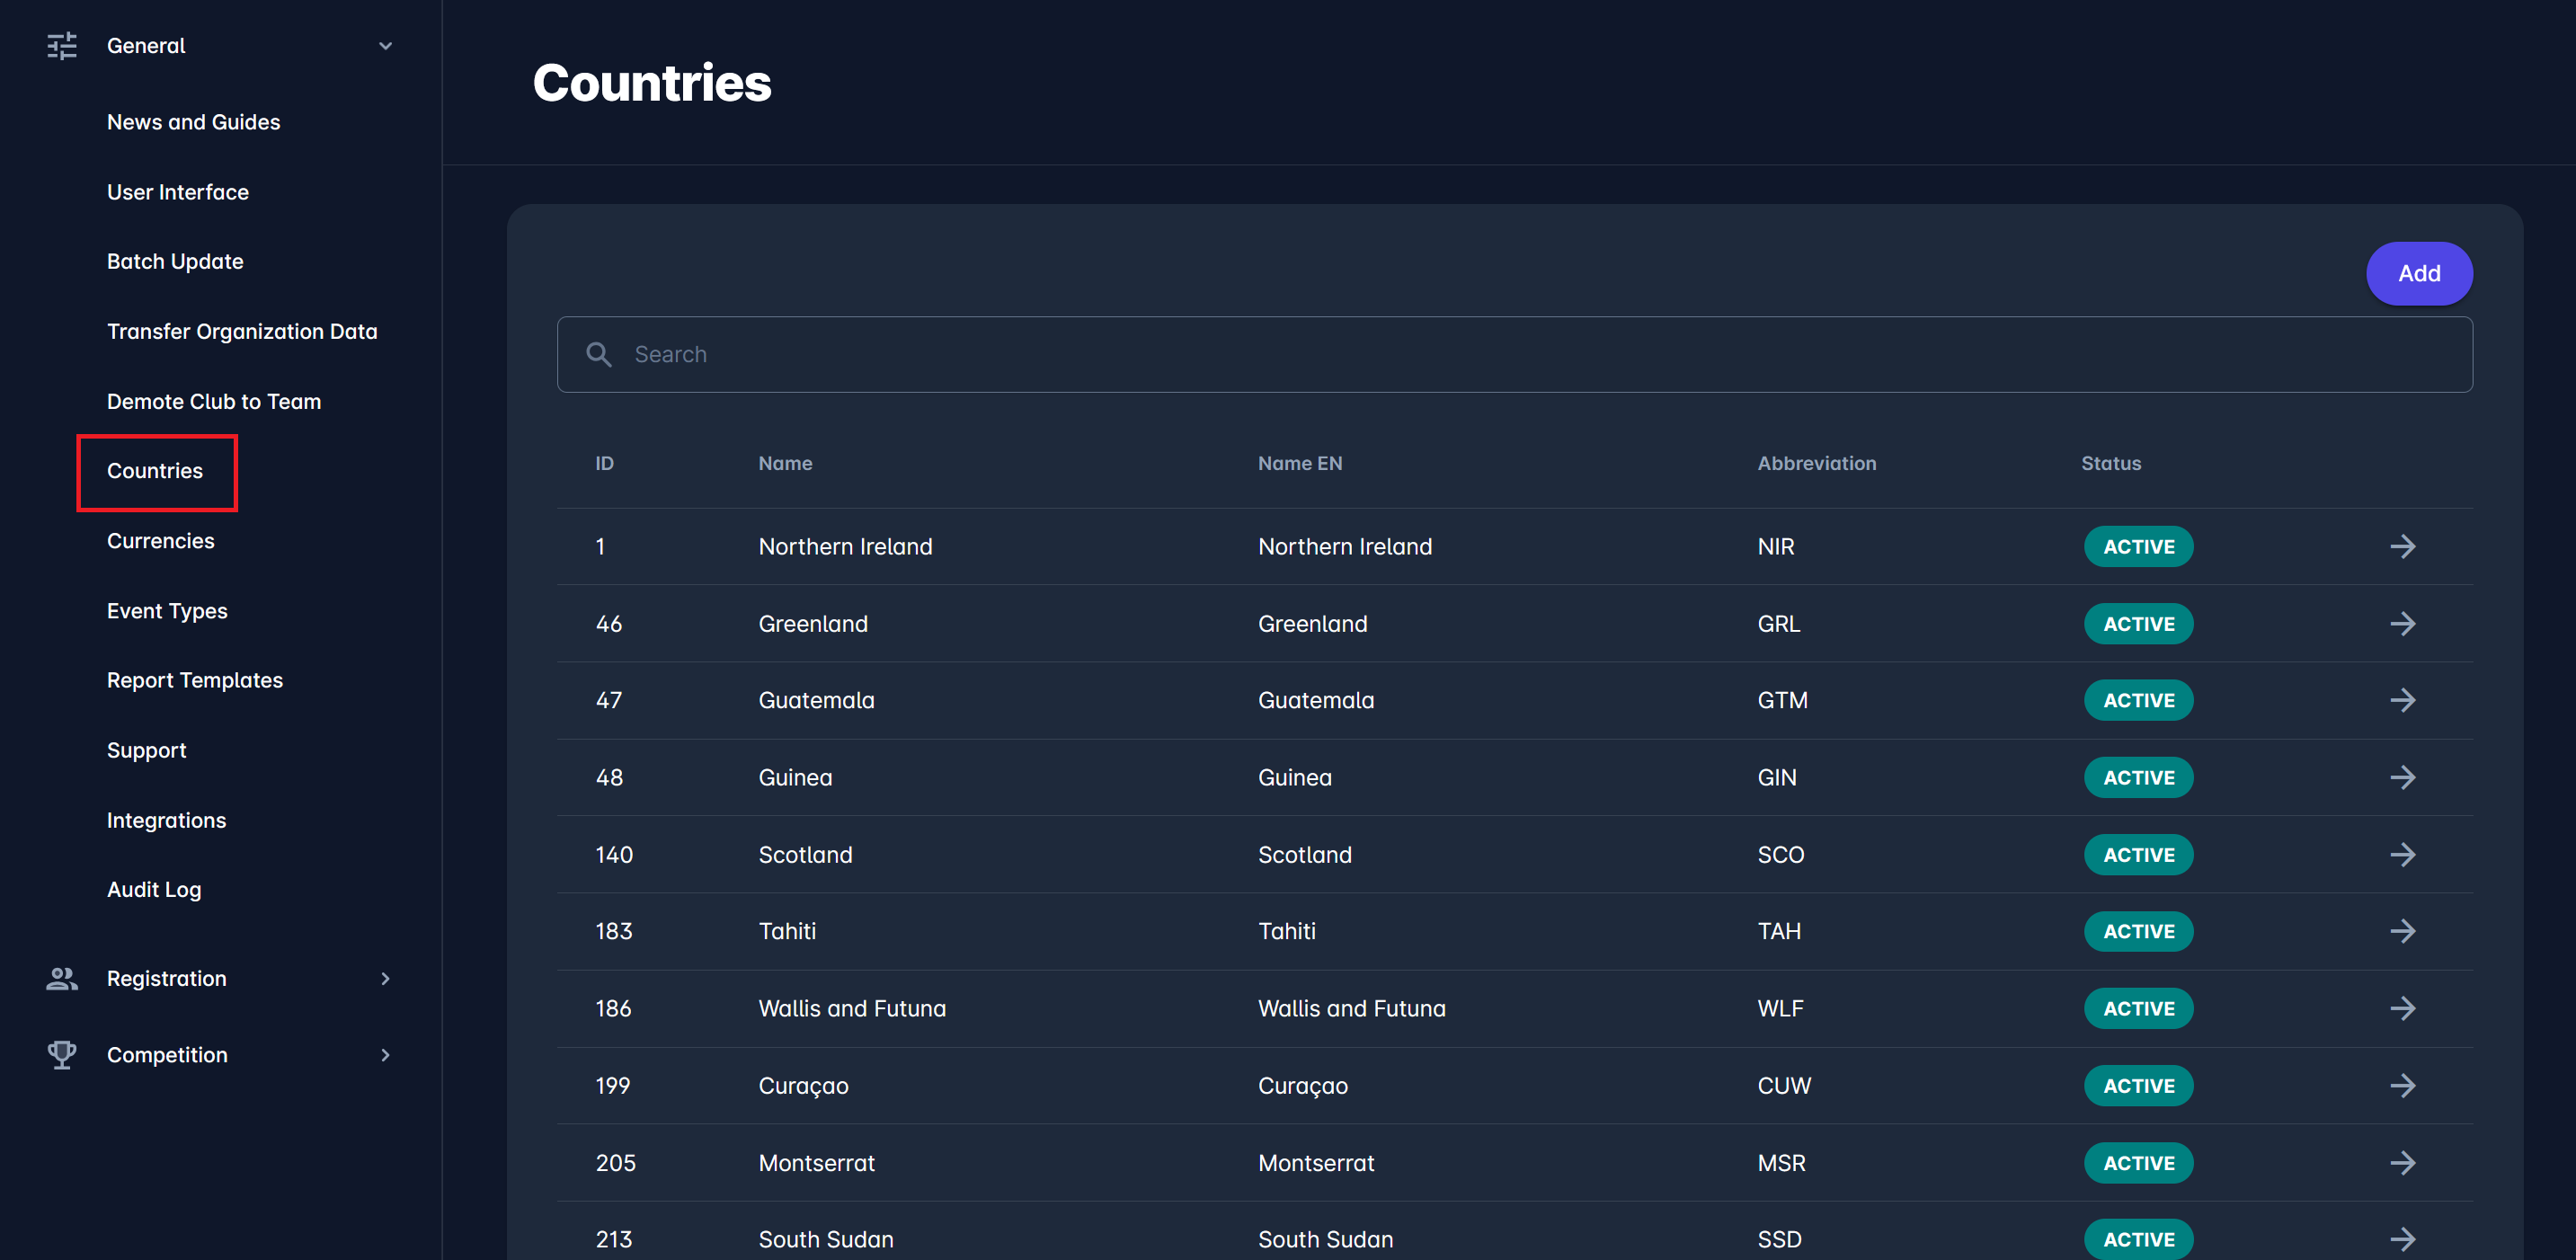
Select General → Countries on the left nav-bar
-
The list of all countries from the system is displayed. The list consists of the following details:
-
ID
-
Name
-
Name EN
-
Abbreviation
-
Status
-
-
Click on an Arrow sign button in the last column of the table to open a dialog for editing the existing country
-
Click on the Add button in the top right corner of the table to add a new entity
-
This opens an Add New Country page to fill in the Country details
-
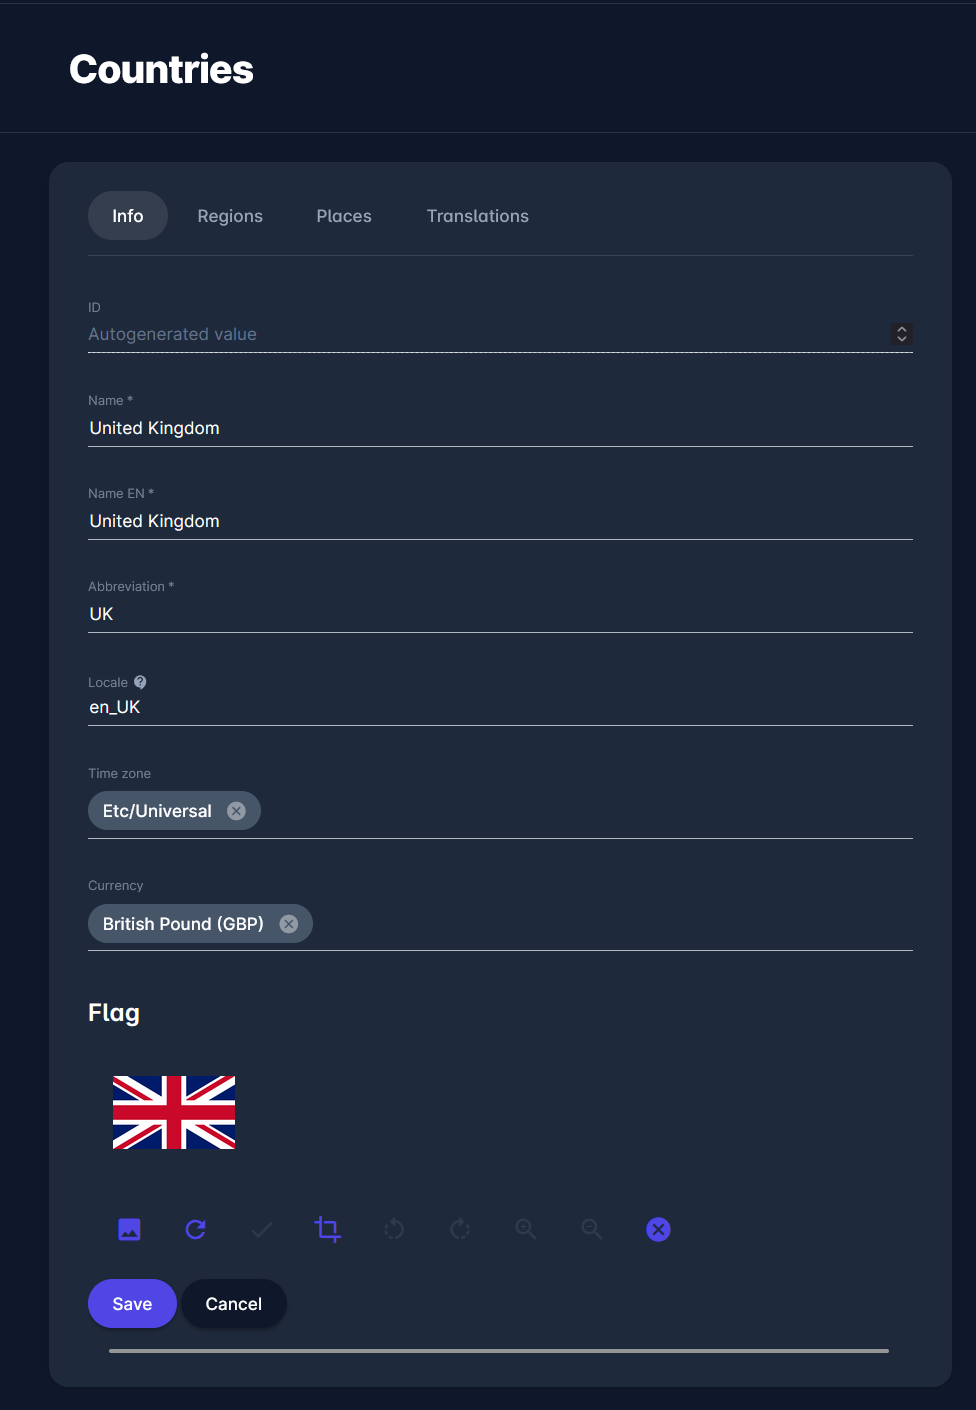
Fill in the Info tab with basic information about a country:
-
ID (autogenerated value)
-
Name (obligatory field)
-
Name EN (obligatory field)
-
Abbreviation (obligatory field)
-
Locale** (locale language which should be defined in two small or capital letters)
-
Locale is an optional field needed only for countries that use COMET to specify which language version they use to provide proper translations for their users across the entire system.
-
-
Time zone (choose from a drop-down)
-
Currency (choose from a drop-down)
-
Flag (you can upload or take the flag image; the Save button should be clicked for the uploaded flag to be saved to a country)
-
-
Once you have entered all the data, press the Save button. Note that each new country starts with ACTIVE status, which can be changed using the INACTIVE button.
Regions
After successfully creating a new country, you can access the regions tab. The regions can also be managed for existing countries.
To add/edit a Region:
-
Access the Country entity
-
Click on the region from the list to open a dialog for editing the existing region
-
Click on the Add button in the top right corner to add a new region
-
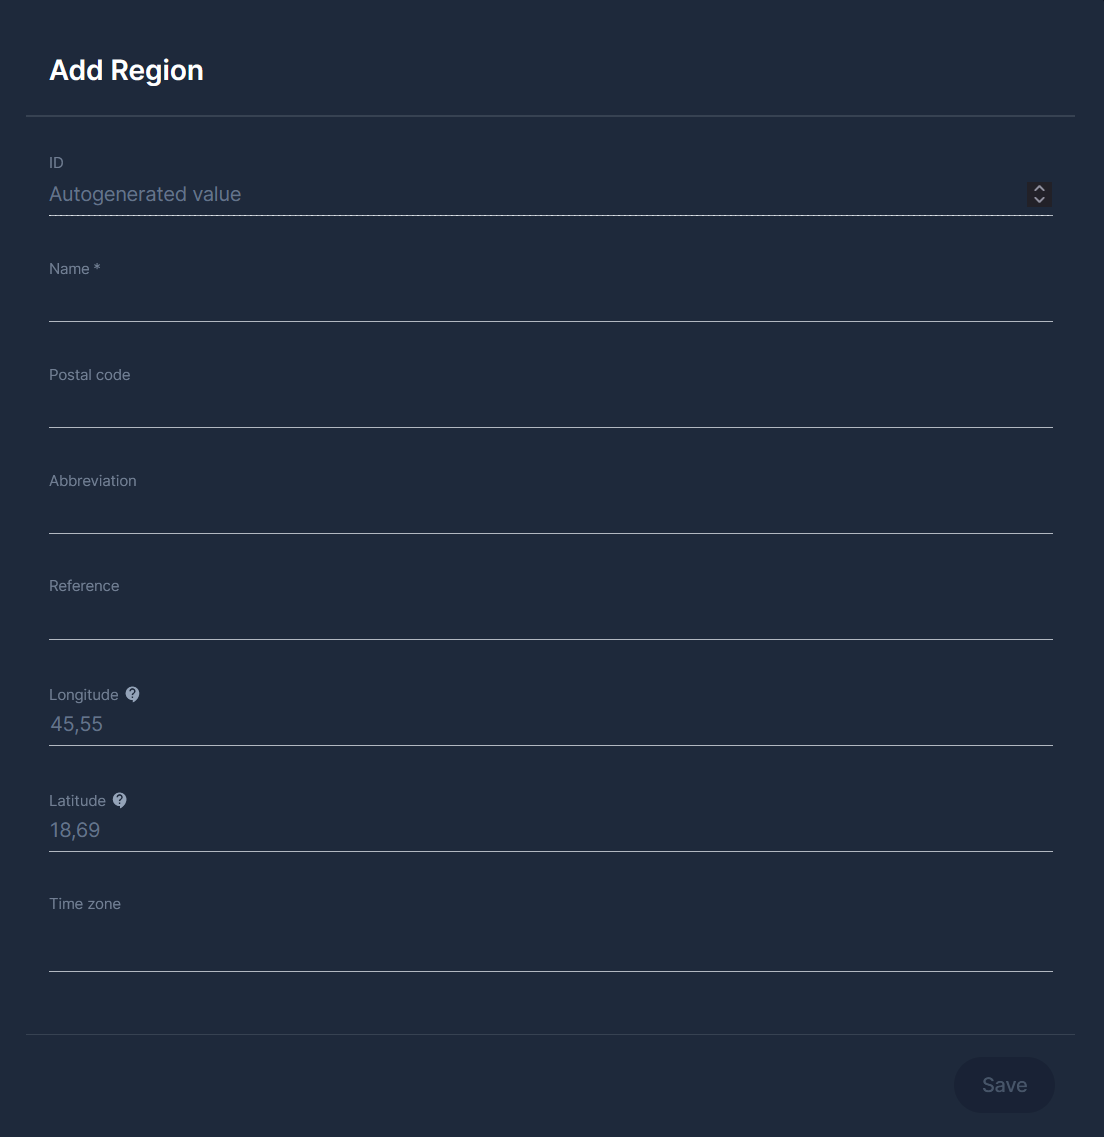
This opens an Add Region page to fill in the Region details
-
Fill in the pop-up window that contains basic information about a region:
-
ID (autogenerated value)
-
Name (obligatory field)
-
Postal code
-
Abbreviation
-
Reference
-
Longitude & Latitude
-
Time zone
-
-
Once you have entered all the data, press the Save button
Creating a list of regions updates a person’s registration profile in COMET so that, next to the country field containing regions, the list of regions entered from the Admin App is displayed.
Places
After successfully creating a new country, you can access the Places tab. Places can also be managed for existing countries.
The Places tab lets you manage places in the selected country.
To add/edit a Place:
-
Click on the place from the list to open a dialog for editing the existing place
-
Click on the Add button in the top right corner to add a new Place
-
This opens an Add Place page to fill in the place details
-
Fill in the pop-up window that contains basic information about a place:
-
ID (autogenerated value)
-
Name (obligatory field)
-
Postal code
-
Abbreviation
-
Region
-
Reference
-
Longitude & Latitude
-
Time zone
-
-
Once you have entered all the data, press the Save button
Creating a list of places updates a person’s registration profile in COMET so that, next to the country field containing places, the list of places entered from the Admin App is displayed.
Translations
After successfully creating a new country, you can access the translation tab. Translations can be managed for the existing countries as well. The translations tab allows the country's name to be translated into the desired language.
To add/edit Translations:
-
Click on the translation from the list to open a dialog for editing the existing translation
-
Click on the Add button in the top right corner to add a new Translation
-
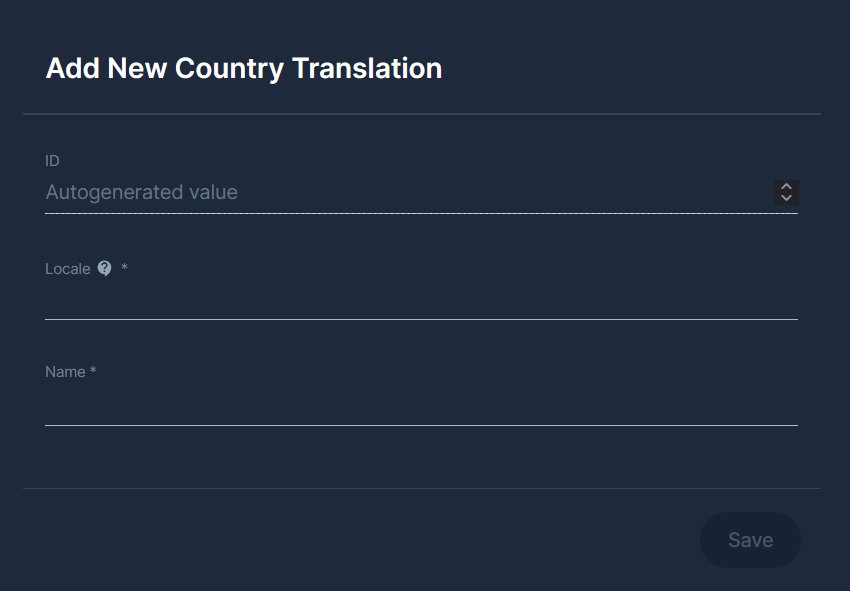
This opens an Add New Country Translation page
-
Fill in the pop-up window:
-
ID (autogenerated value)
-
Locale (locale language, which should be defined in two small or capital letters)
-
Name (obligatory field)
-
-
Once you have entered all the data, press the Save button