Configuring Merchant Settings
Workspace Admins are able to define some general merchant settings, such as payment options accepted.
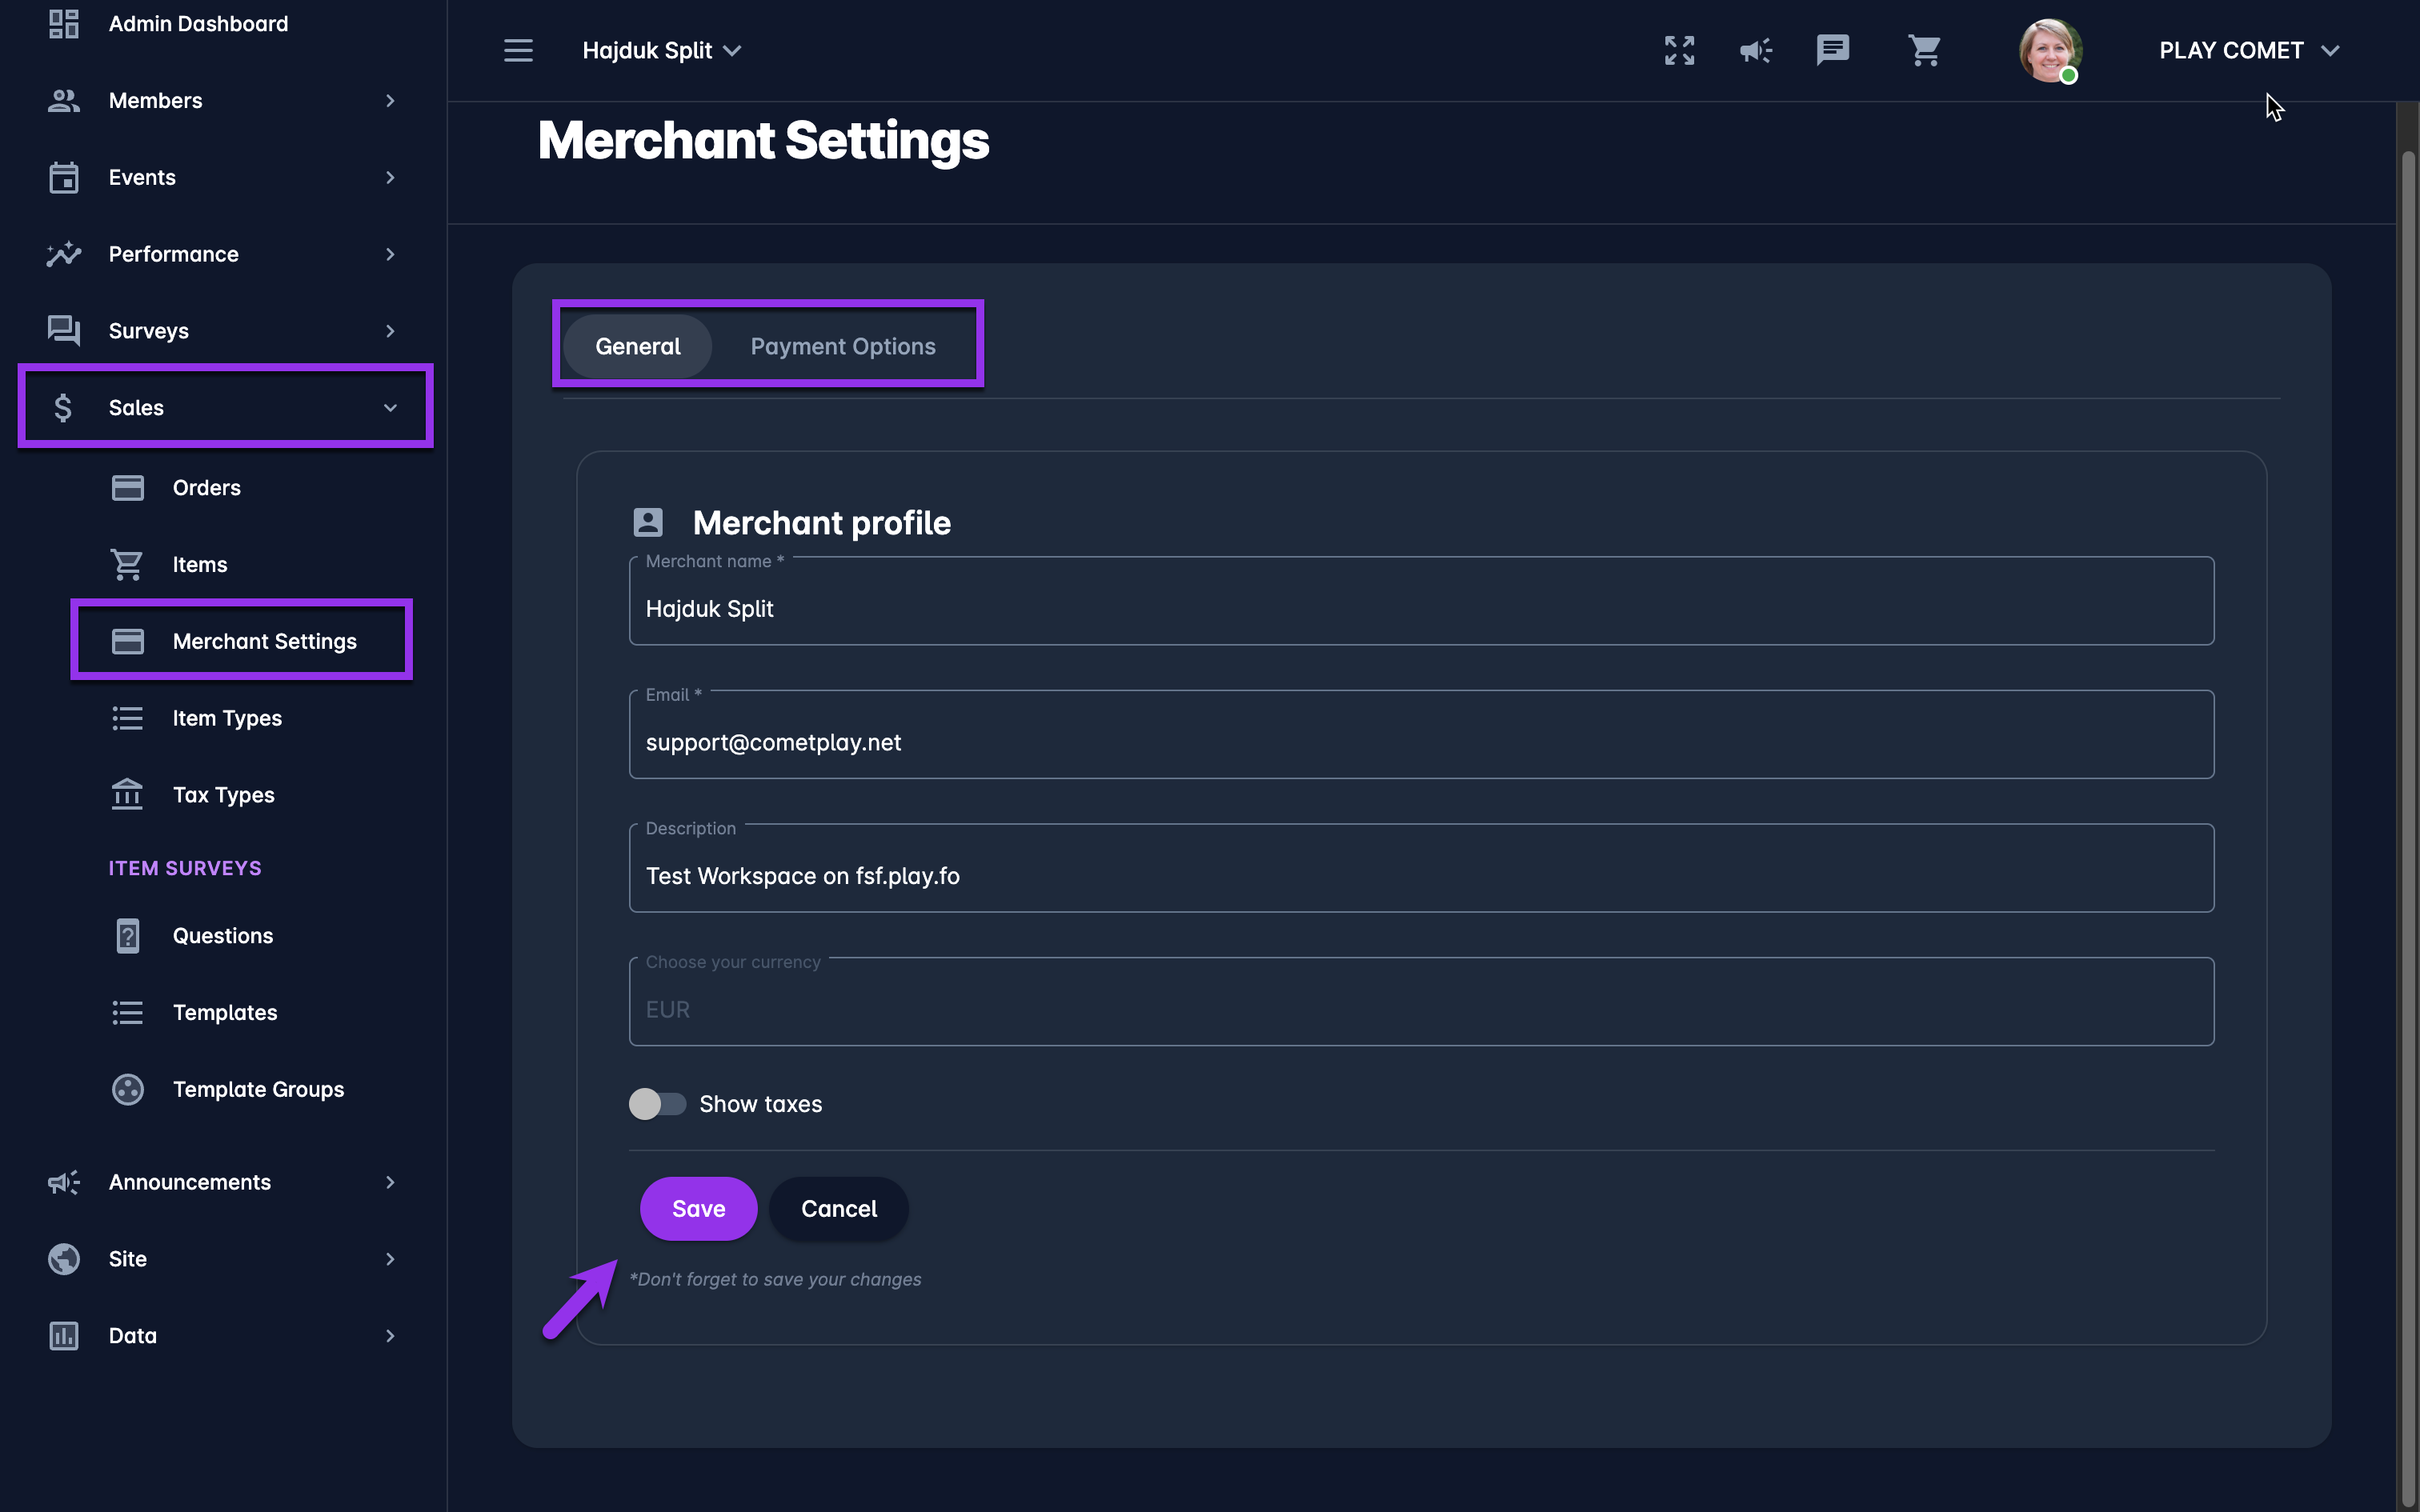
To access and edit Merchant Settings:
On the left nav-bar select 💲Sales → 💳 Merchant Settings
This opens the Merchant Settings menu which u consists of the following tabs:
General
Payment Options
On the General tab, you are able to define Merchant Profile:
Merchant name
E-mail
Description
Currency - predefined
Enable Taxes - if true, taxes will be shown
The Payment Options tabs displays the list of payment options that are configured for your tenant, in most scenarios these options are:
Manual Payment - Customers will be able to create orders for your items, without making an online payment. In this scenario, admins will need to enter the payment manually.
Payment Gateway (e.g. QuickPay or Stripe)- Customers will be redirected to an online payment gateway
ℹ️ A click on the option from the list will open a payment-type pop-up dialog window.
From the dialog window you can administrate the payment options of each payment type:
Switching on/off the Enable payments switch enables/ disables the payment type to be displayed as the payment option on the cart checkout for all courses
In the API Key field, you can enter the value from the payment gateway console
Switching on the Enable transaction fee switch allows you to enter the transaction fee (expressed in percentage or in fixed amounClick on the Payment Option from the list to review and edit the payment type settings (if applicable)
Once you have entered all the changes hit 💾 the Save button