
Licenses for Club Roles
You can enter personal licenses for multiple registered members in a specific club in a single step in MyCOMET. This feature is handy, e.g., for player medical exams, where a group of players from a club is examined on the same day, and the licenses granted to all players have exactly the same type and validity.
Access the MyCOMET via a link in the Users menu (upper right corner), or by adding /mycomet to the COMET homepage link, e.g., comet.concacaf.com/mycomet.
-
Switch to the My Club menu (left navigation).
-
Select the Players tab.
-
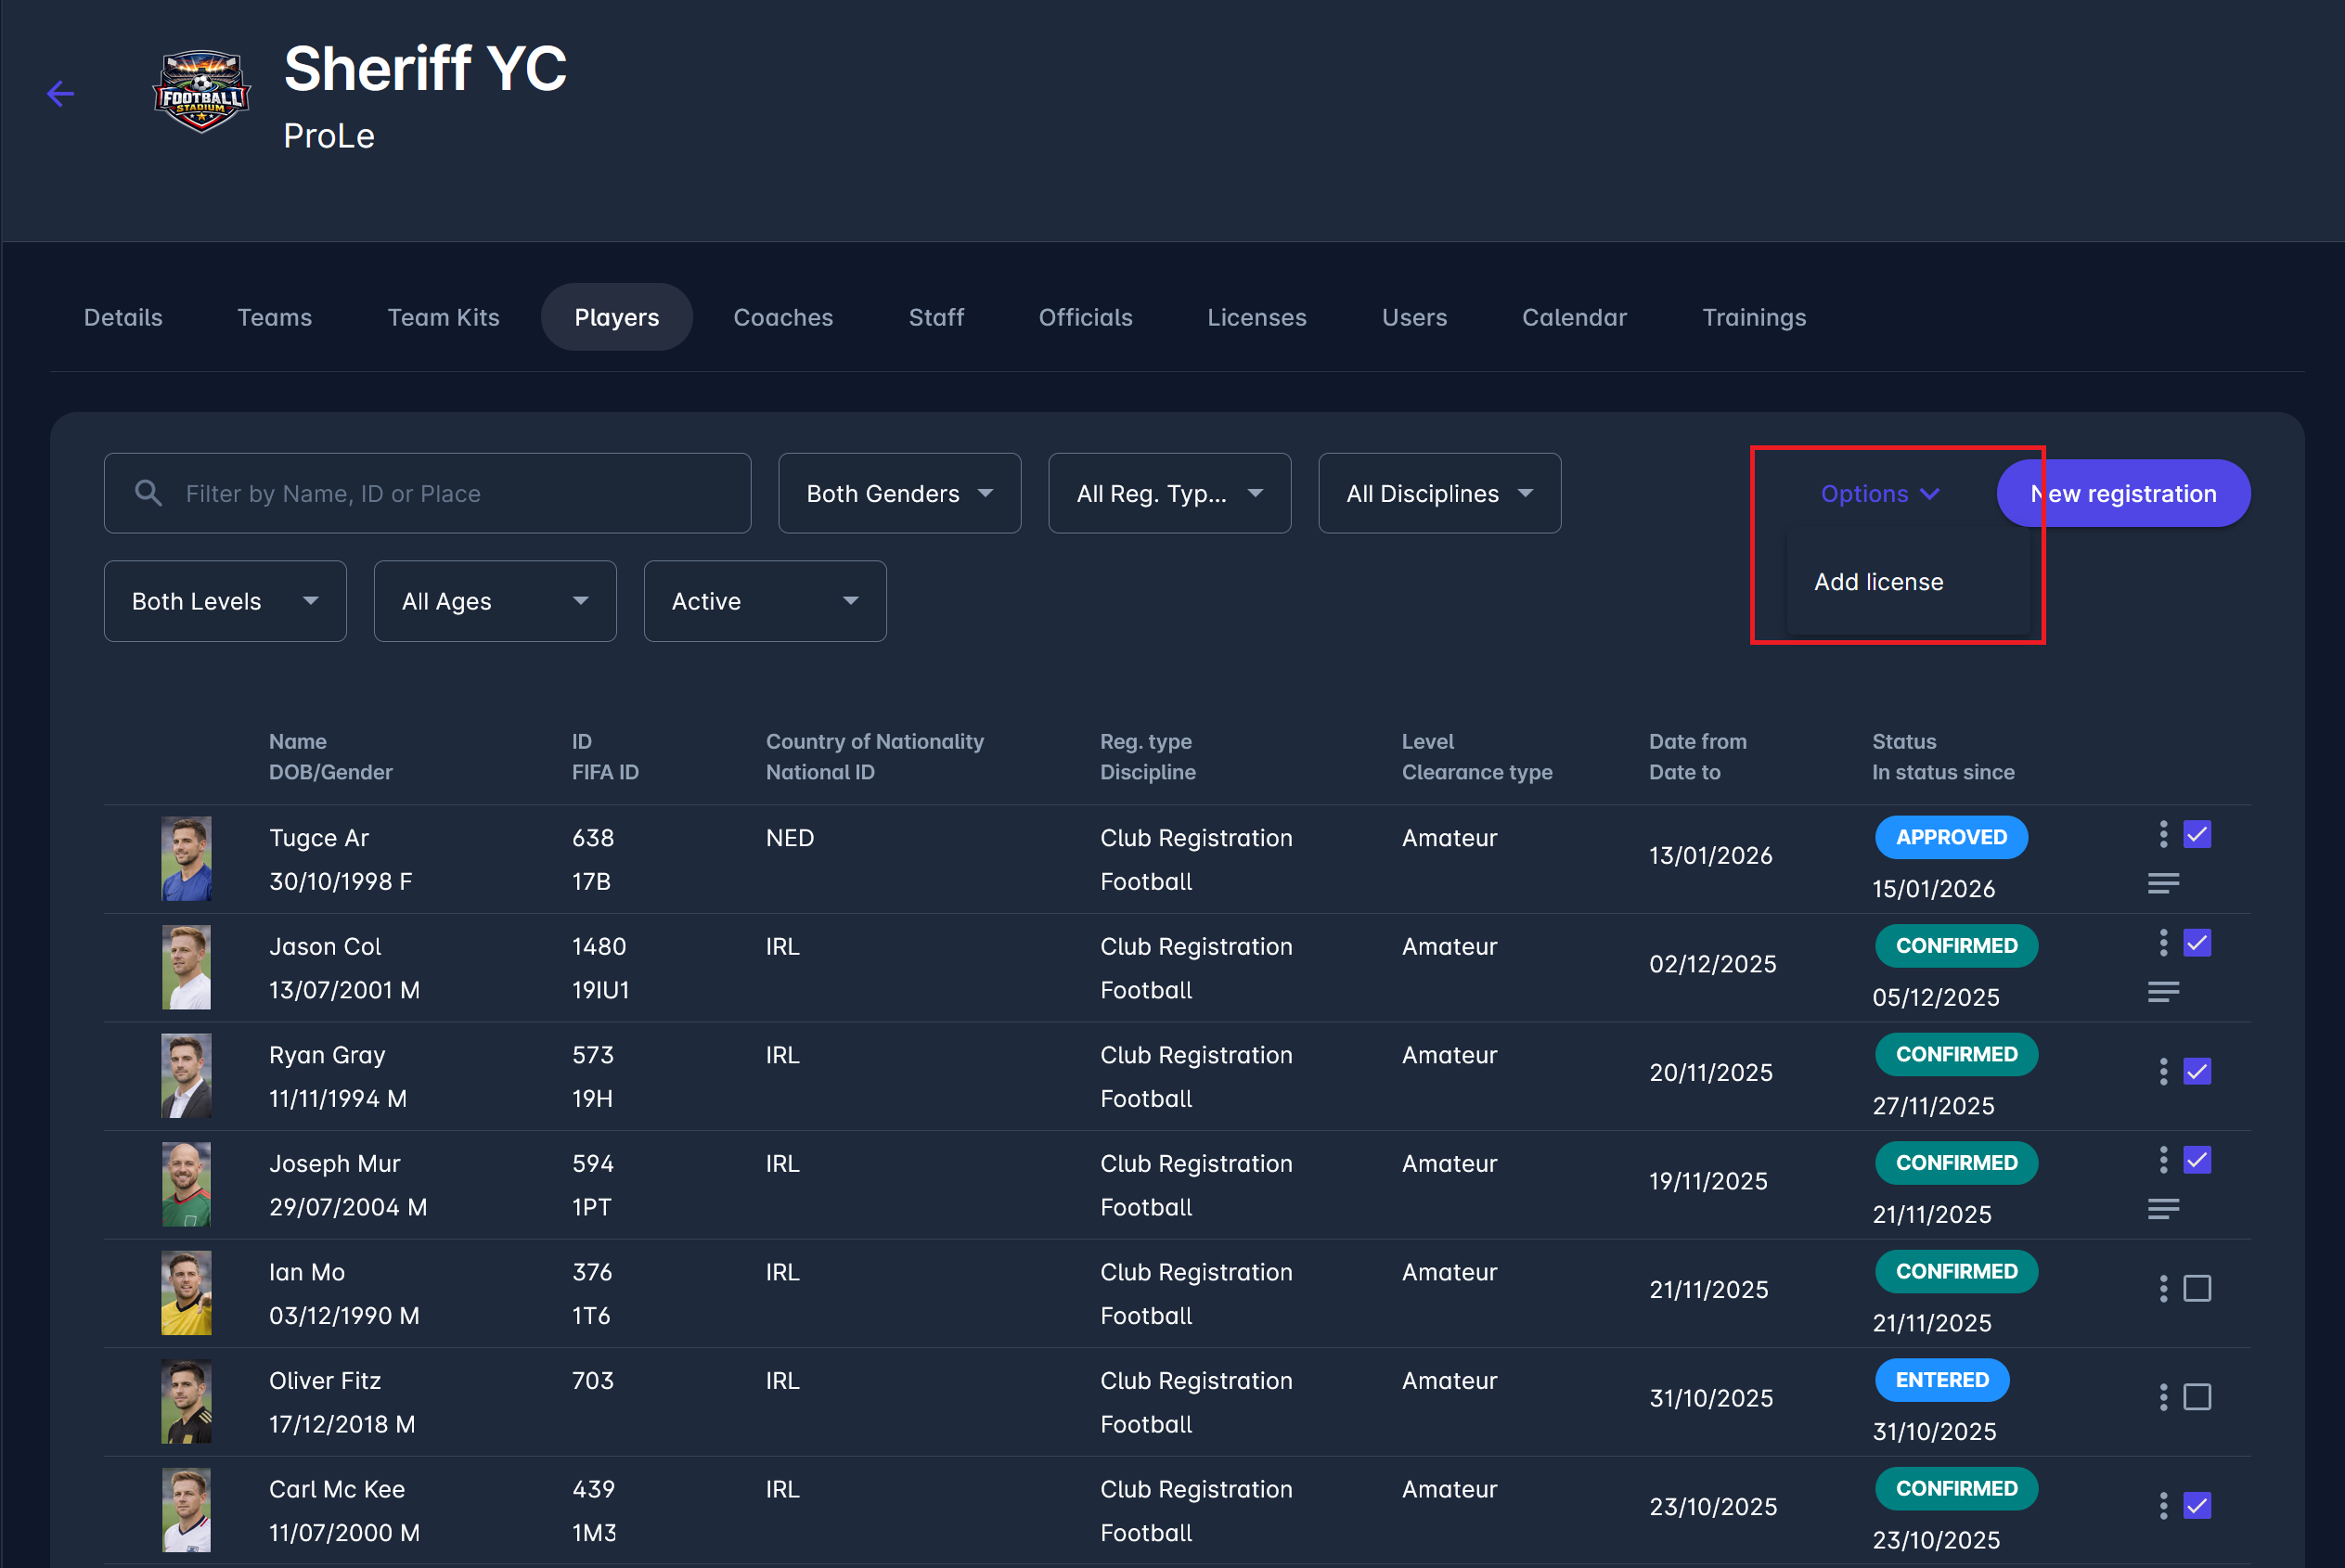
Use the checkboxes on the right to select the players you want to assign the license to.
-
Then click Options → Add License.
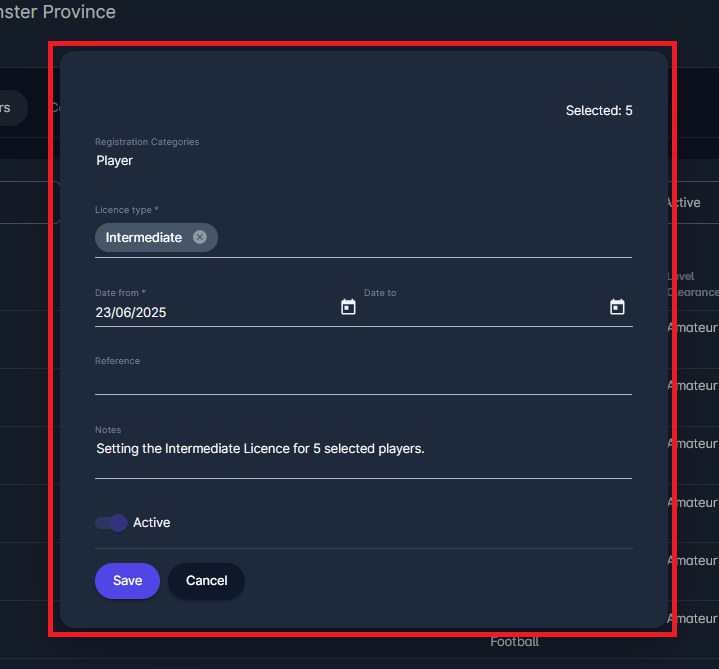
In the form that opens:
-
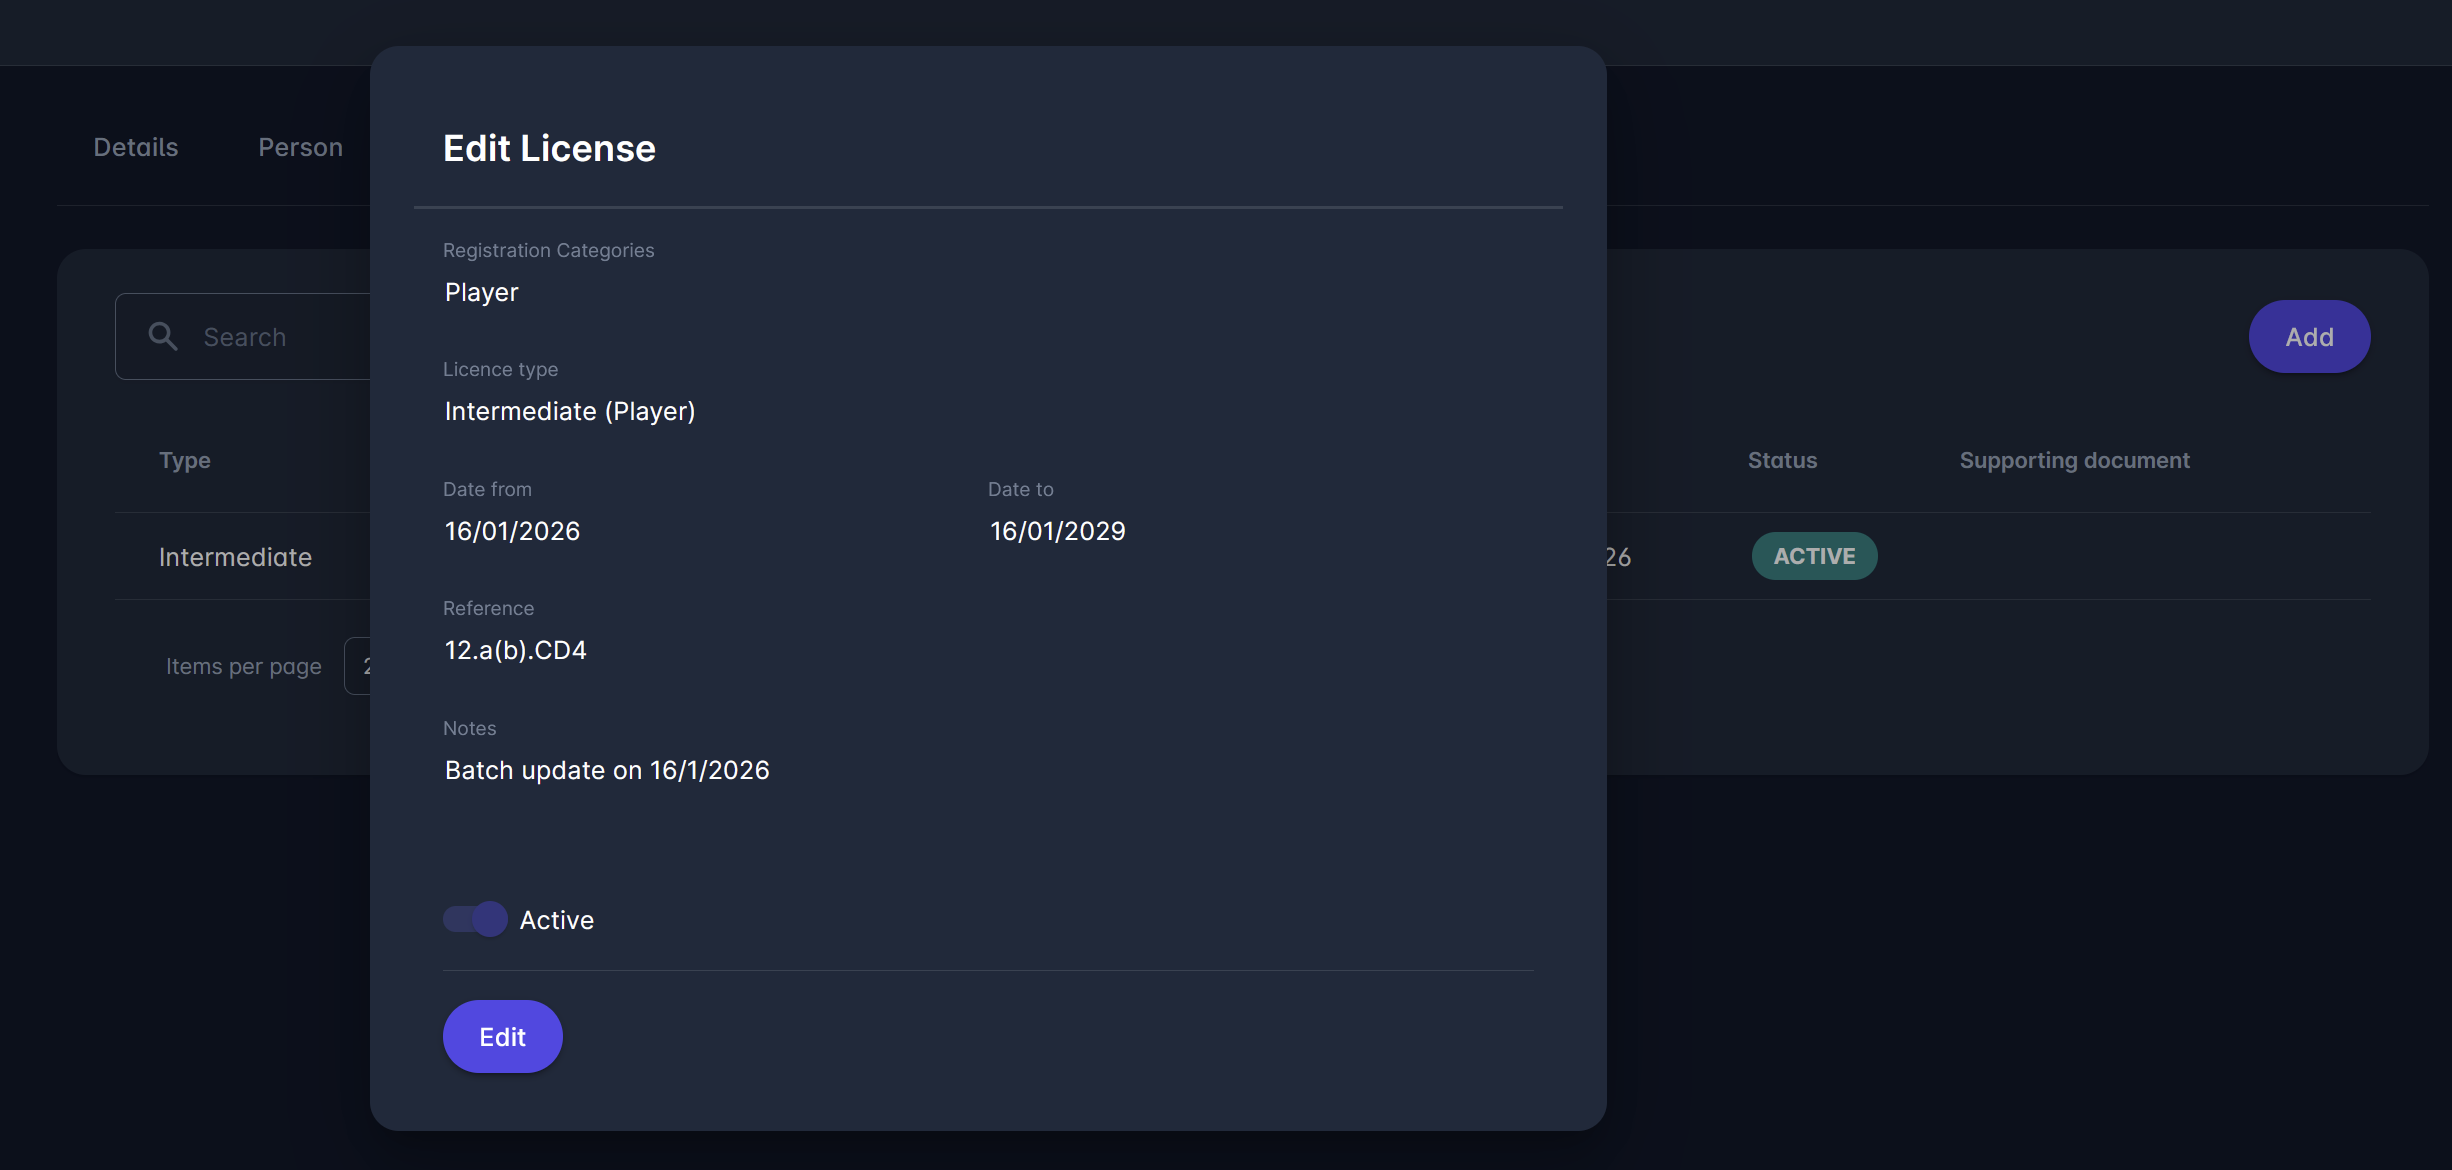
Select the correct License Type from the drop-down (e.g., Intermediate). Note that the only available licenses will be the ones with the "Highlight on registration" enabled from the previous steps
-
Enter the Date From (mandatory).
-
You can optionally enter a Date To, Reference, or Notes.
-
Ensure the license is set as Active (toggle switch).
-
Click Save.
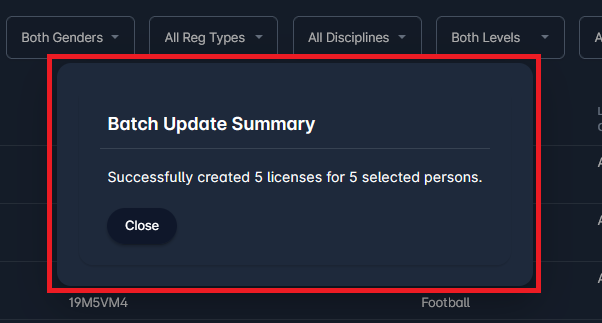
A summary message will appear: "Successfully created X licenses for X selected persons."
This confirms that all selected players now have the license attached to their profile.
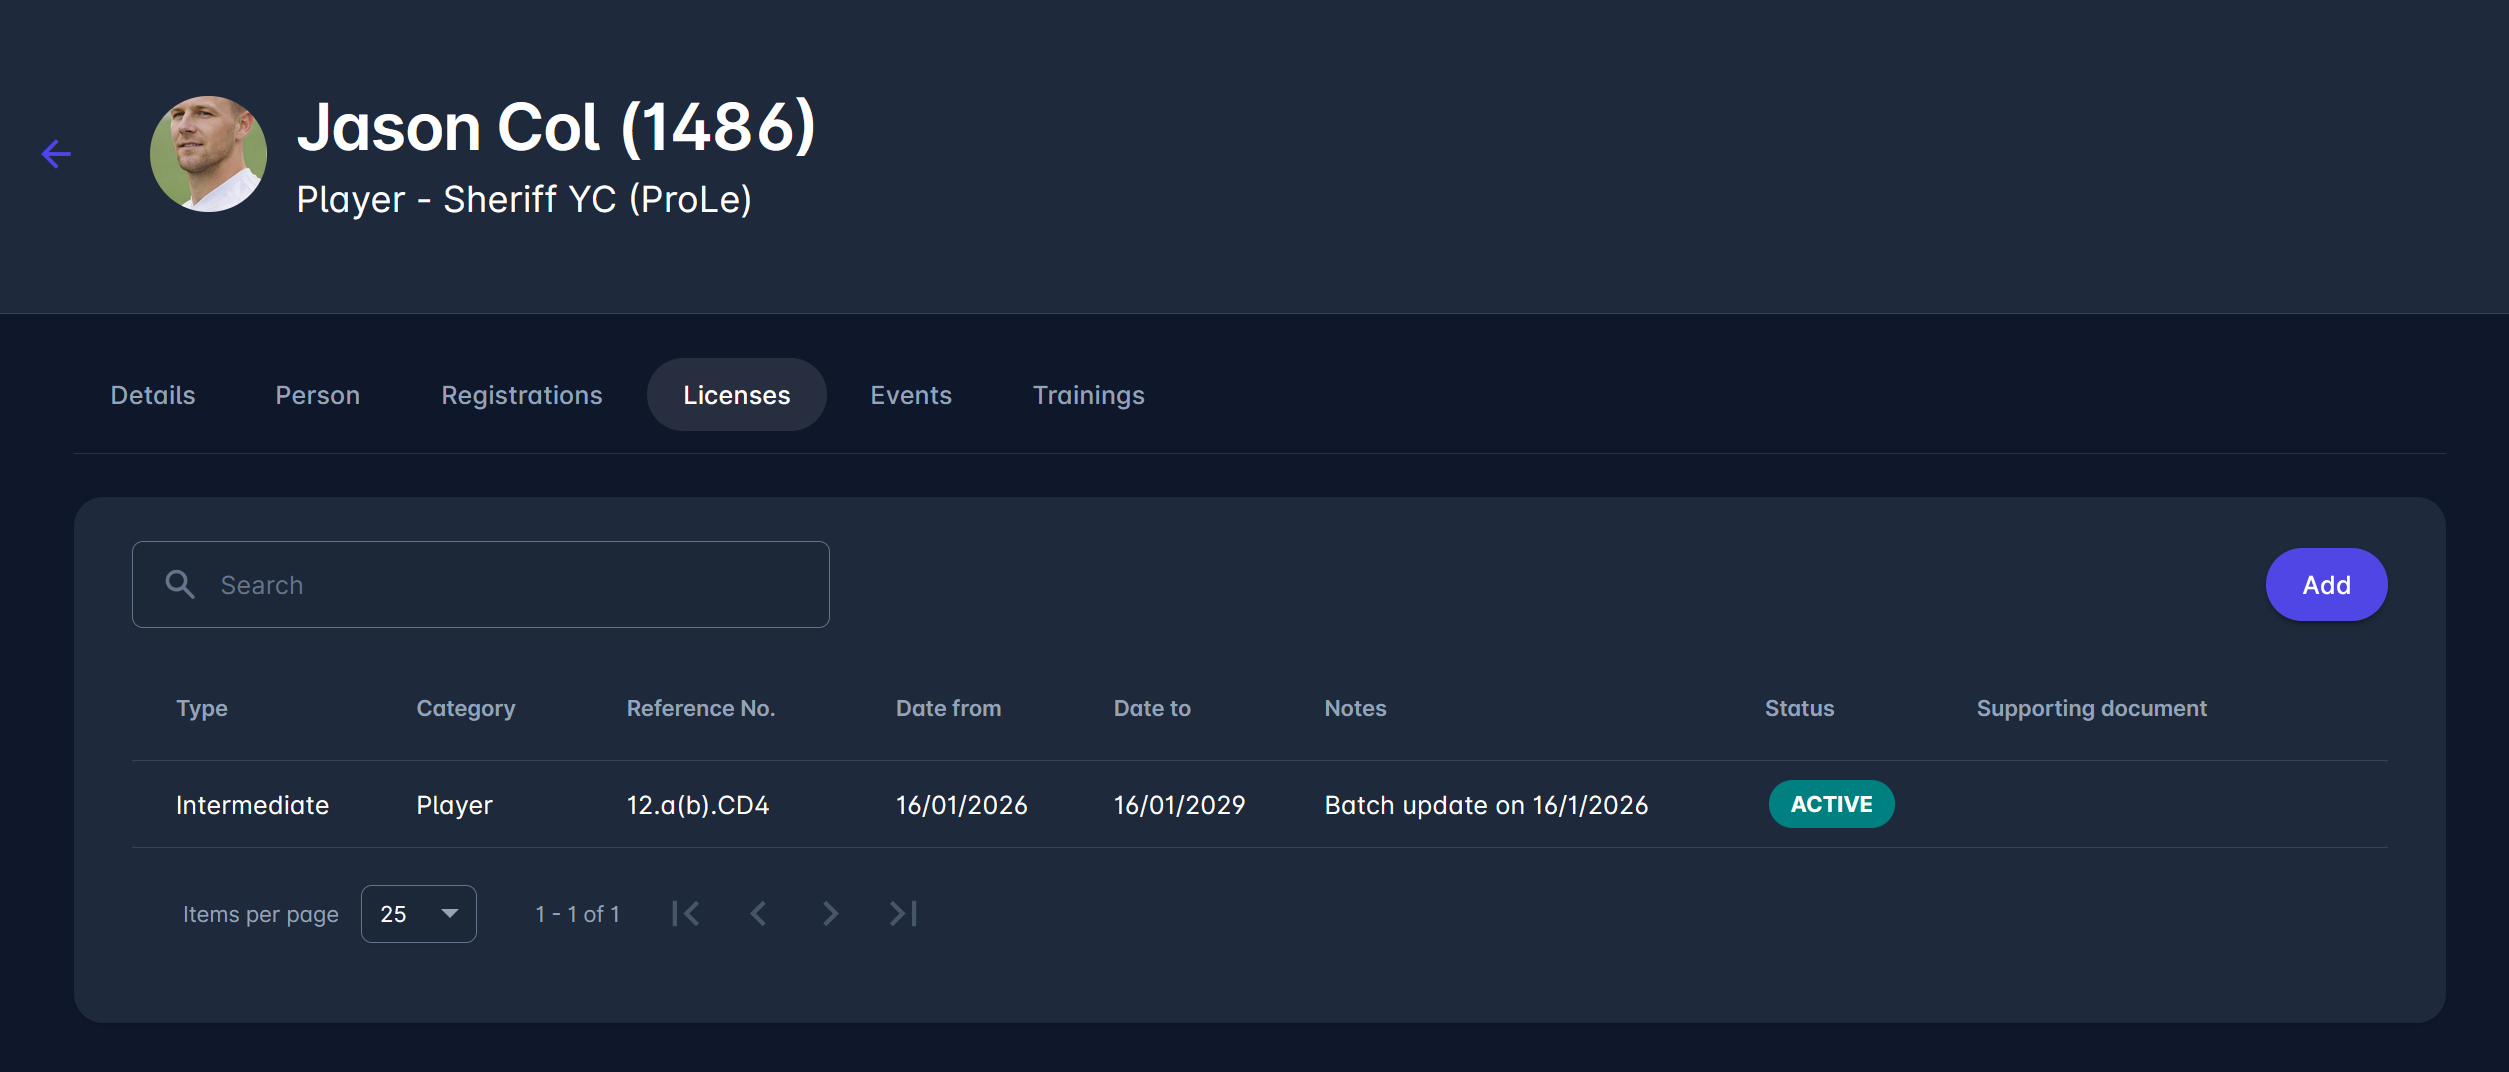
To review assigned licenses, navigate to an individual player's profile and open the Licenses tab.
Here, you will see the newly created license listed there with all relevant details (type, date, status, notes, etc.). You can edit the details of the existing license or add a new license.
Licenses for Non-Club Roles
Batch license entry is also available for Non-Club roles, such as Referees and other Match Officials, through the Organization Detail page in MyCOMET.
-
Navigate to the relevant Organization Detail and open the registration tab for the role (e.g., Referees).
-
If at least one License Type is defined for that registration category, checkboxes appear next to the Status Dropdown for each person.
-
Select one or more persons using the checkboxes.
-
Click Options → Add License.
-
The Add License dialog opens with the Category predefined. Select the License Type, enter the Date From (mandatory), add any optional fields, and click Save.
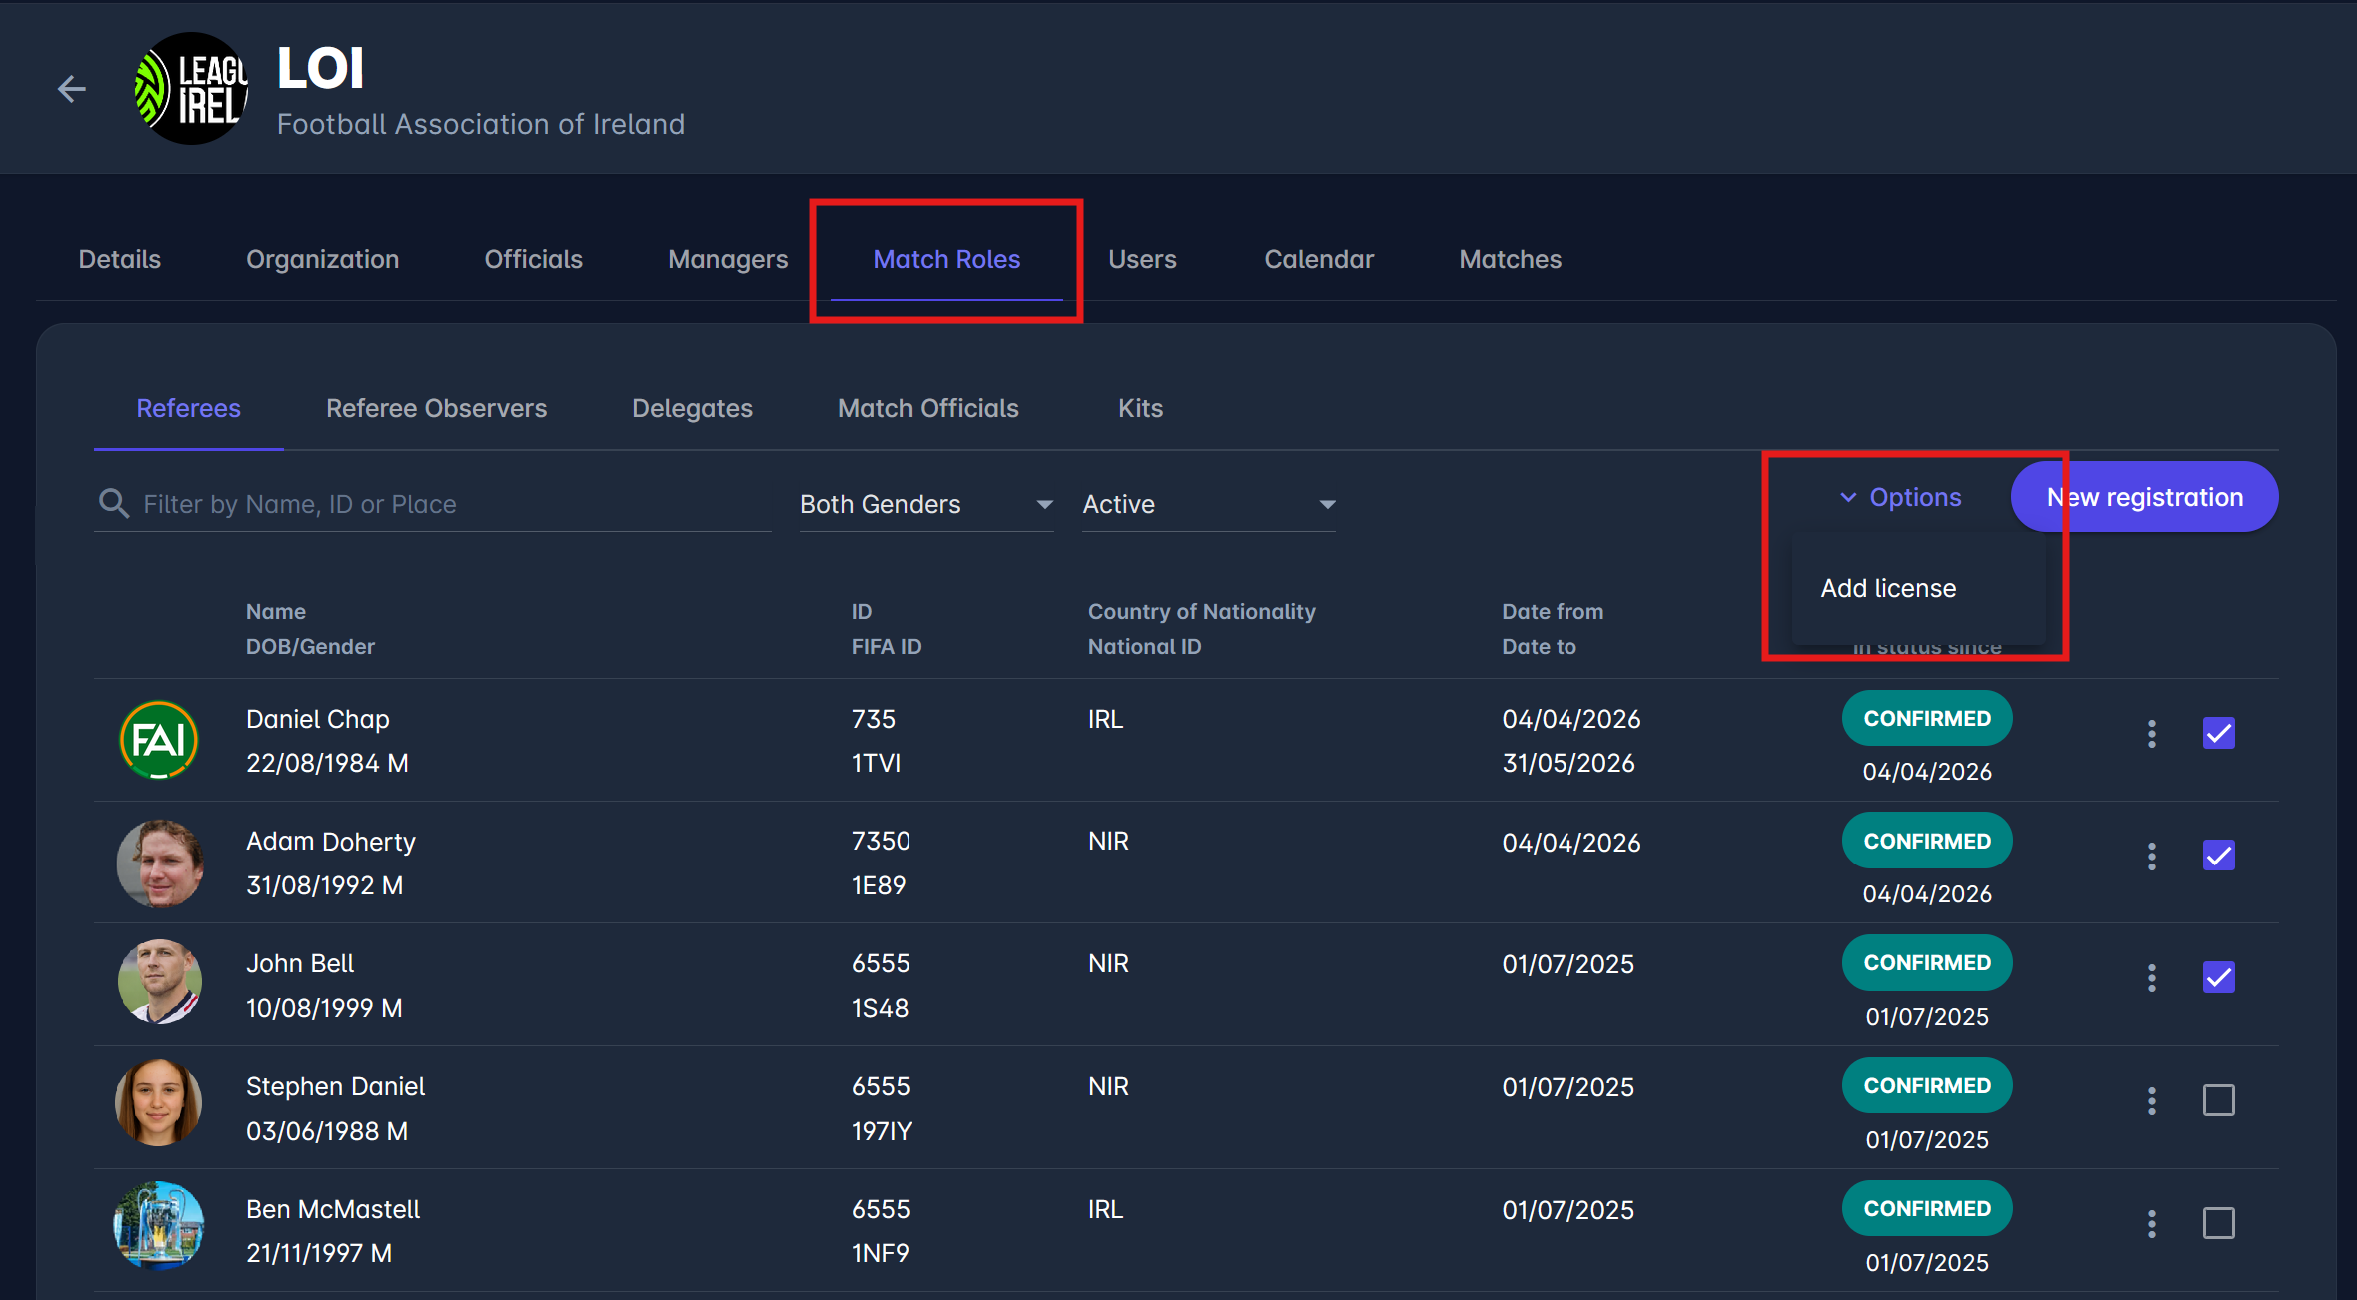
If a person already has an active license in that category and the Highlight on List option is enabled for that License Type, a bullet-point indicator appears below their checkbox. Hovering over it shows the License Type and validity dates.