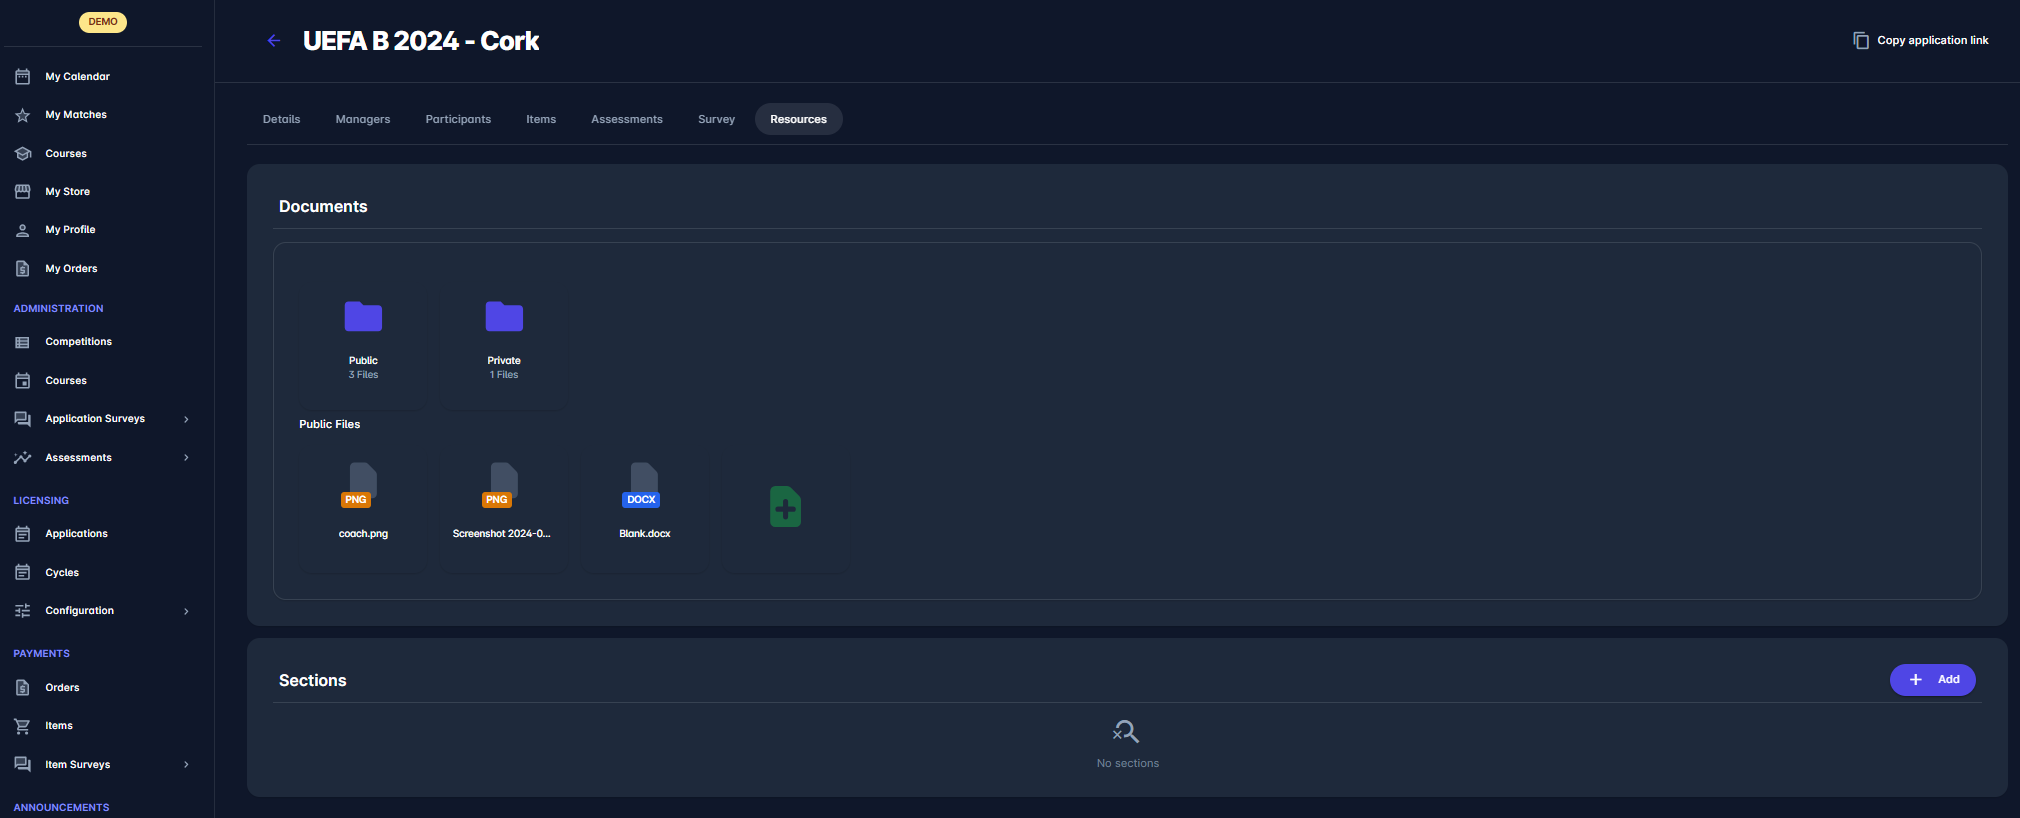
The event Resources tab contains two features - Documents and Sections. On this tab, event Administrators and Managers can upload documents, such as event materials, or add rich HTML sections with formatted descriptions, links to external video resources, etc.
Documents
Event file management is a component of the Event Resources module that facilitates uploading files/resources related to the specific event.
The upper row under the Documents section represents the two file types, Public and Private, shown as folders. Resources under those file types/folders can be viewed by selecting the file type/folder, in the lower row with their corresponding title - Public files or Private files.
Public resources will be available to all users before applying to the event, whereas private resources will be available only to confirmed event participants.
To upload a file:
-
First, make sure you are in the correct folder, considering the desired privacy of your resources
-
In the lower row of the Documents section, under Public/Private files, click on the
Add button
-
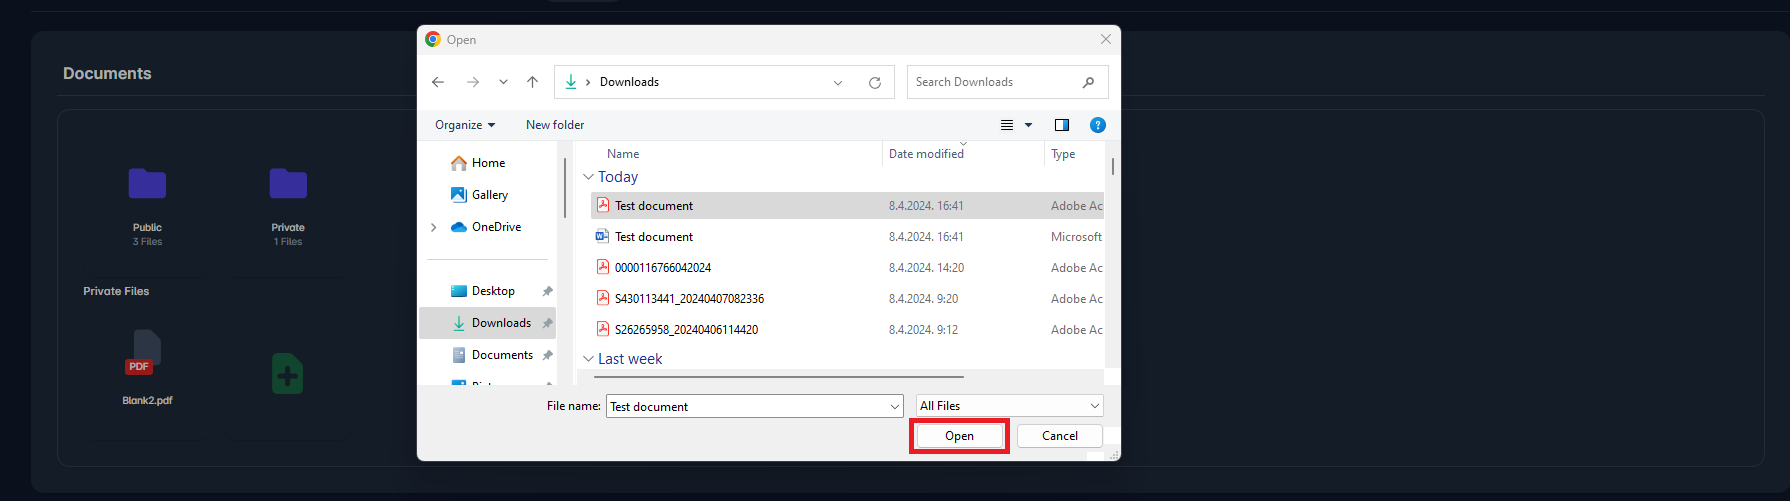
On the newly appeared pop-up named Upload file, click on 📎 the Paperclip symbol
-
This opens one of your local folders from where you can navigate to the desired folder and file
-
Select a file and then click on Open in the same window - this action will add your file to the Upload file pop-up
-
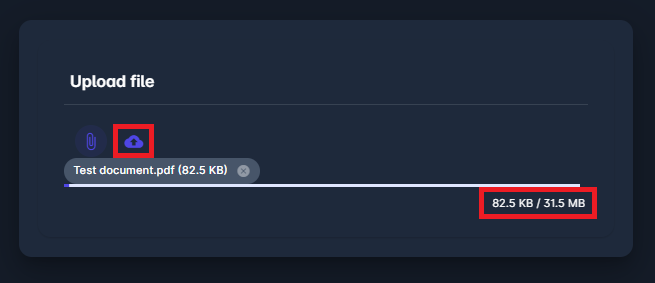
This pop-up now shows you the list of all currently selected and pre-uploaded files, with their names and their accumulated size
-
Please note that the maximum file size per folder is 30 MB.
-
-
If you wish to add more files to the same upload, select 📎 the Paperclip symbol and repeat the process; to finish the upload, click on ☁️ the Cloud symbol
-
Your newly uploaded file has now appeared next to the previously uploaded documents in the folder
-
With the name of the file, the Files section also shows you a file type of your uploaded files
Please consider that only supported filetypes for the upload are .pdf, .png, .jpg, .docx, .xlsx
The whole upload process is shown in the pictures below.

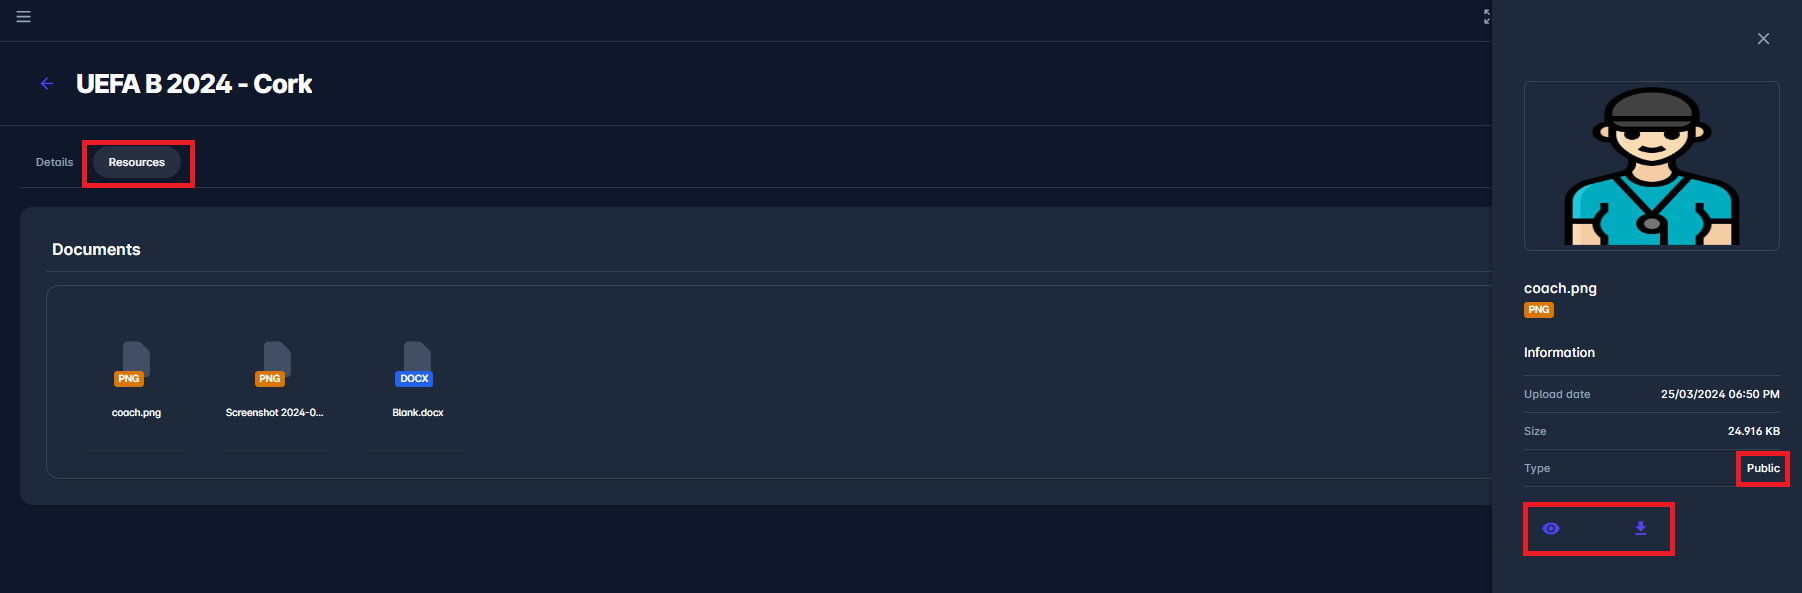
After your file has been uploaded, you can see more information about it in the right-hand window by clicking the desired file. This window shows the upload time and date, the file size, and the file's privacy type.
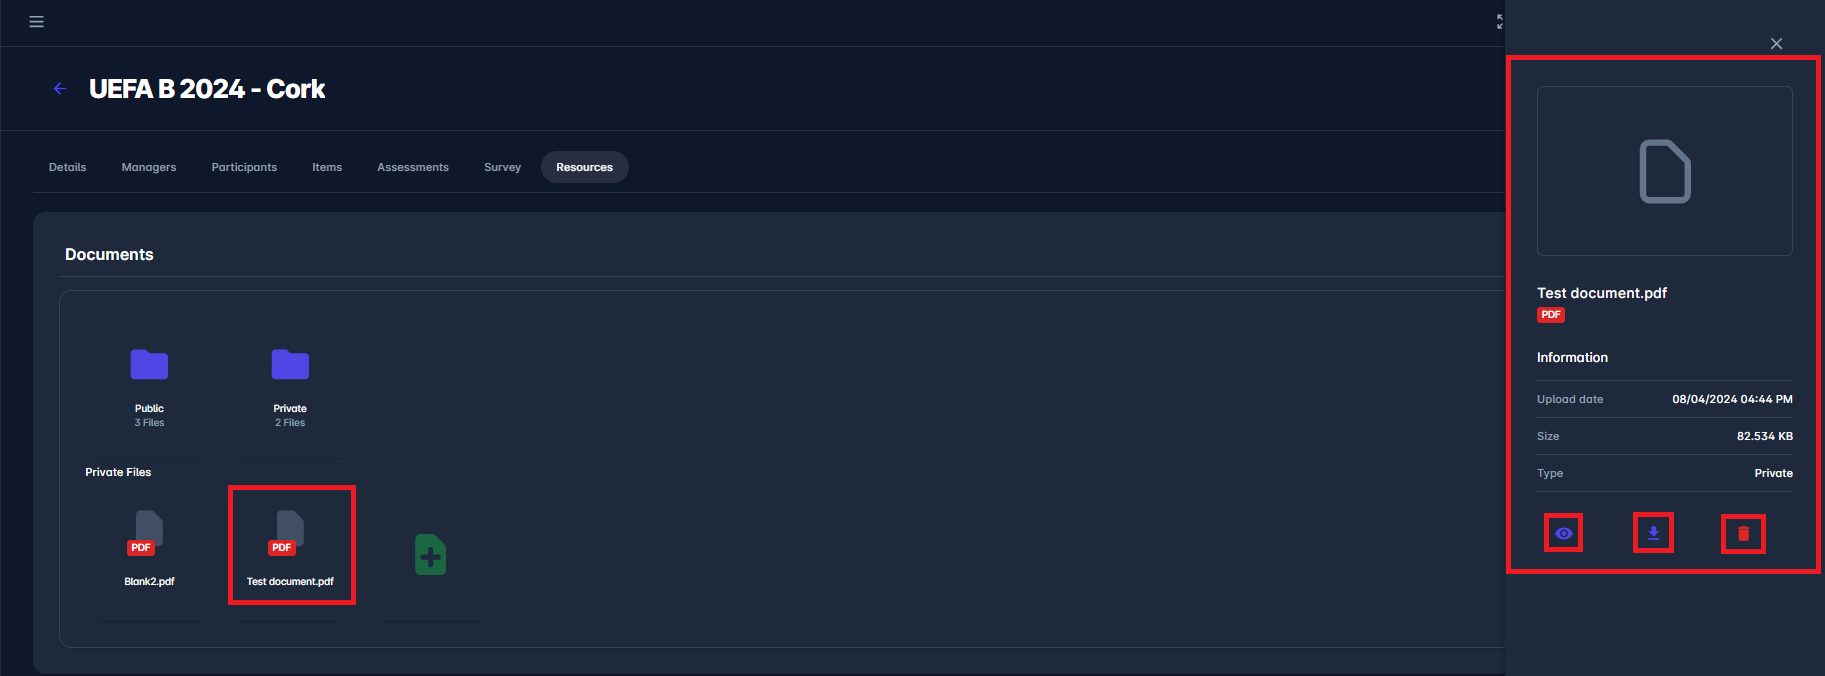
In the info panel, there are several options:
-
preview the file (applicable only for PDF and images),
-
download the file,
-
delete the file.
Each option can be applied by clicking on the associated symbol.
The following images represent previews of selected file types: .pdf and .png.
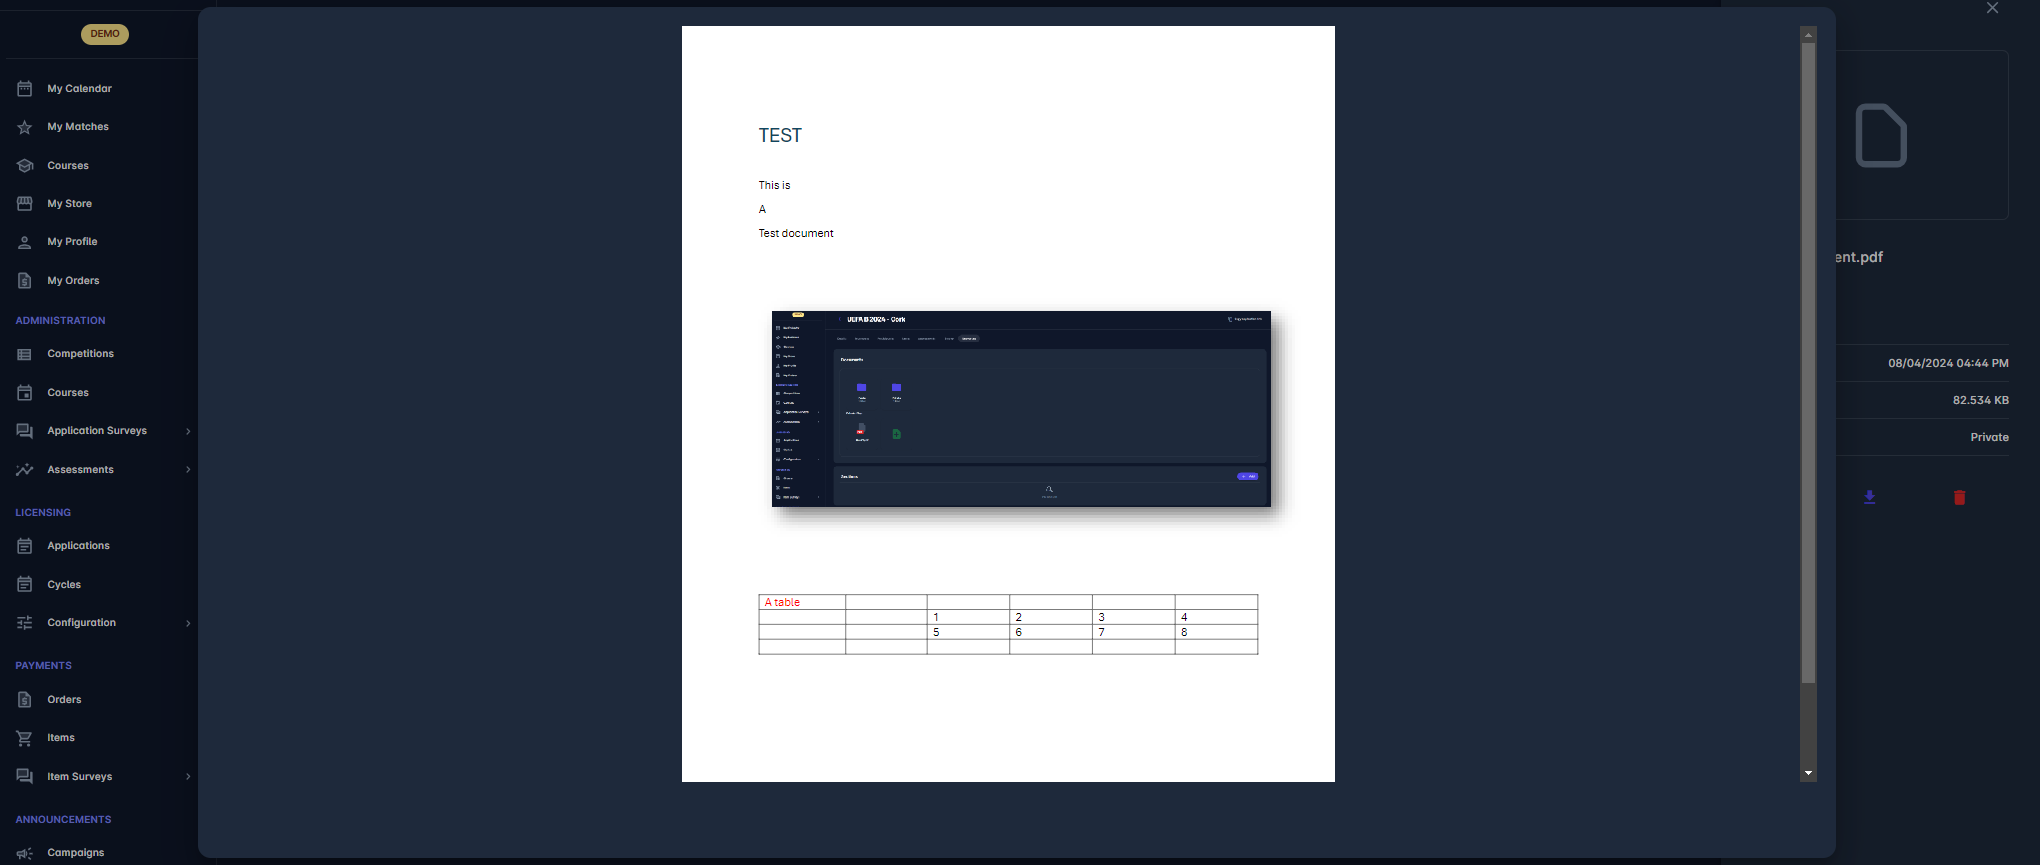
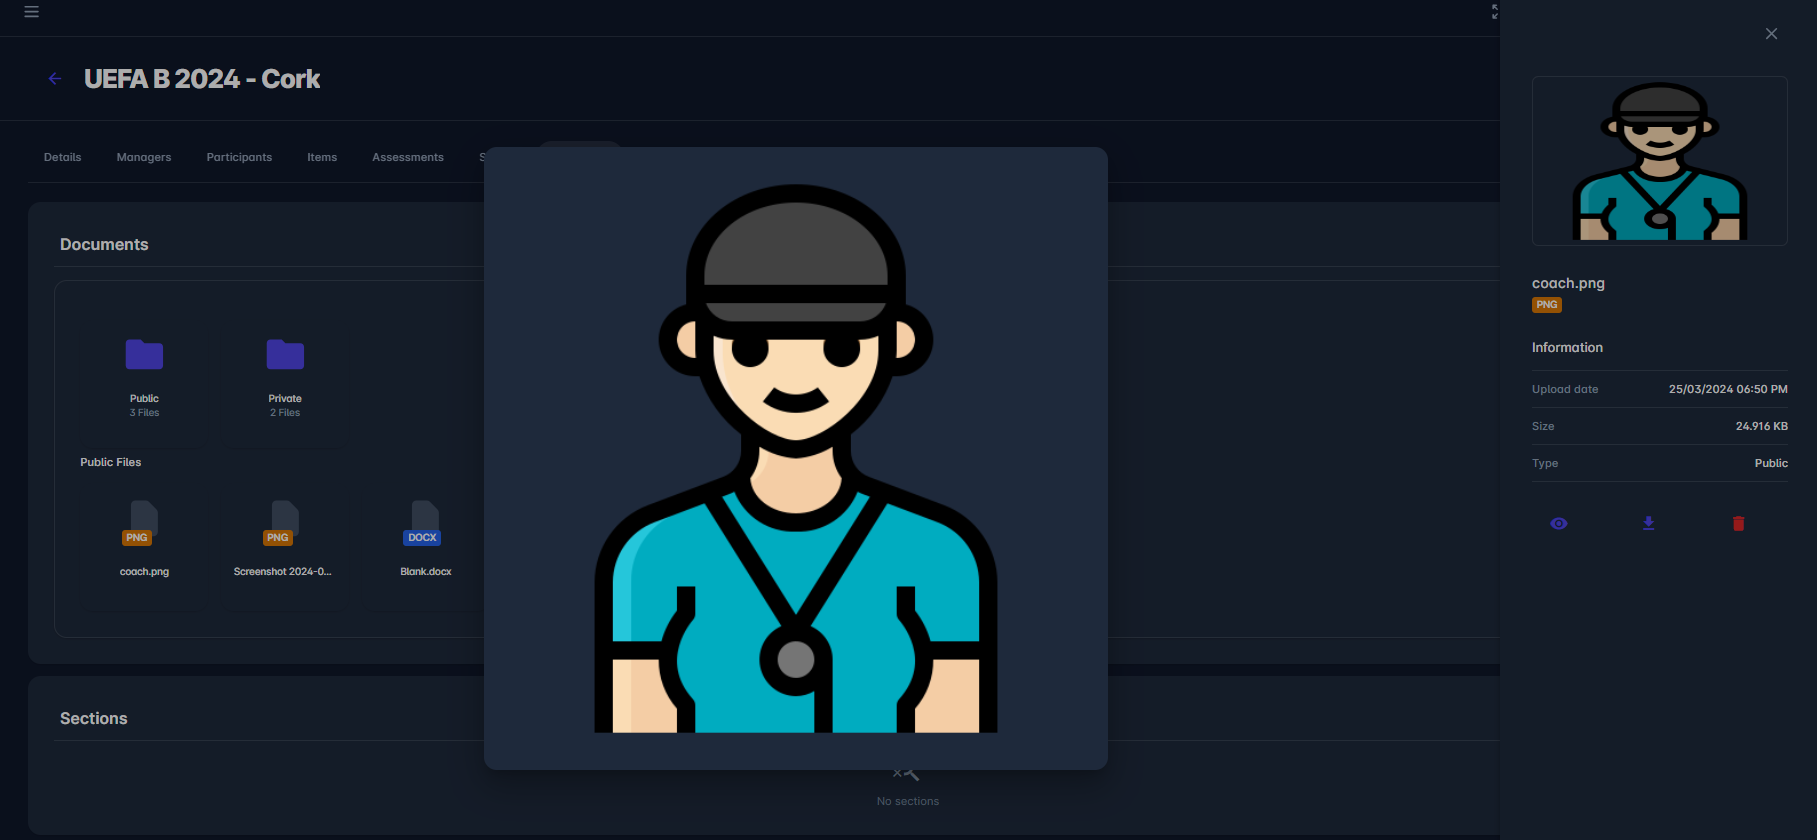
Note that the Excel files do not have the preview option.
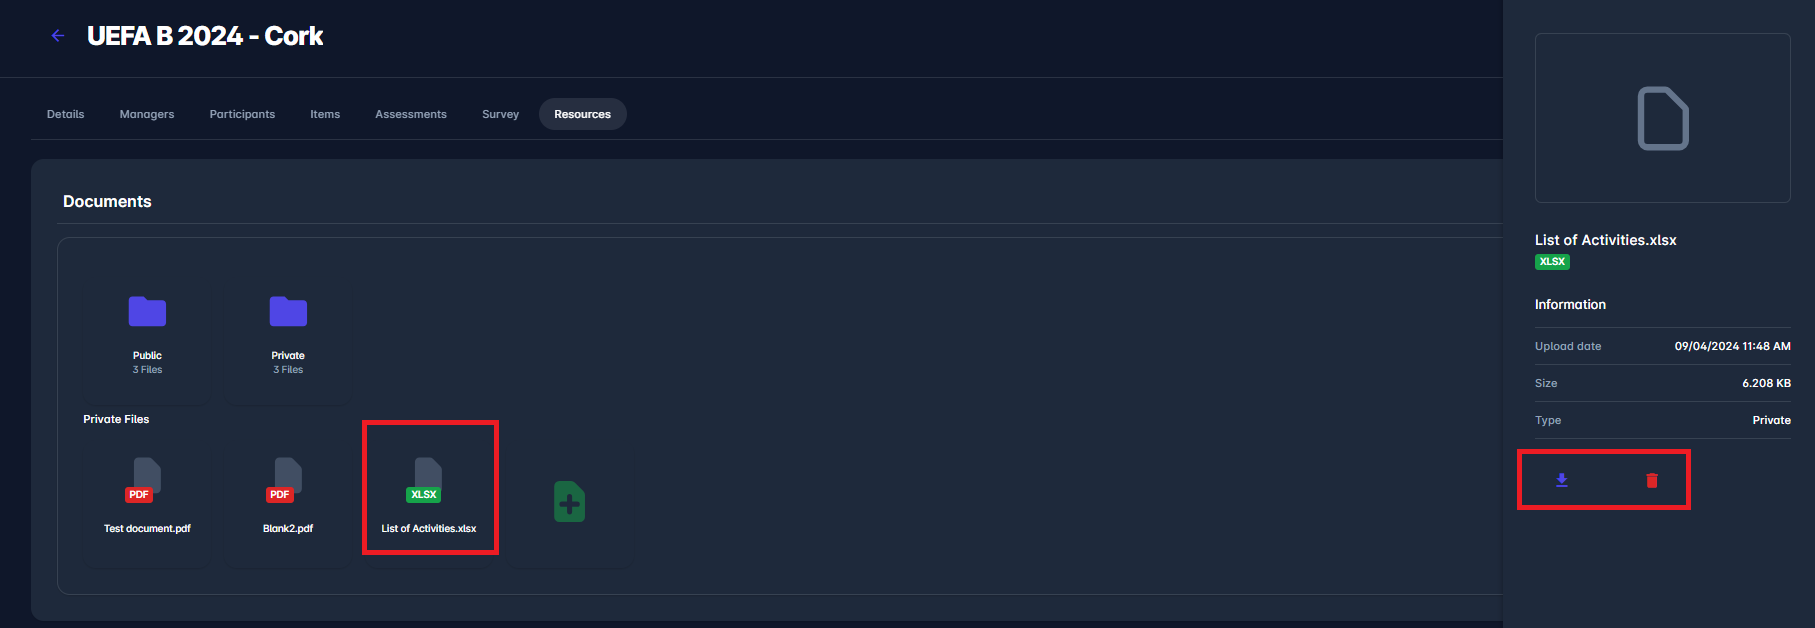
To delete a file, click the Bin icon, then confirm your intention by clicking the ✔️ Check button in the confirmation dialog.
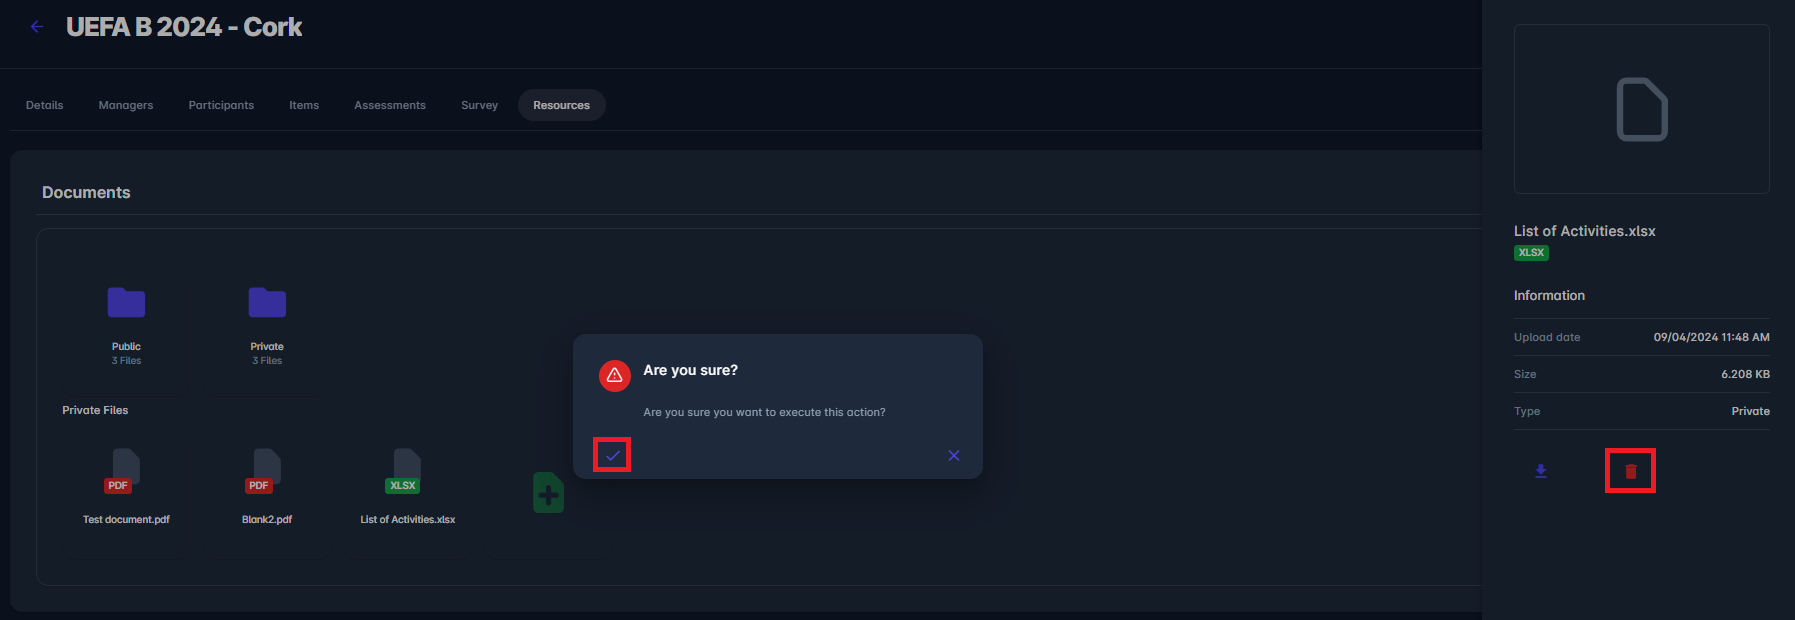
After confirming, the file is deleted and removed from view.
Participant’s View of the Resources Tab
As with other COMET features, not all users have the same permission level when accessing an Event.
As mentioned, the uploaded documents and added sections are marked as public or private. A participant won’t see files in the Resources panel in some events if no files are uploaded for that event or only private files are uploaded, and the user is not yet a confirmed participant. When public files exist, they are visible.
Participant users can only preview (certain file types) and download files. They cannot upload or delete the files.
When there is only one file type, there are no folders; there are only files of that type.
Sections
Sections are part of the Event Resources, where authorized users who usually have permission to access the Admin view of the seminar (Superuser, Event Admin, and Event Manager allocated to the seminar) can define sections, and a Participant can see defined sections per event.
Authorized users can:
-
view sections,
-
edit sections,
-
delete sections, and
-
add new sections.
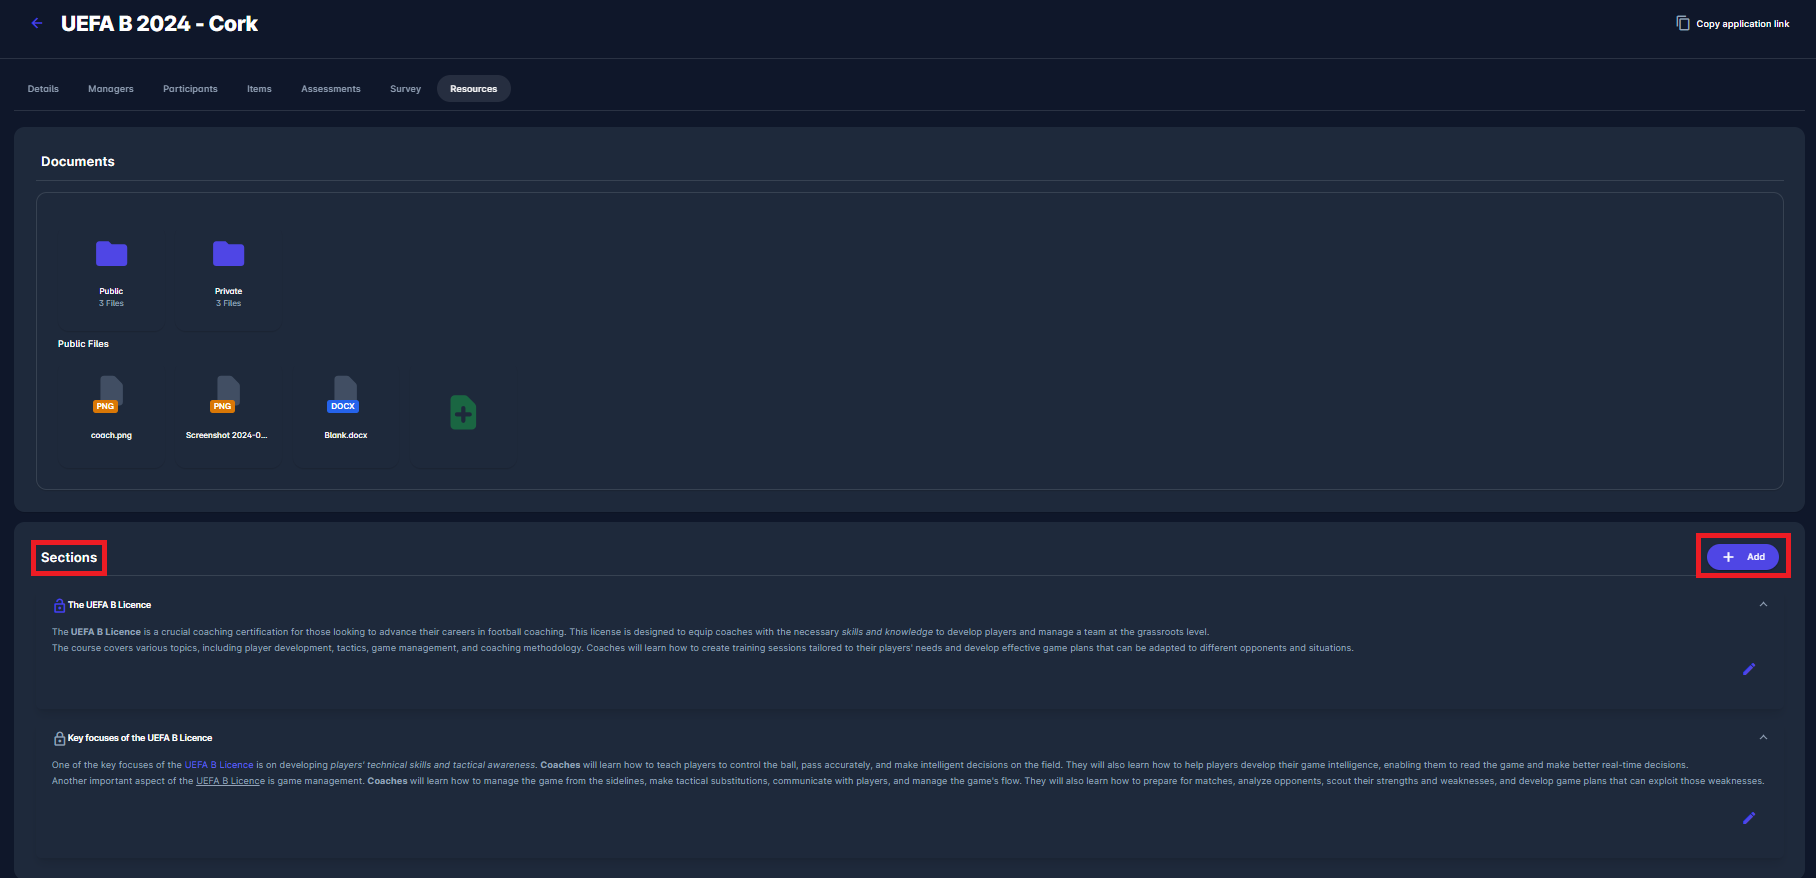
To create a new section:
-
Click on the ➕ Add button in the top right corner of the Sections to create a new Section
-
This action opens a form with the entries to fill/edit the following data fields:
-
Name of the section
-
Description - a form where users can write in Rich HTML, and add various formatted descriptions, links to external video resources, etc.
-
Private mode switch - privacy mode is set to public by default
-
-
Once you have entered all the information, click 💾 the Save button.
-
To delete a section, click the Bin icon, then confirm your intention by clicking the ✔️ Check button in the confirmation dialog.
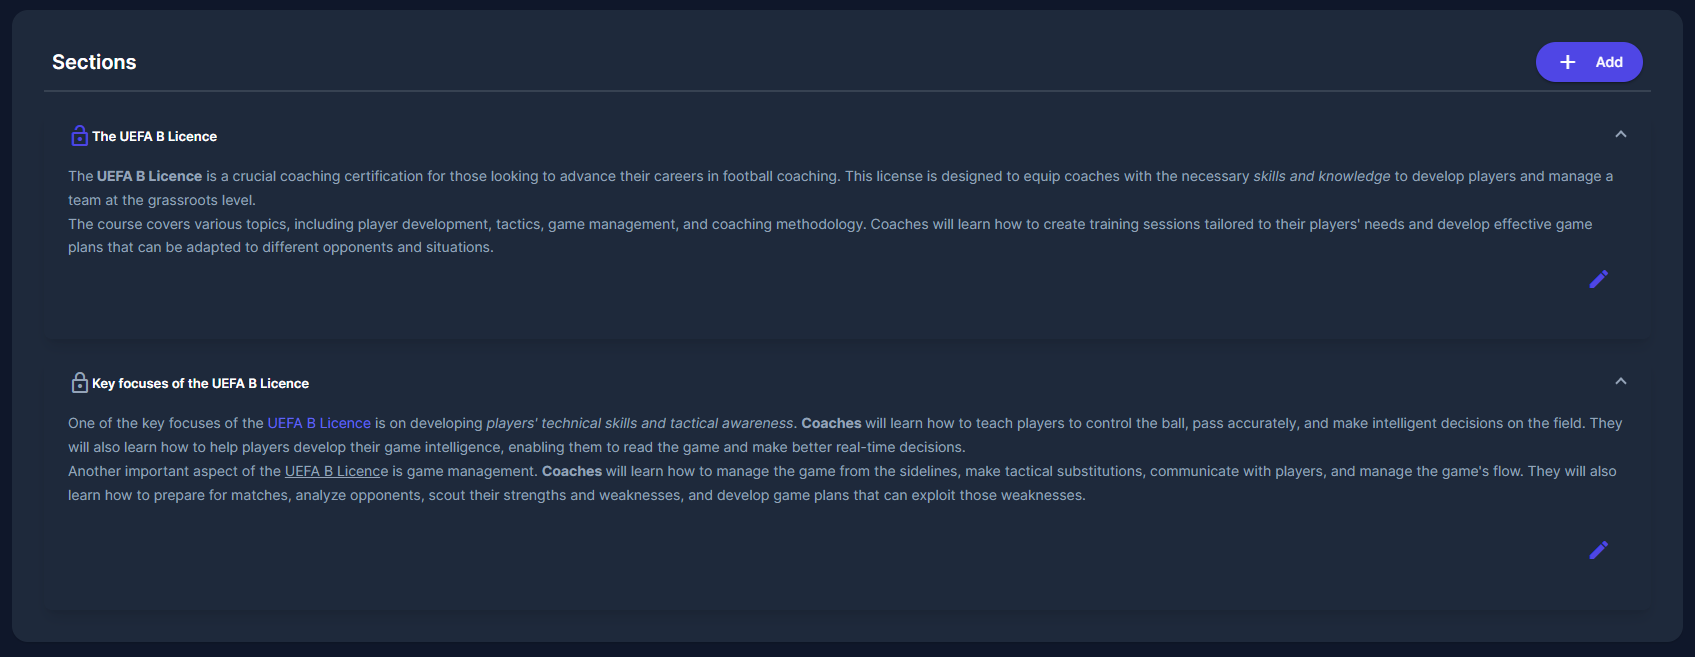
The following picture presents one public and one private section. The private section is differentiated from the public section by a white, closed lock 🔐.
If some events have defined sections, a participant will see:
-
all sections → if participant is in status confirmed, passed, or failed;
-
only public (non-private) sections → if he is not participating in the event or is not in one of the statuses mentioned above.
There are some cases when participants won’t be able to see the Resources panel:
-
If there are no files uploaded for this event or there are only private files uploaded, and the user is not yet a confirmed participant,
-
If there are no sections defined for this event, or there are only private sections, and the user is not yet a participant in status confirmed, passed, or failed.