Events Administration
Event Management starts with the administration and customization of events/seminars. The Administration Menu is the starting point for the COMET Event Management Module and provides a comprehensive set of seminar customization options. Event Administrators can create and define the details of their event to meet their organization's needs.
Create a New Event
Access the MyComet App (by adding /mycomet to your Comet homepage address or from the direct link in the COMET App)
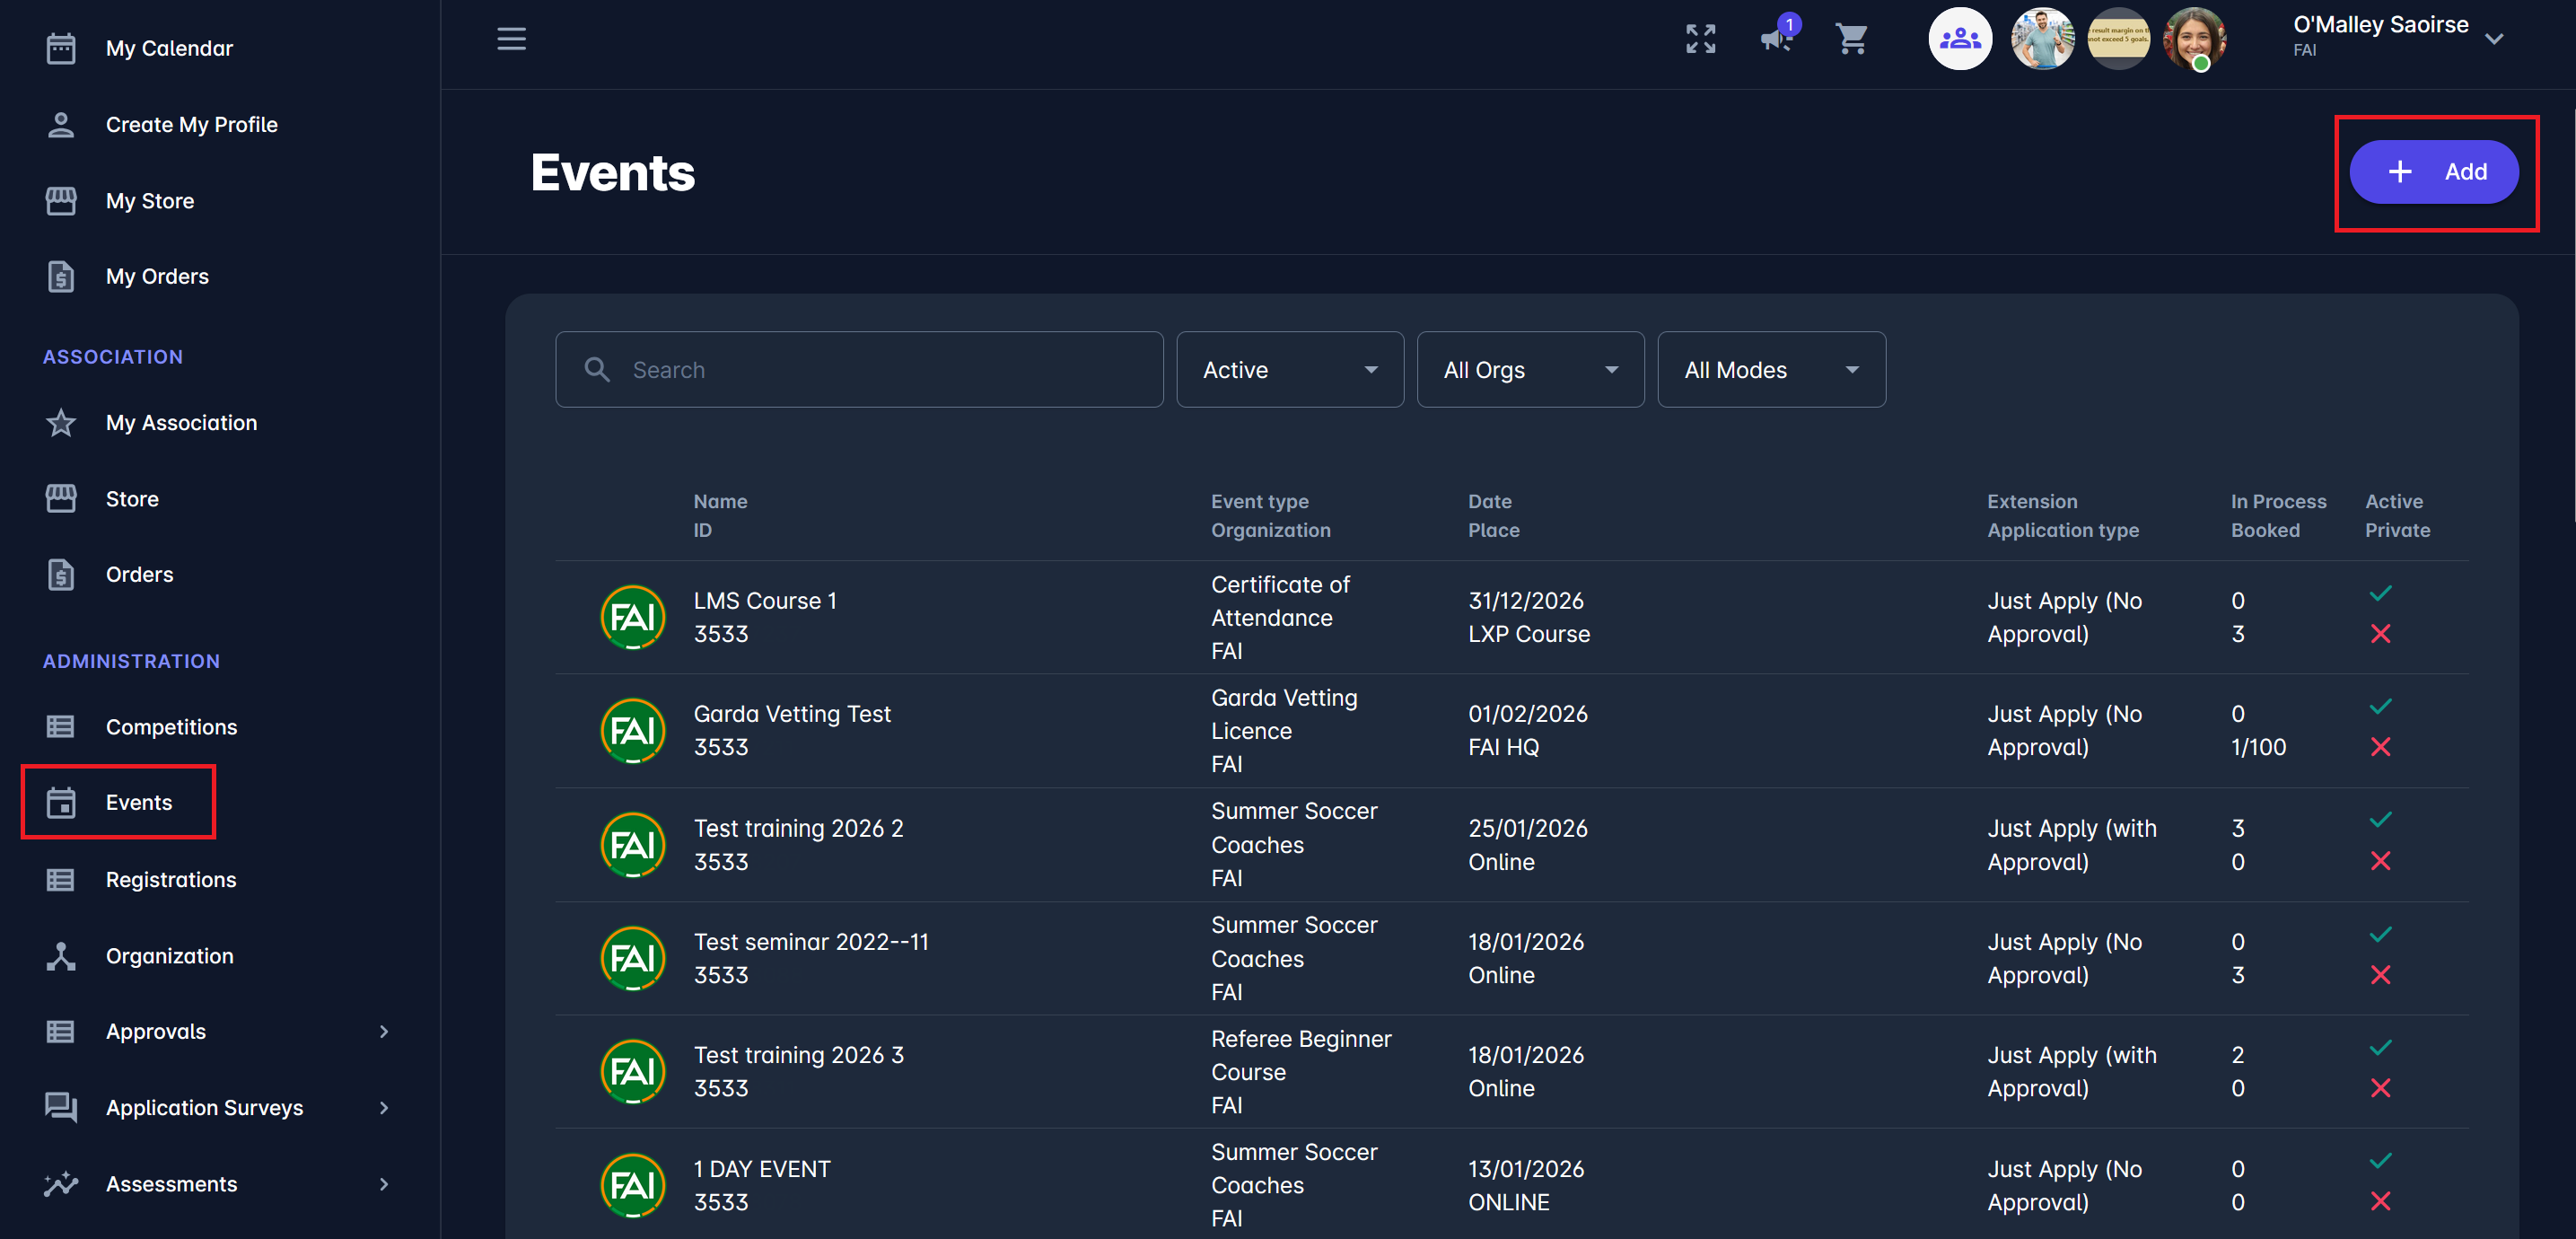
Select 🗓️ Events under the ADMINISTRATION menu on the left nav-bar
The list of all Events is displayed and can be filtered by Active/Inactive, organizations, and application modes
The list consists of the following details:
Name & ID
Event Type & Organization
Date (date of the event) & Place
Extension & Application Type
In process (an indicator of the number of event applicants whose application is not yet confirmed) &
Booked (an indicator of the number of event participants who have reserved their spot on the event)
Active (it is only possible to apply for Active events) & Private (an indicator of privacy status)
The search box (use the search box to search the list of events in the system)
Click the ➕ Add button in the top-right corner to create a new Event.
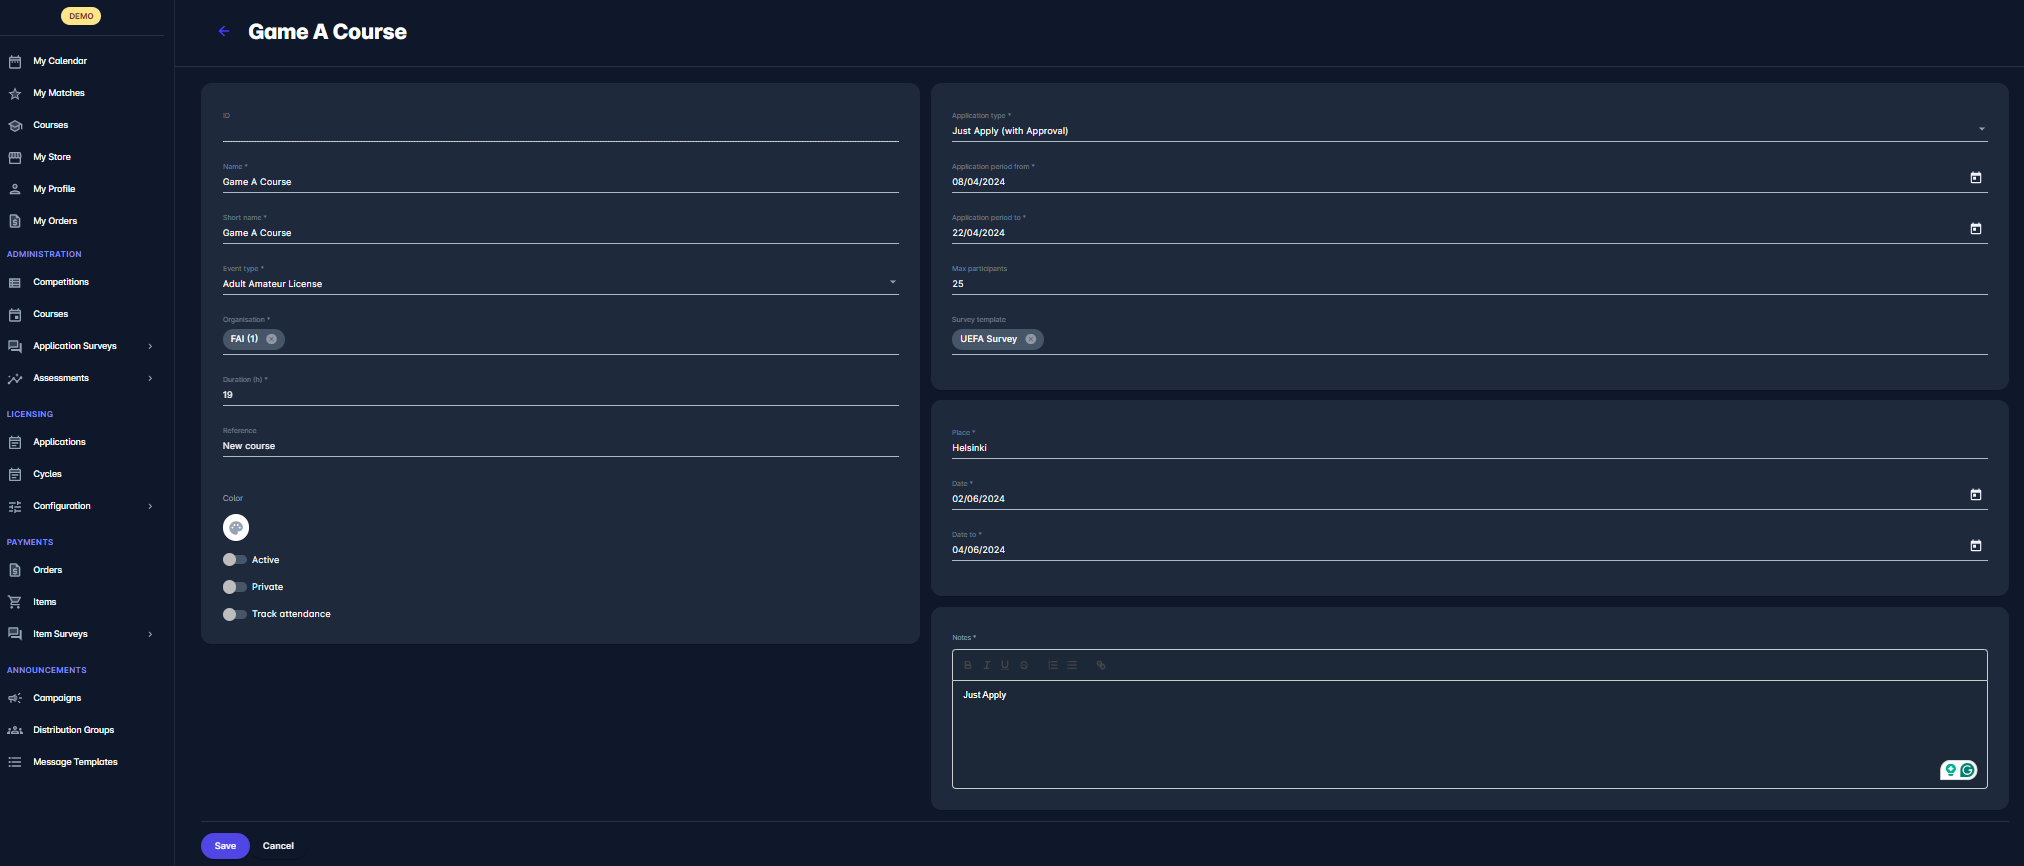
This opens a New Event page to fill in the details:
ID (auto-generated value)
Name
Short name
Event Type (please take into account that the list of Event Types can be defined via the ADMIN App)
Organization
Duration (of the event in h)
Reference (to enter the specific reference/values of the event)
Application Type (please check the link for a detailed explanation of the workflow for each application type)
Application Period (please take into account that the applications can only be submitted within this time interval)
Max Participants (please check the link for a detailed explanation of the Max Participants feature)
Survey Template (please check the link for a detailed explanation of the Survey Template feature)
Place
Date/Date to
Notes
Color (indicated in the calendar)
The switch buttons:
Active/ Inactive (please take into account that inactive events are not displayed on the All tab)
Private (please check the link for a detailed explanation of the Event Privacy logic)
Track attendance (please check the link for a detailed explanation of the Track Attendance logic)
Once you have entered all the data, press the Save button.
Event Tabs
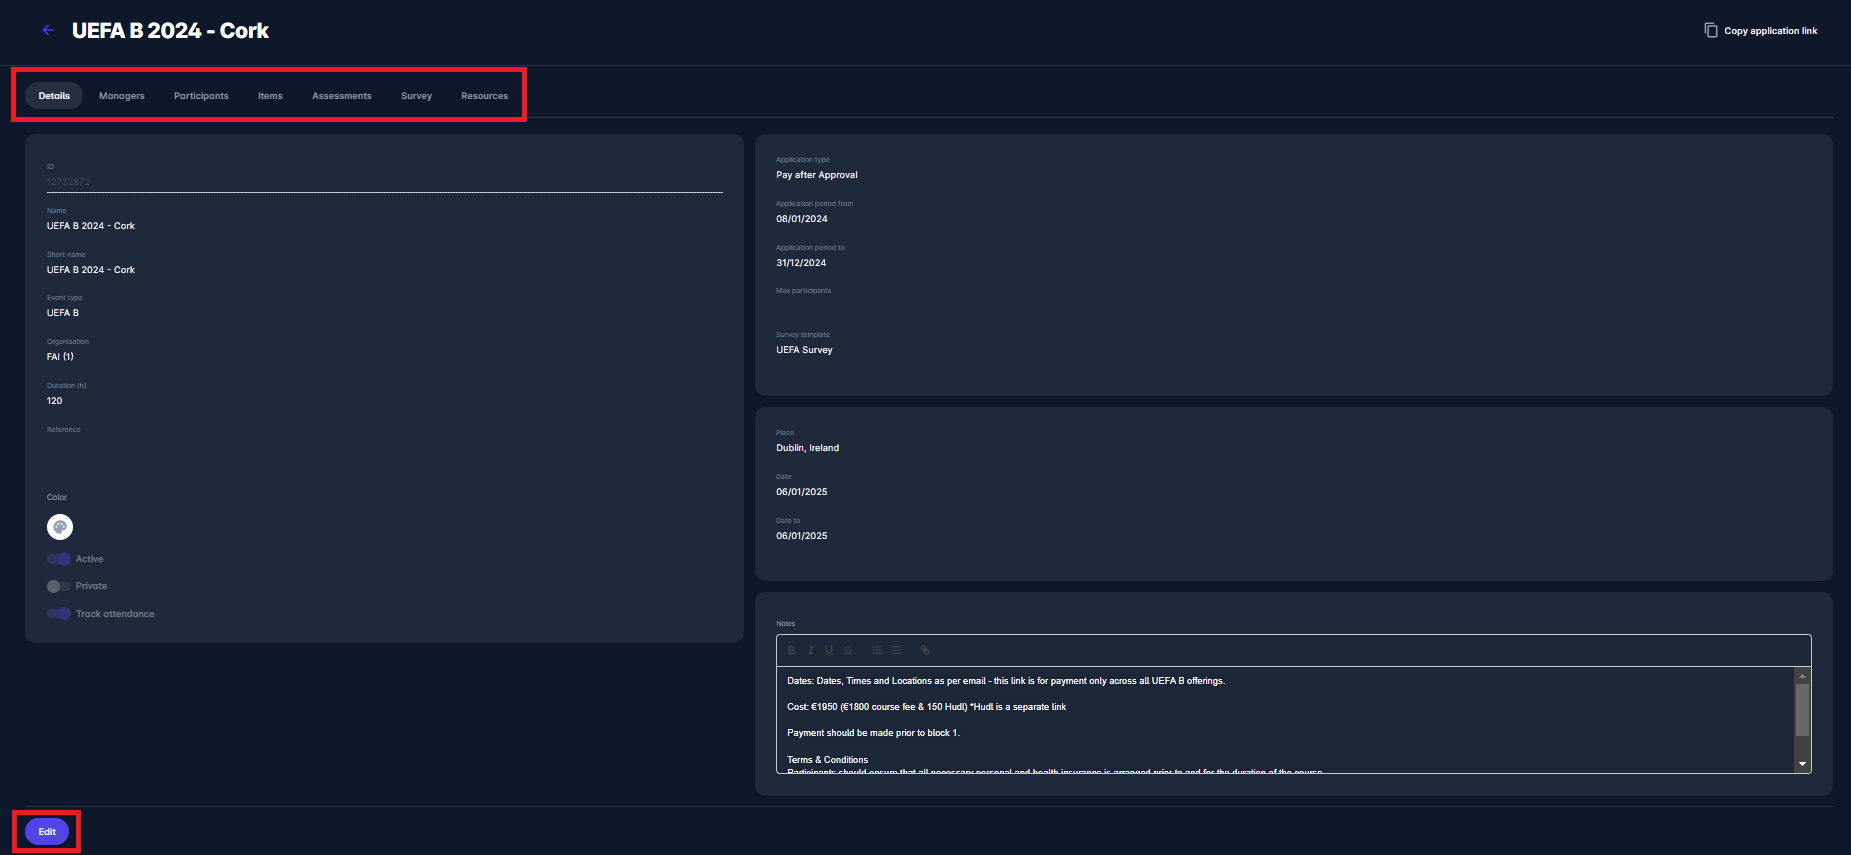
Once the event is created, event info tabs are generated based on the Application Type you have chosen. Each event can contain the following tabs:
Details Tab
The Details tab is the main tab of the event profile and is always displayed for all events, regardless of the selected Application type. The details tab displays all the details and entry fields listed in the section above, which can be edited by Event Administrators at any time.
Managers Tab
The Managers tab is displayed on all events regardless of the selected Application type. It enables you to add different event managers for each event. You can add the selected Event Managers from the dropdown. The main COMET App defines the list of all event managers, where any Event Manager can be searched for, and a new Event Manager can be added.
Participants Tab
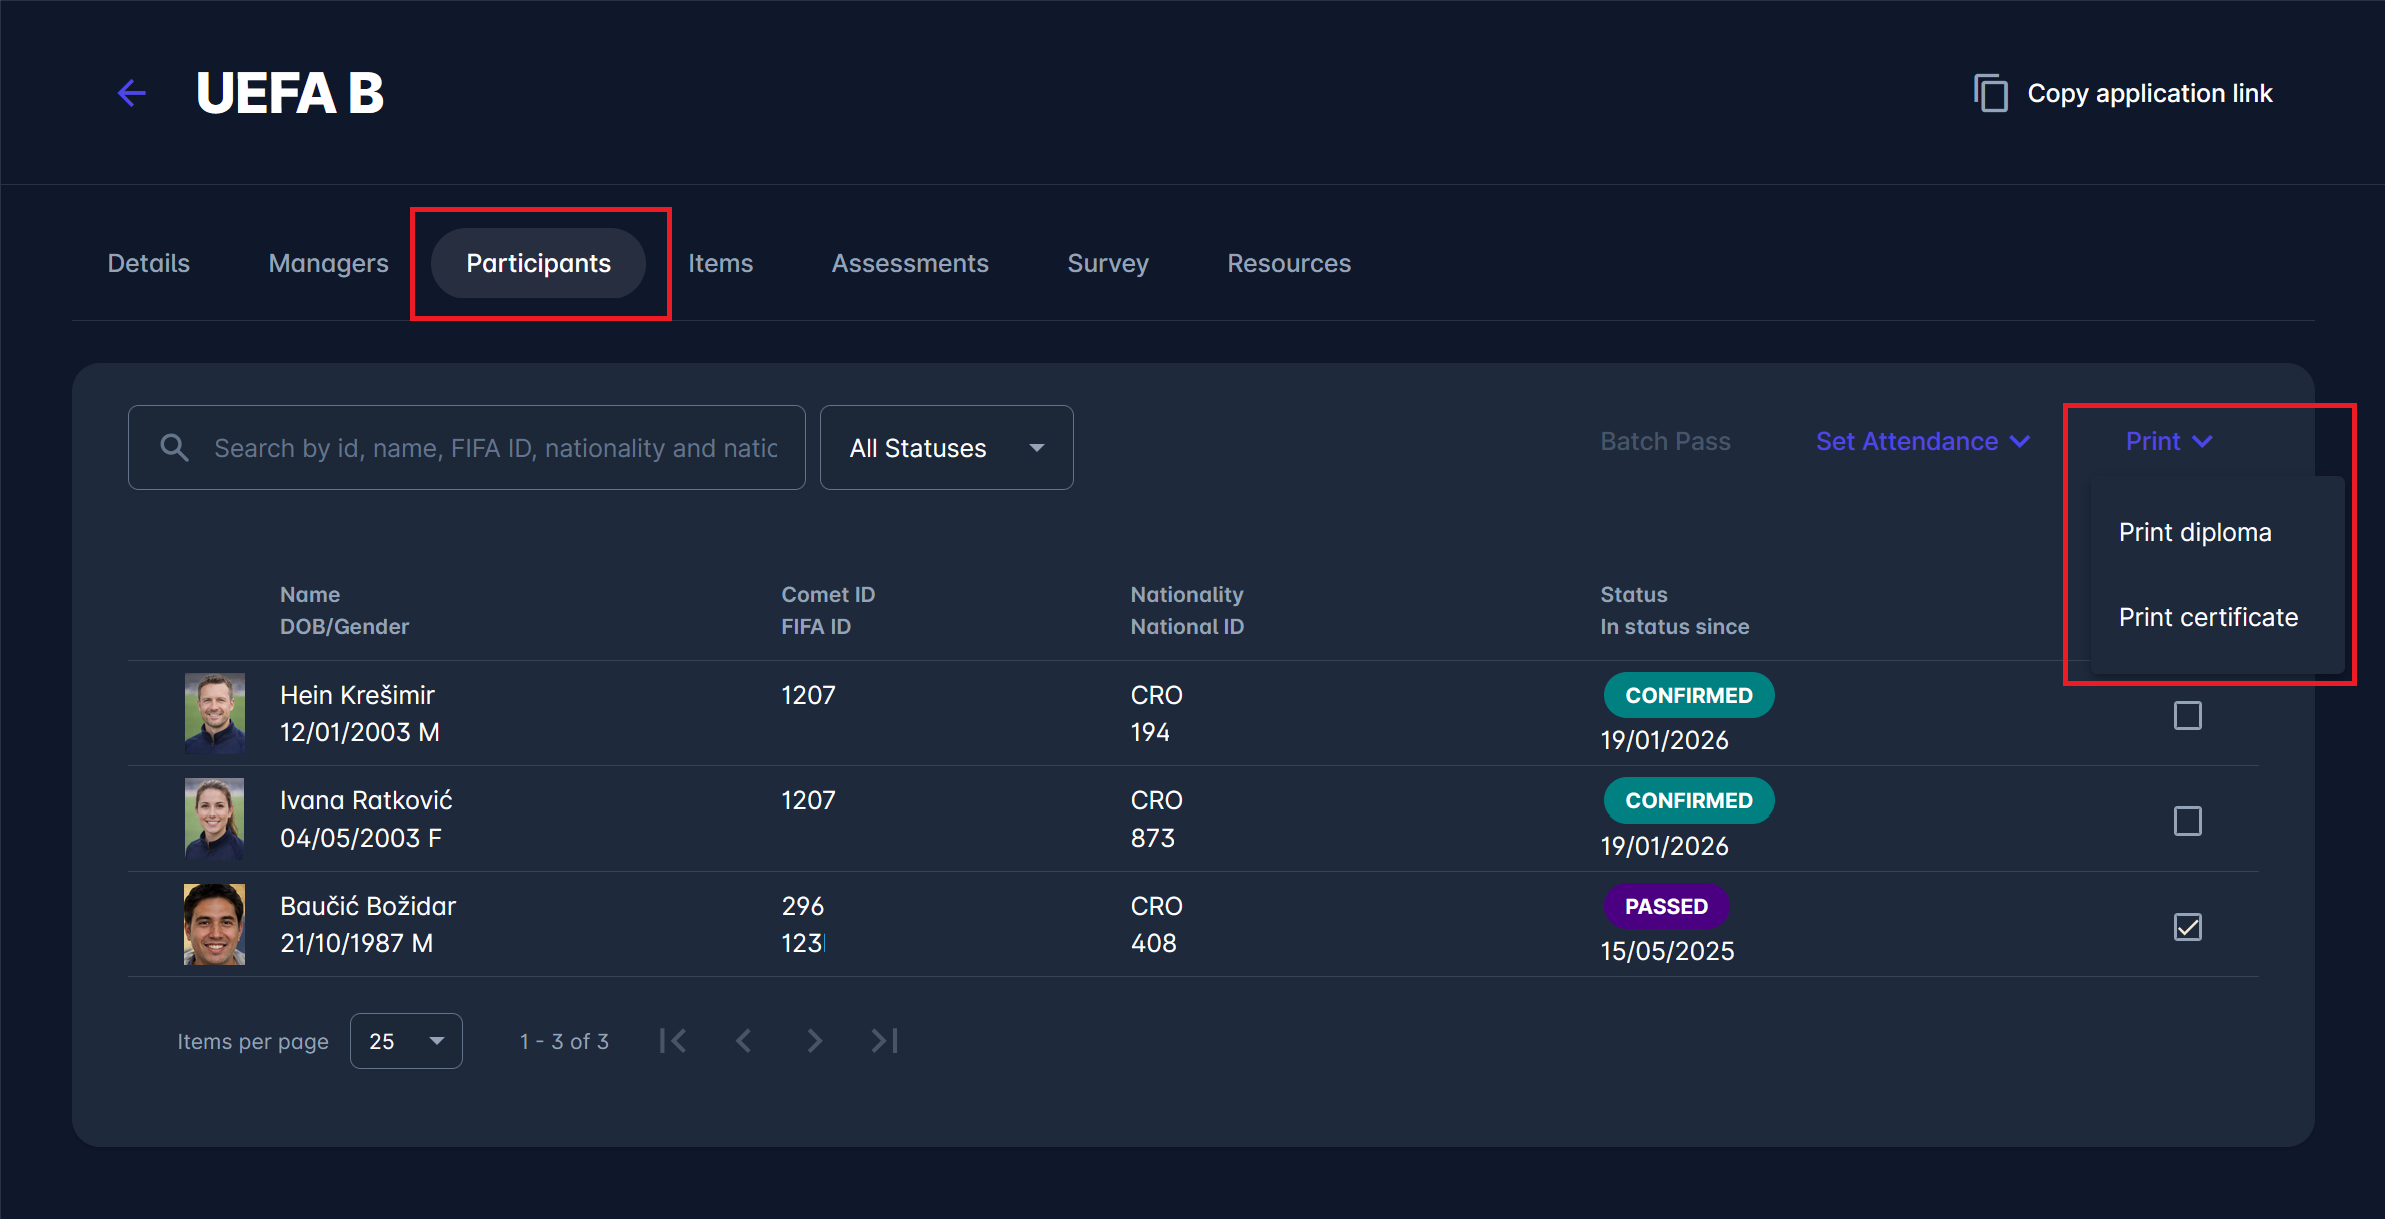
The Participants tab is also displayed on all events, regardless of the selected Application type. The Participants tab displays a list of all participants, i.e., all event applicants with their application status indicated. The list consists of the following details:
COMET ID
Name
Date of birth
Application Status
In status since
Attended - this data column is displayed in case the Track Attendance Feature is enabled
The search box - Use the search box to search for participants who applied to the event
Print and Set Attendance - tick a check box next to the participant’s name or a check box on top of all the others (select all) to print a diploma or set attendance for a participant/s
💡 Click on the participant from the list to open a Participant Profile.
Diploma and Certificate Print
From this tab, Event Admins are able to print:
Diplomas - for participants in status PASSED
Certificates of attendance (if track attendance feature is enabled on the event) - for participants in status ATTENDED
To print Diploma/Certificate of Attendance:
Tick a check box next to the participant’s name/choose the select all check box
Hit the Print diploma/Print certificate button
Items Tab
If Pay after approval, Just Pay, or Pay Later is selected as the Application Mode when creating a new event, the Items tab will be displayed on the event profile.
Please check the following link for more instructions on managing the event items from the Item tab: Create Event Item

Assessment Tab
The Assessments tab is displayed on all events regardless of the selected Application type. The Assessments tab lists all event assessments assigned to the event profile.
The list consists of the following details:
Name
Description
Results visibility
The search box - use the search box to search through event assessments
Click the Add button in the top-right corner to add a new assessment directly from the event profile.
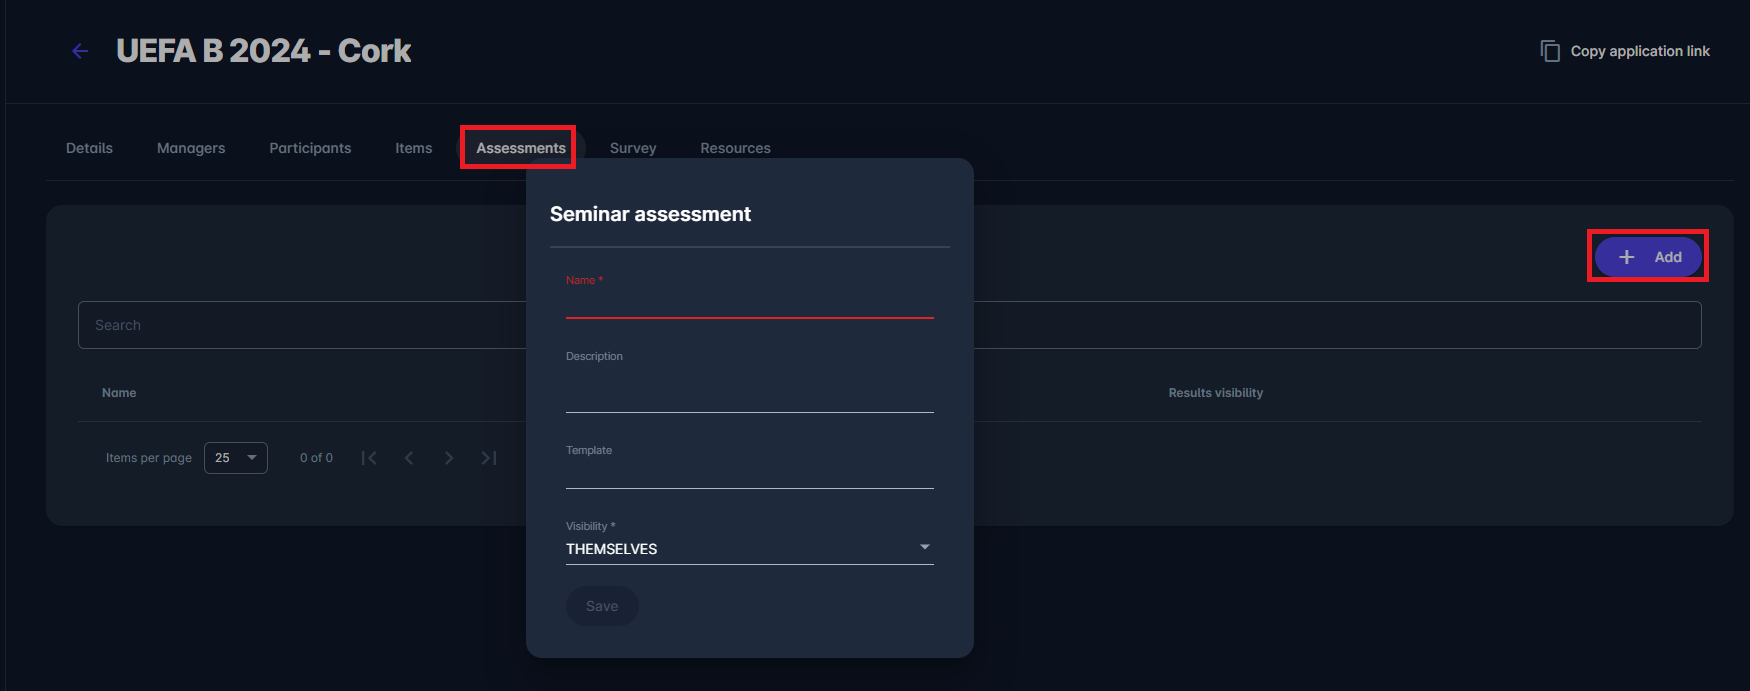
Please check the following link for more instructions on managing the event assessments: Assessments
Survey Tab
If Pay after approval, Just Apply (with Approval), Just Apply (no Approval), or Pay Later is selected as the Application Mode, the Survey tab will be displayed on the event profile.
You can review the survey questions and add a new one on the Survey tab. This feature is used when applicants need to complete a specific survey form (i.e., answer questions/provide specific info) before purchasing an item.
Click on the Add button in the top right corner to add a new Question to the application survey.
From the dropdown, select the survey Question(s) for the application.
Select the template group for each question. The questions will be presented on the second panel to edit an existing question. This action opens a question form with the entries to fill/edit the following data fields:
Survey question - needs to be selected from the system. Please note that all questions need to be defined in the Application Survey Module.
Position - define the position of the question in the survey form by entering the number input
Template group - select the template group if the group is defined in the Application Survey Module
Instructions - add instructions; this field is optional
Display type - choose between Hint (displayed on mouse-over) and Note (displayed below)
Show Label Switch
Mandatory Switch - switch on this button if the question is required to submit the form
Active/Inactive Switch - inactive questions won't be displayed on the item survey form
On the second tab of the Survey Question Edit page, additional configuration can be done
Once you have entered all the changes, press 💾 the Save button
Please check the following link for more instructions on managing the event application surveys: Application Surveys
Edit an Event
Access the Events list
Select 🗓️ Events under the Administration menu on the left nav-bar
The list of all Events is displayed
A single click on the Event from the list will open an Event page
Hit the Edit button to make changes to the Event Profile
Navigate through event tabs to edit a specific group of data
Once you have entered all the changes, press 💾 the Save button
