This section covers multiple functionalities, including viewing, searching, filtering, creating, and editing users.
Accessing the User List
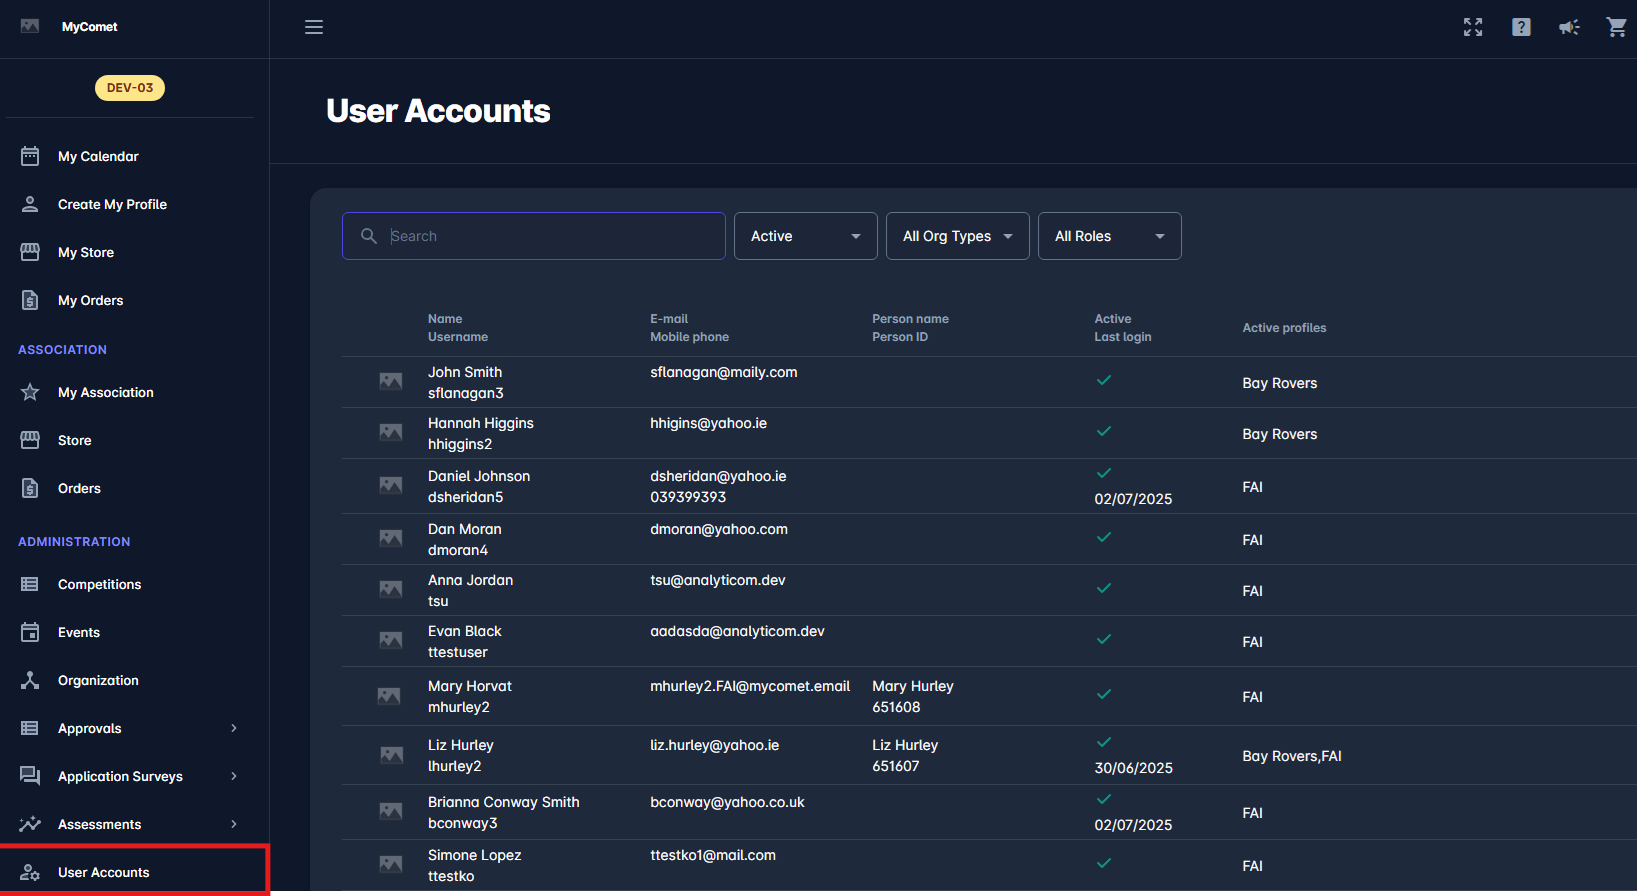
To view user accounts, go to the Administration section in MyCOMET and select User Accounts. This option is available only to authorized users.
Filters and Search
You can refine the user list using the following filters:
-
Status: Active, Inactive, or All.
-
Organization Type: All, Association, Club, or Team.
-
User Roles: Includes options such as Superuser, Competition Administrator, Referee, Match Official, and Club Manager.
Use the Search Box to quickly locate users. For example, typing John will display all users named John.
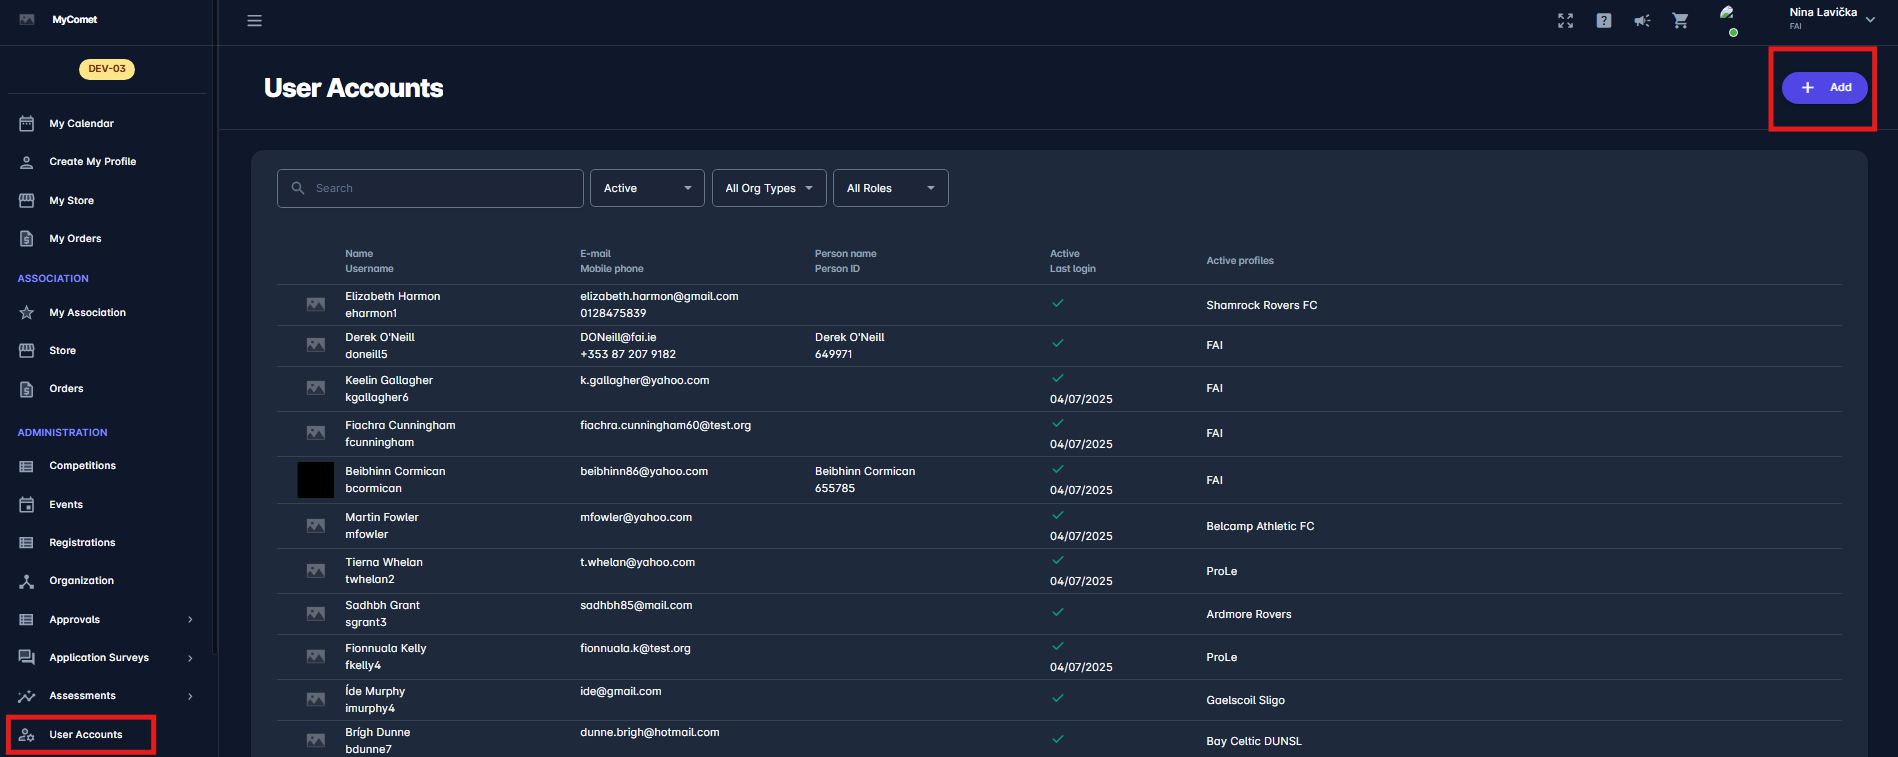
Add New User
To create a new user, click the ➕ Add button in the upper right corner; you can then choose to create a functional administrator (e.g., Competition, Disciplinary, Player), a club user, or a tenant-level user, depending on your role and permissions.
Enter the user's first name, last name, username, email, and optionally a telephone number. The user role group is automatically determined based on the selected Organization Type and Organization. For example, if the organization type is set to Club, only club-related roles will be available; if it's set to Association, you’ll be able to assign roles related to association administration. Select the appropriate user role and click Save to complete the process.
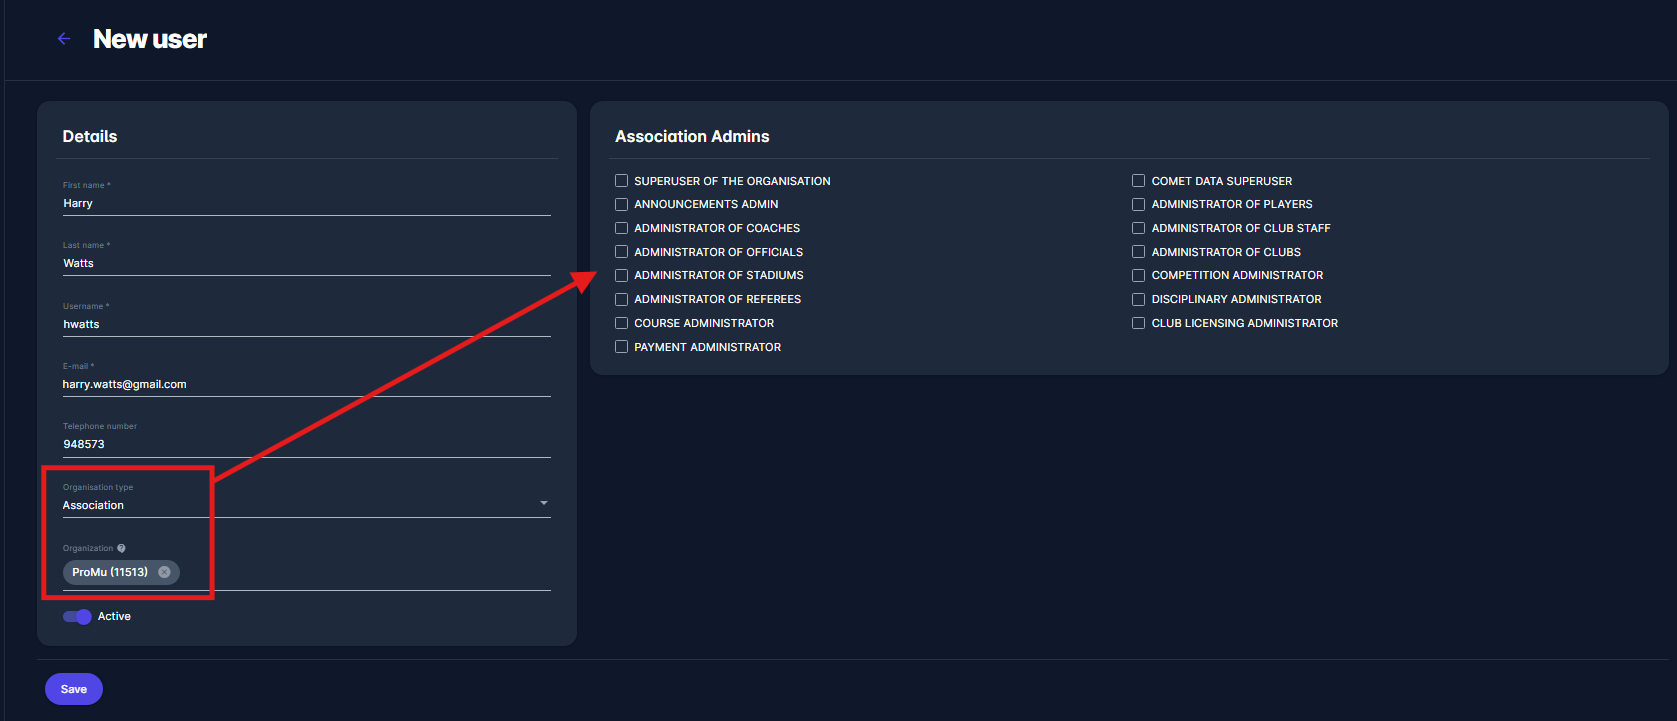
Once you save the changes, you will be redirected to the Details tab of the newly created user account. Next to this tab, you’ll also see additional sections such as User profiles and Linked Accounts.
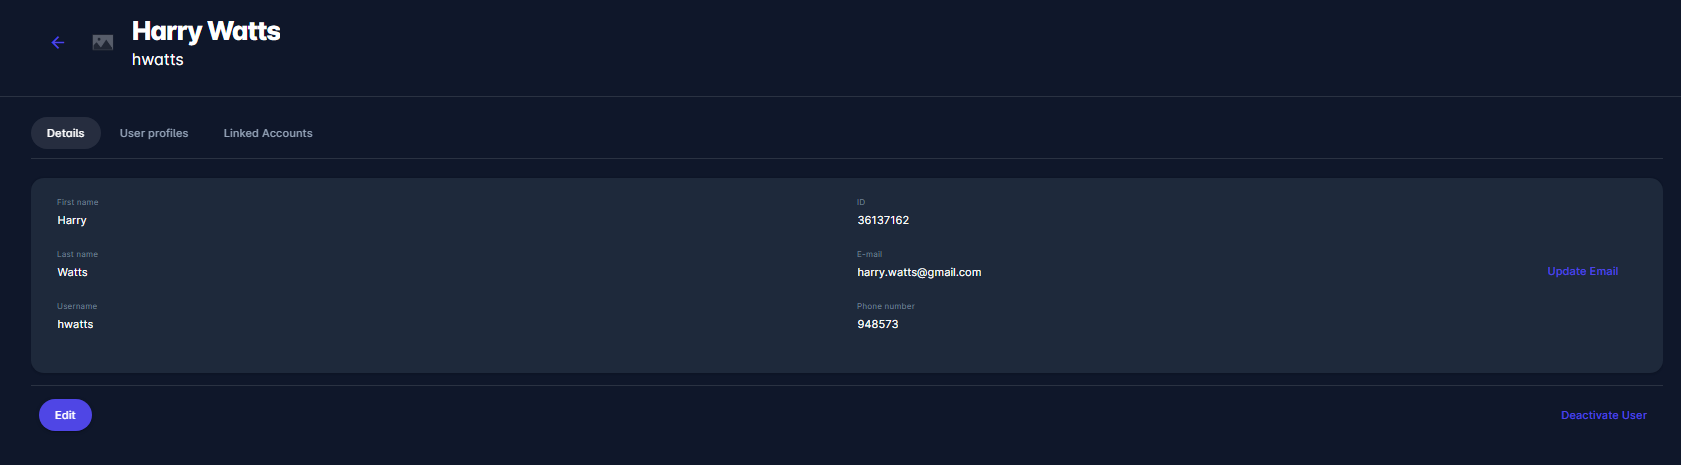
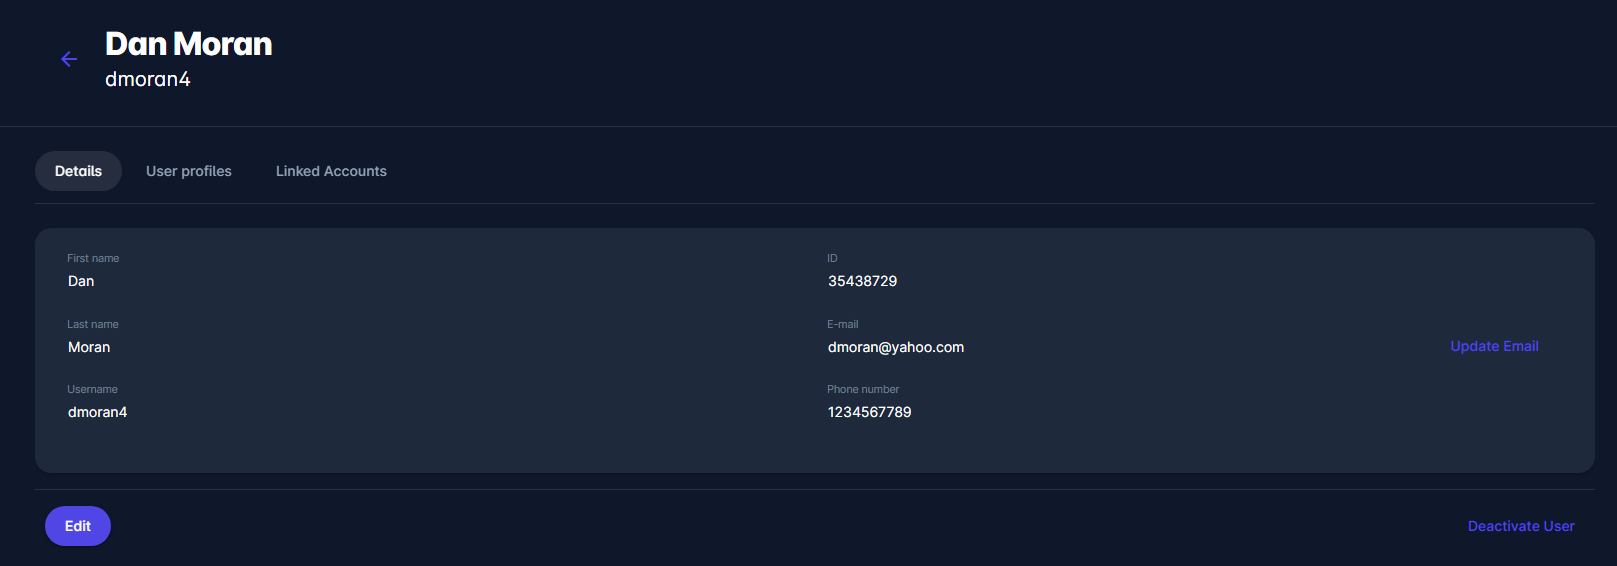
User Details
Click on a user to open the User Details view, which consists of three tabs:
1. Details
Displays the following fields:
-
First Name / Last Name
-
Username (not editable)
-
Email (cannot be changed directly; a system-generated update email must be sent)
-
Phone Number
-
User ID (not editable)
2. User Profiles
Shows:
-
Organization Name & Type
-
Profile Status: Active or Inactive
-
User Roles associated with the profile:
-
Clubs: Club Manager, Club Registration Manager, Lineup Manager, etc.
-
Associations: Administrators of Competition/Players/Disciplinary, etc.
-

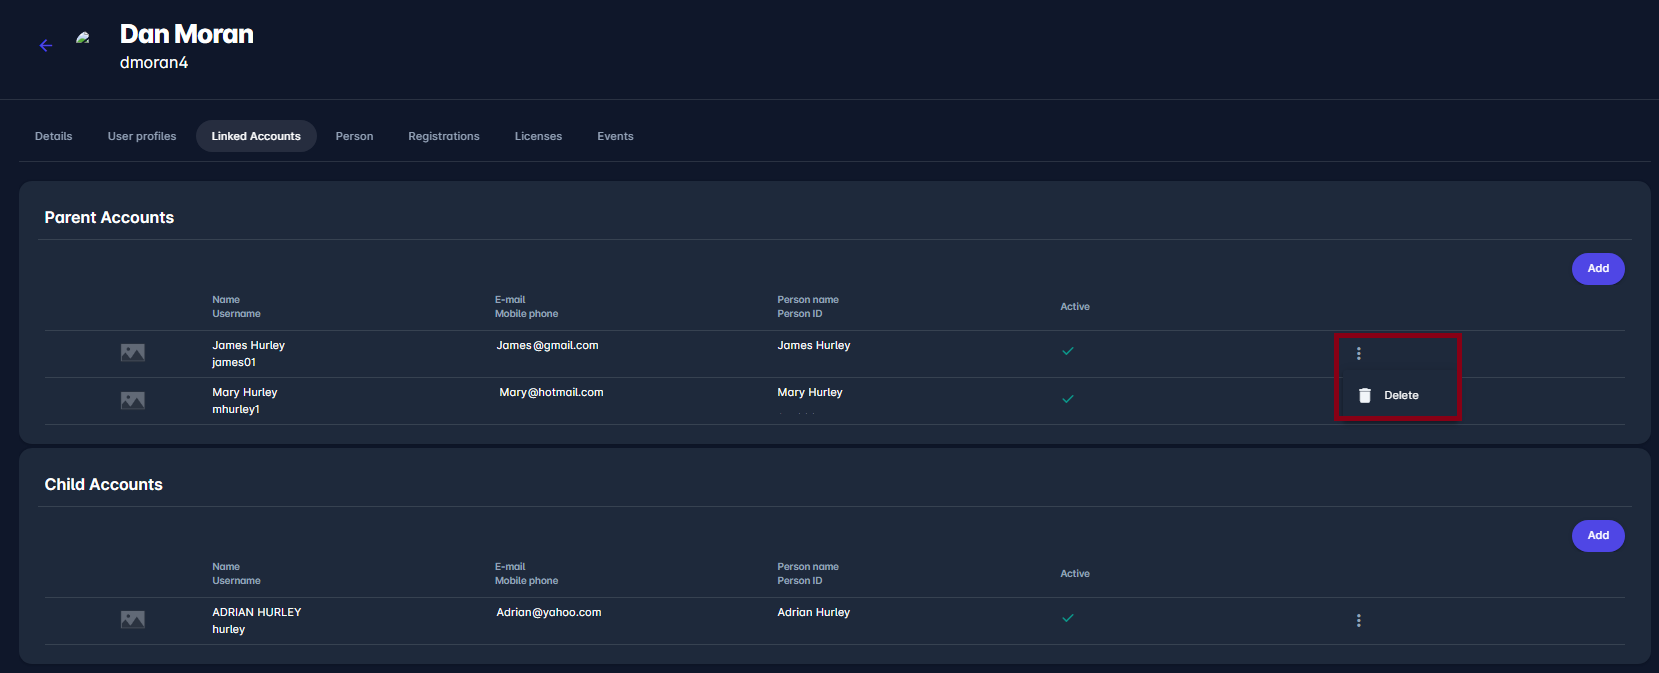
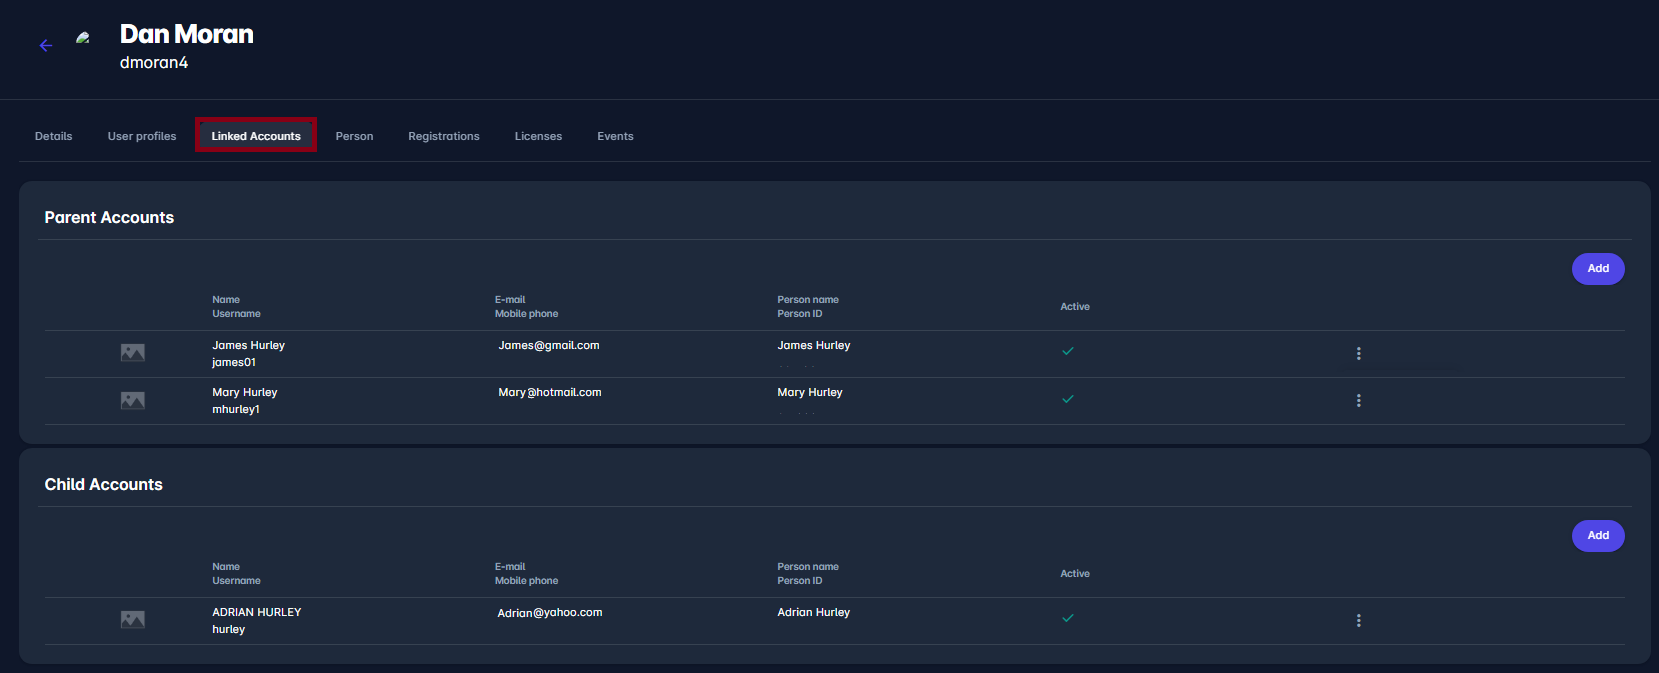
3. Linked Accounts
Shows:
-
Parent and Child Accounts sections with the following details for each linked user:
-
Name and Username
-
Email
-
Mobile Phone
-
Person Name and Person ID
-
Status (Active/Inactive)
-
-
Available actions include:
-
Delete Link (via the three-dots)
Advanced User Actions
Email Update
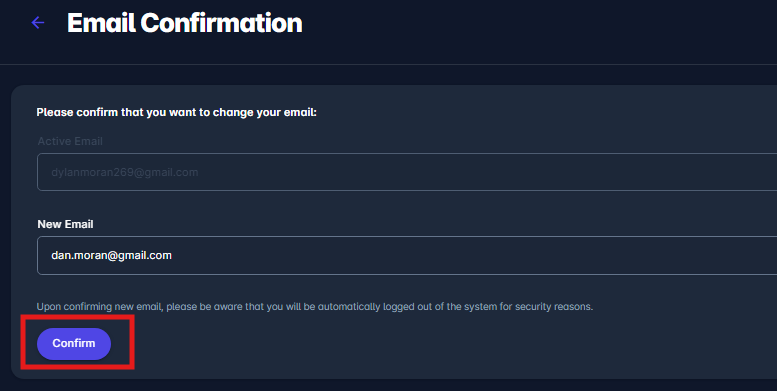
In MyCOMET, a user's email address cannot be changed directly. To update it, click the Update Email button next to the email field in the user’s account. A form will appear—enter the new email address and click Submit.
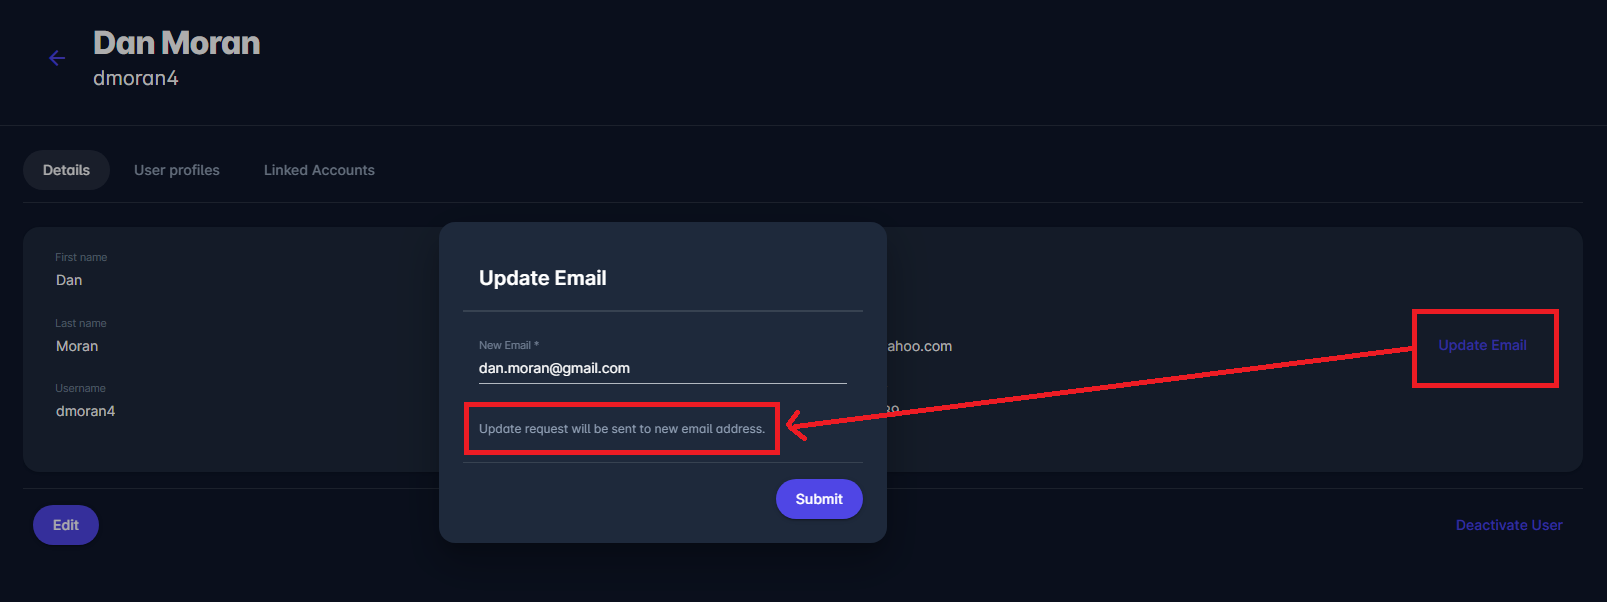
The system will then send a confirmation email to the new address.
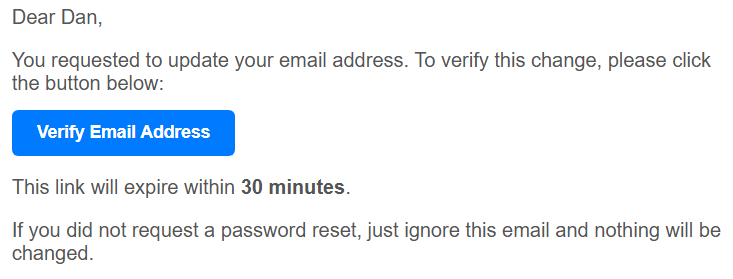
The user must follow the instructions in that email to complete the update. This process ensures the new email is valid and that the change is authorized by the user.
Deactivate User Profile or Account
There are two levels of deactivation available to administrators: user profile deactivation and user account deactivation. Understanding the difference between the two is essential for managing user access accurately and responsibly.
Deactivating a User Profile
If a person holds multiple user profiles, you may only want to deactivate one of them, depending on the change in their responsibilities.
For example, if a user is no longer a Competition Administrator for your national association, but will continue to work as a Club User or Course Admin for a regional association, you should deactivate only the relevant profile.
To do this:
-
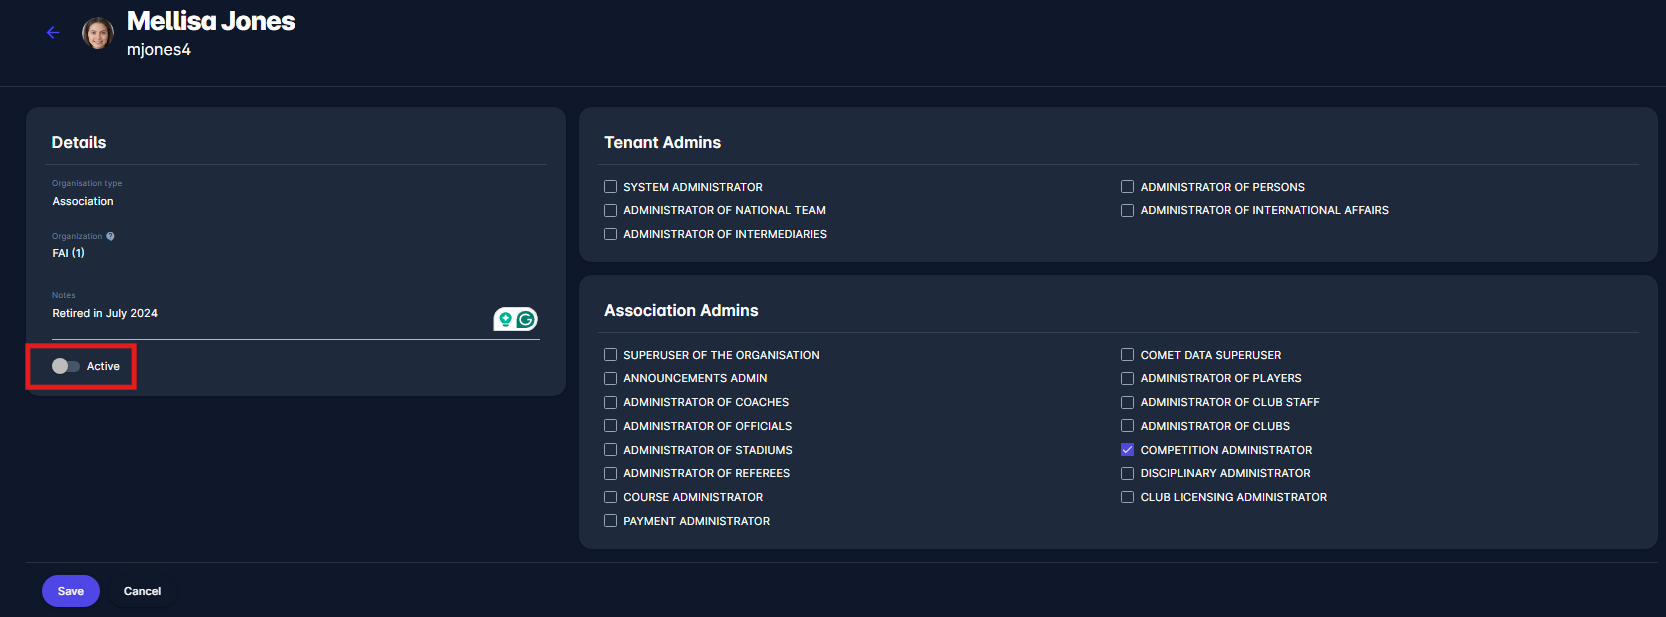
Open the user’s account and locate the relevant user profile.
-
Click the Edit button.
-
Toggle the Active switch to deactivate that specific profile.
-
Click Save to confirm the change.
You may also want to use the Notes section to document the reason for deactivation or provide context for future reference.
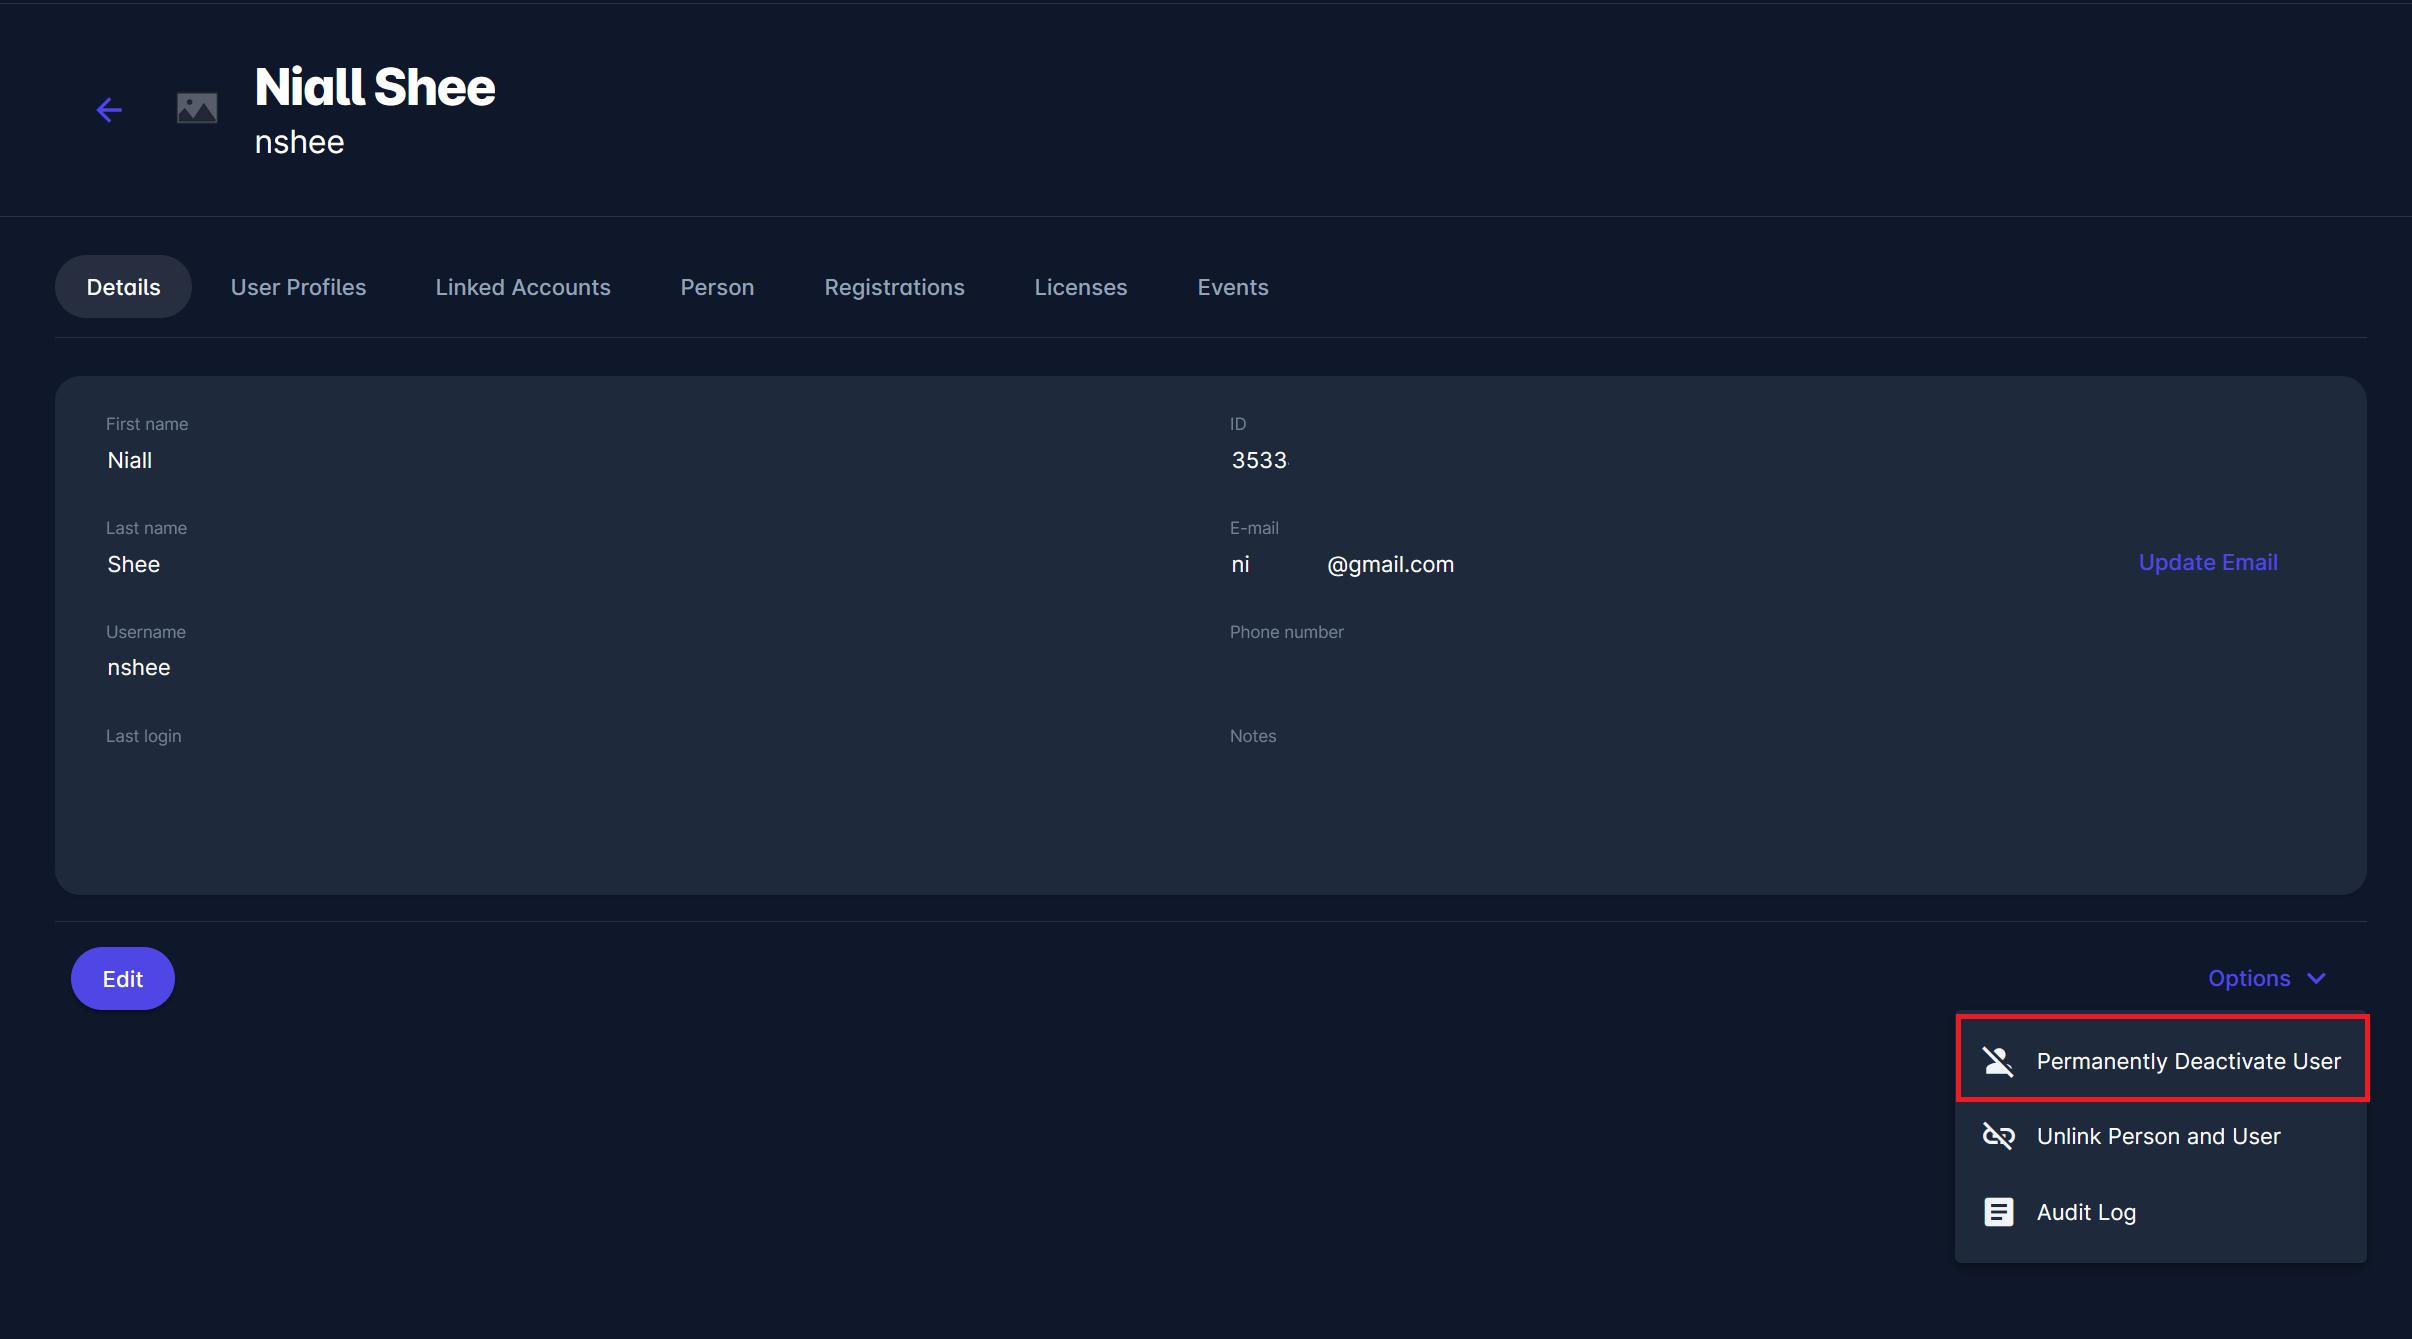
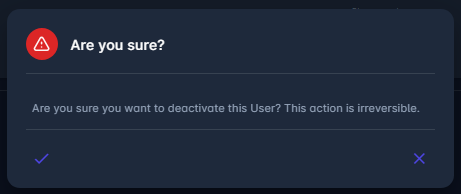
Deactivating the Entire User Account
Deactivating a user account is a more permanent action. This will disable all user profiles linked to the person, meaning the user will no longer be able to access MyCOMET.
This is typically used in cases where the person no longer has any role in the system (e.g., retirement, permanent departure from an organization) or needs to have their account completely closed.
Note: User account deactivation is irreversible and should be used with caution.
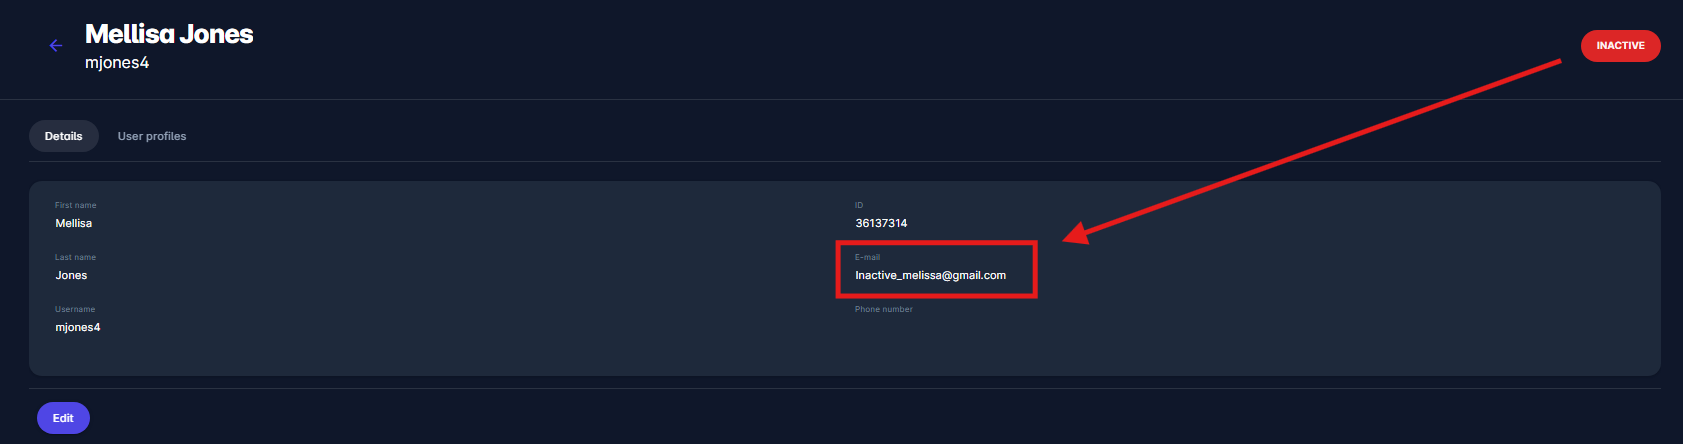
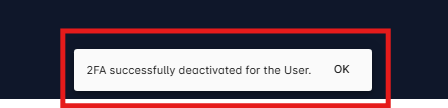
Once the deactivation is completed:
-
An indicator will appear in the top-right corner of the user account screen showing that the account is inactive.
-
The user’s email address will be prefixed with
inactive_(e.g.,inactive_john.doe@email.com) to allow the same email to be used for future registrations if needed.
For instance, if someone retires from their role in an association but later joins a local club as a Club Registration Manager, their email can be reused during the new user registration process.
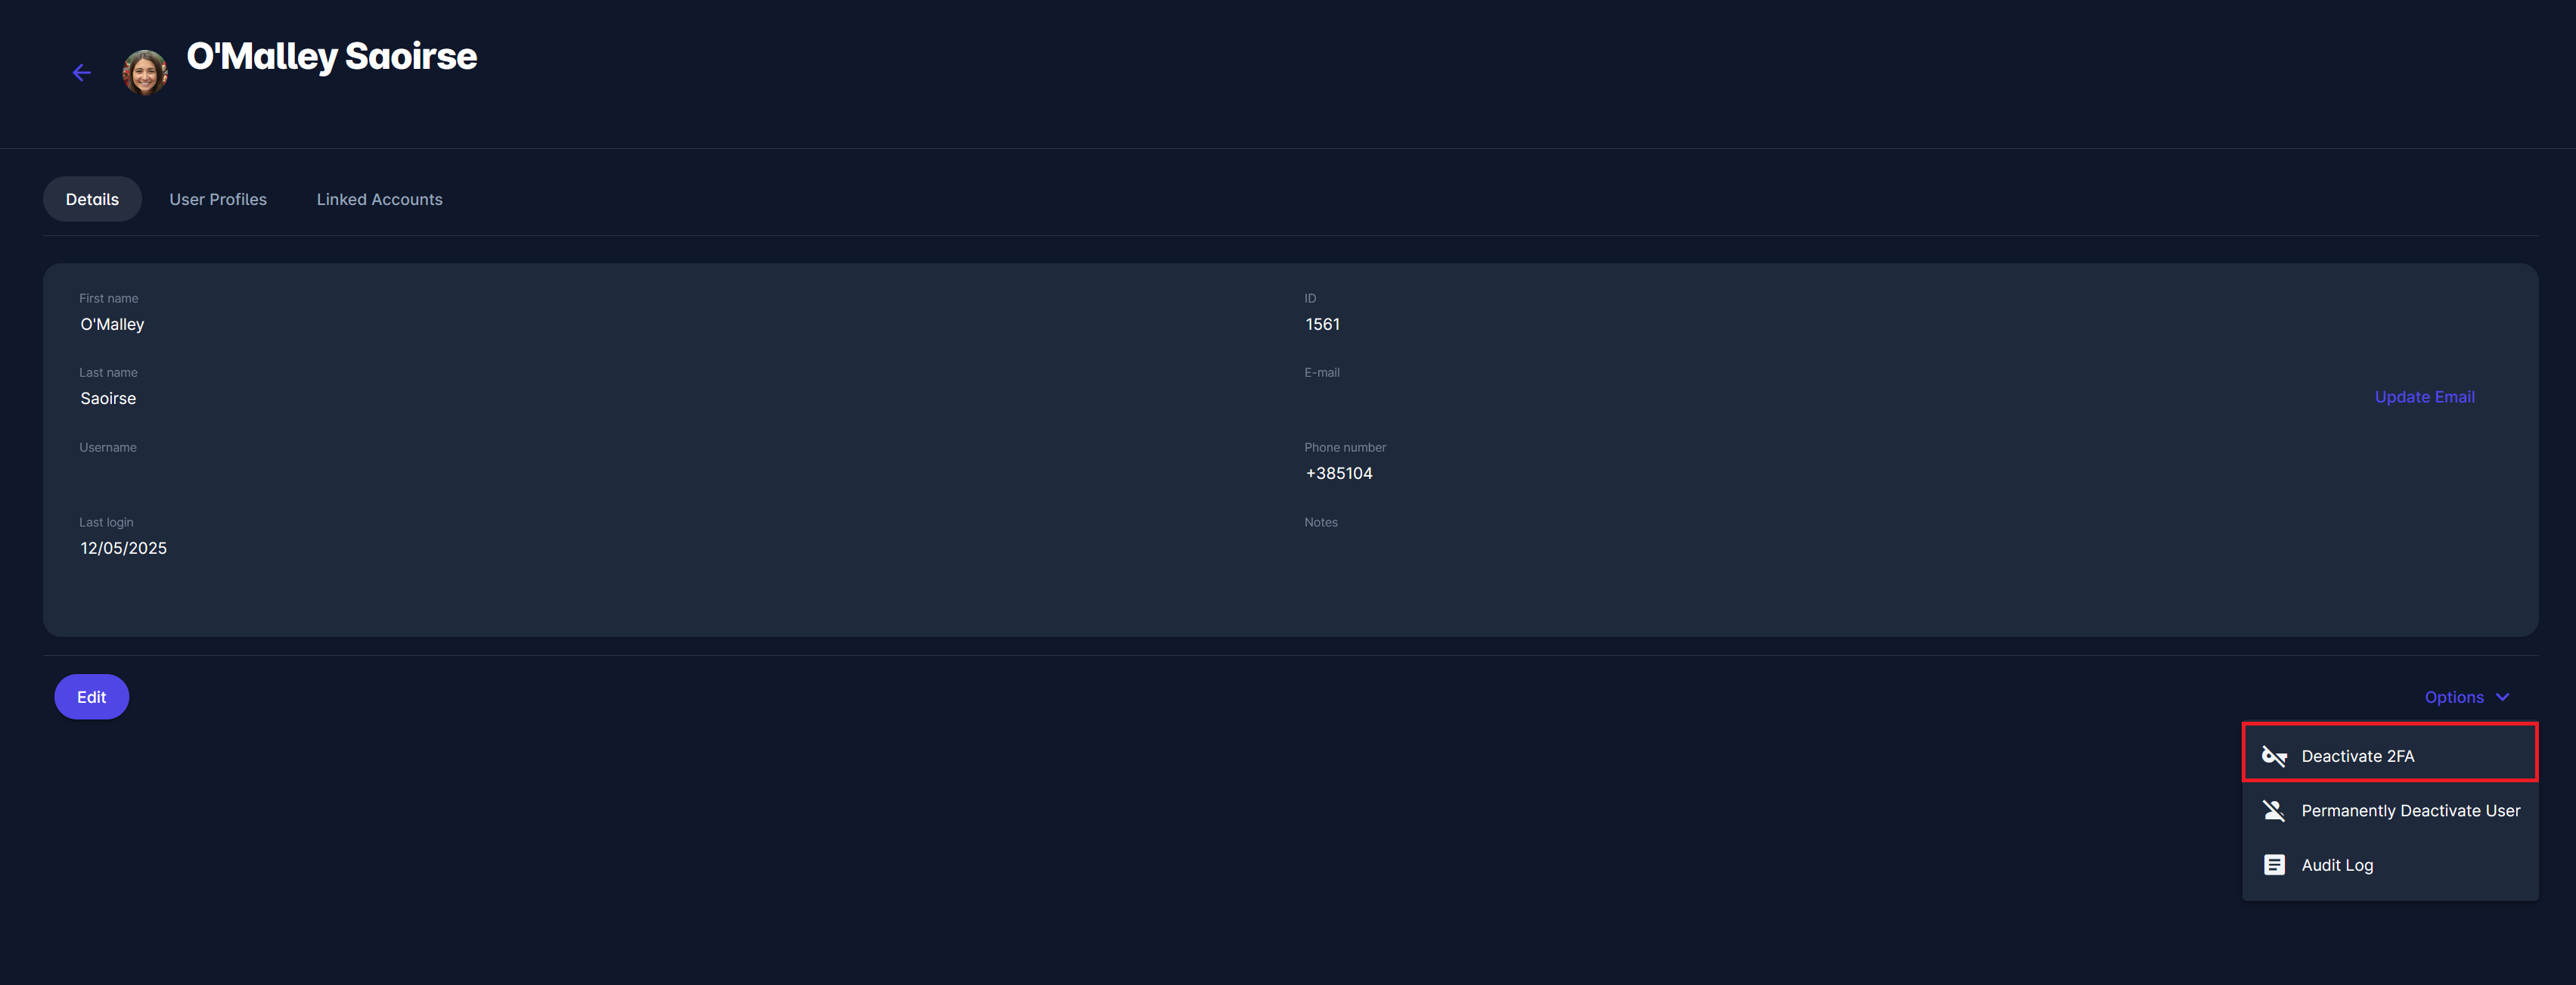
Deactivate Two-Factor Authentication (2FA)
Two-Factor Authentication (2FA) adds an extra layer of security to user accounts, particularly for those who handle sensitive data. However, there are situations where 2FA may need to be deactivated—such as when a user loses access to their authentication device.
The Deactivate 2FA option is visible for all user accounts with 2FA enabled. However, the outcome of this action depends on how 2FA was activated:
-
If 2FA was mandated by the association's system settings, deactivating 2FA will only reset the current OTP configuration (e.g., when a device is lost). In this case, the user will still be required to set up 2FA again on the login screen during their next login.
-
If the user opted in to 2FA in their account settings, clicking Deactivate 2FA will fully disable the 2FA requirement. These users will be able to log in without OTP and will not be prompted to configure 2FA again unless they choose to re-enable it manually later via their Account Settings.
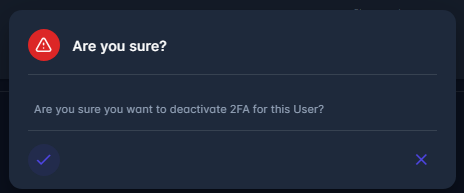
Note that Deactivate 2FA appears in the Options menu only if the person has previously set up 2FA.
Note: 2FA deactivation is irreversible and should be used with caution.
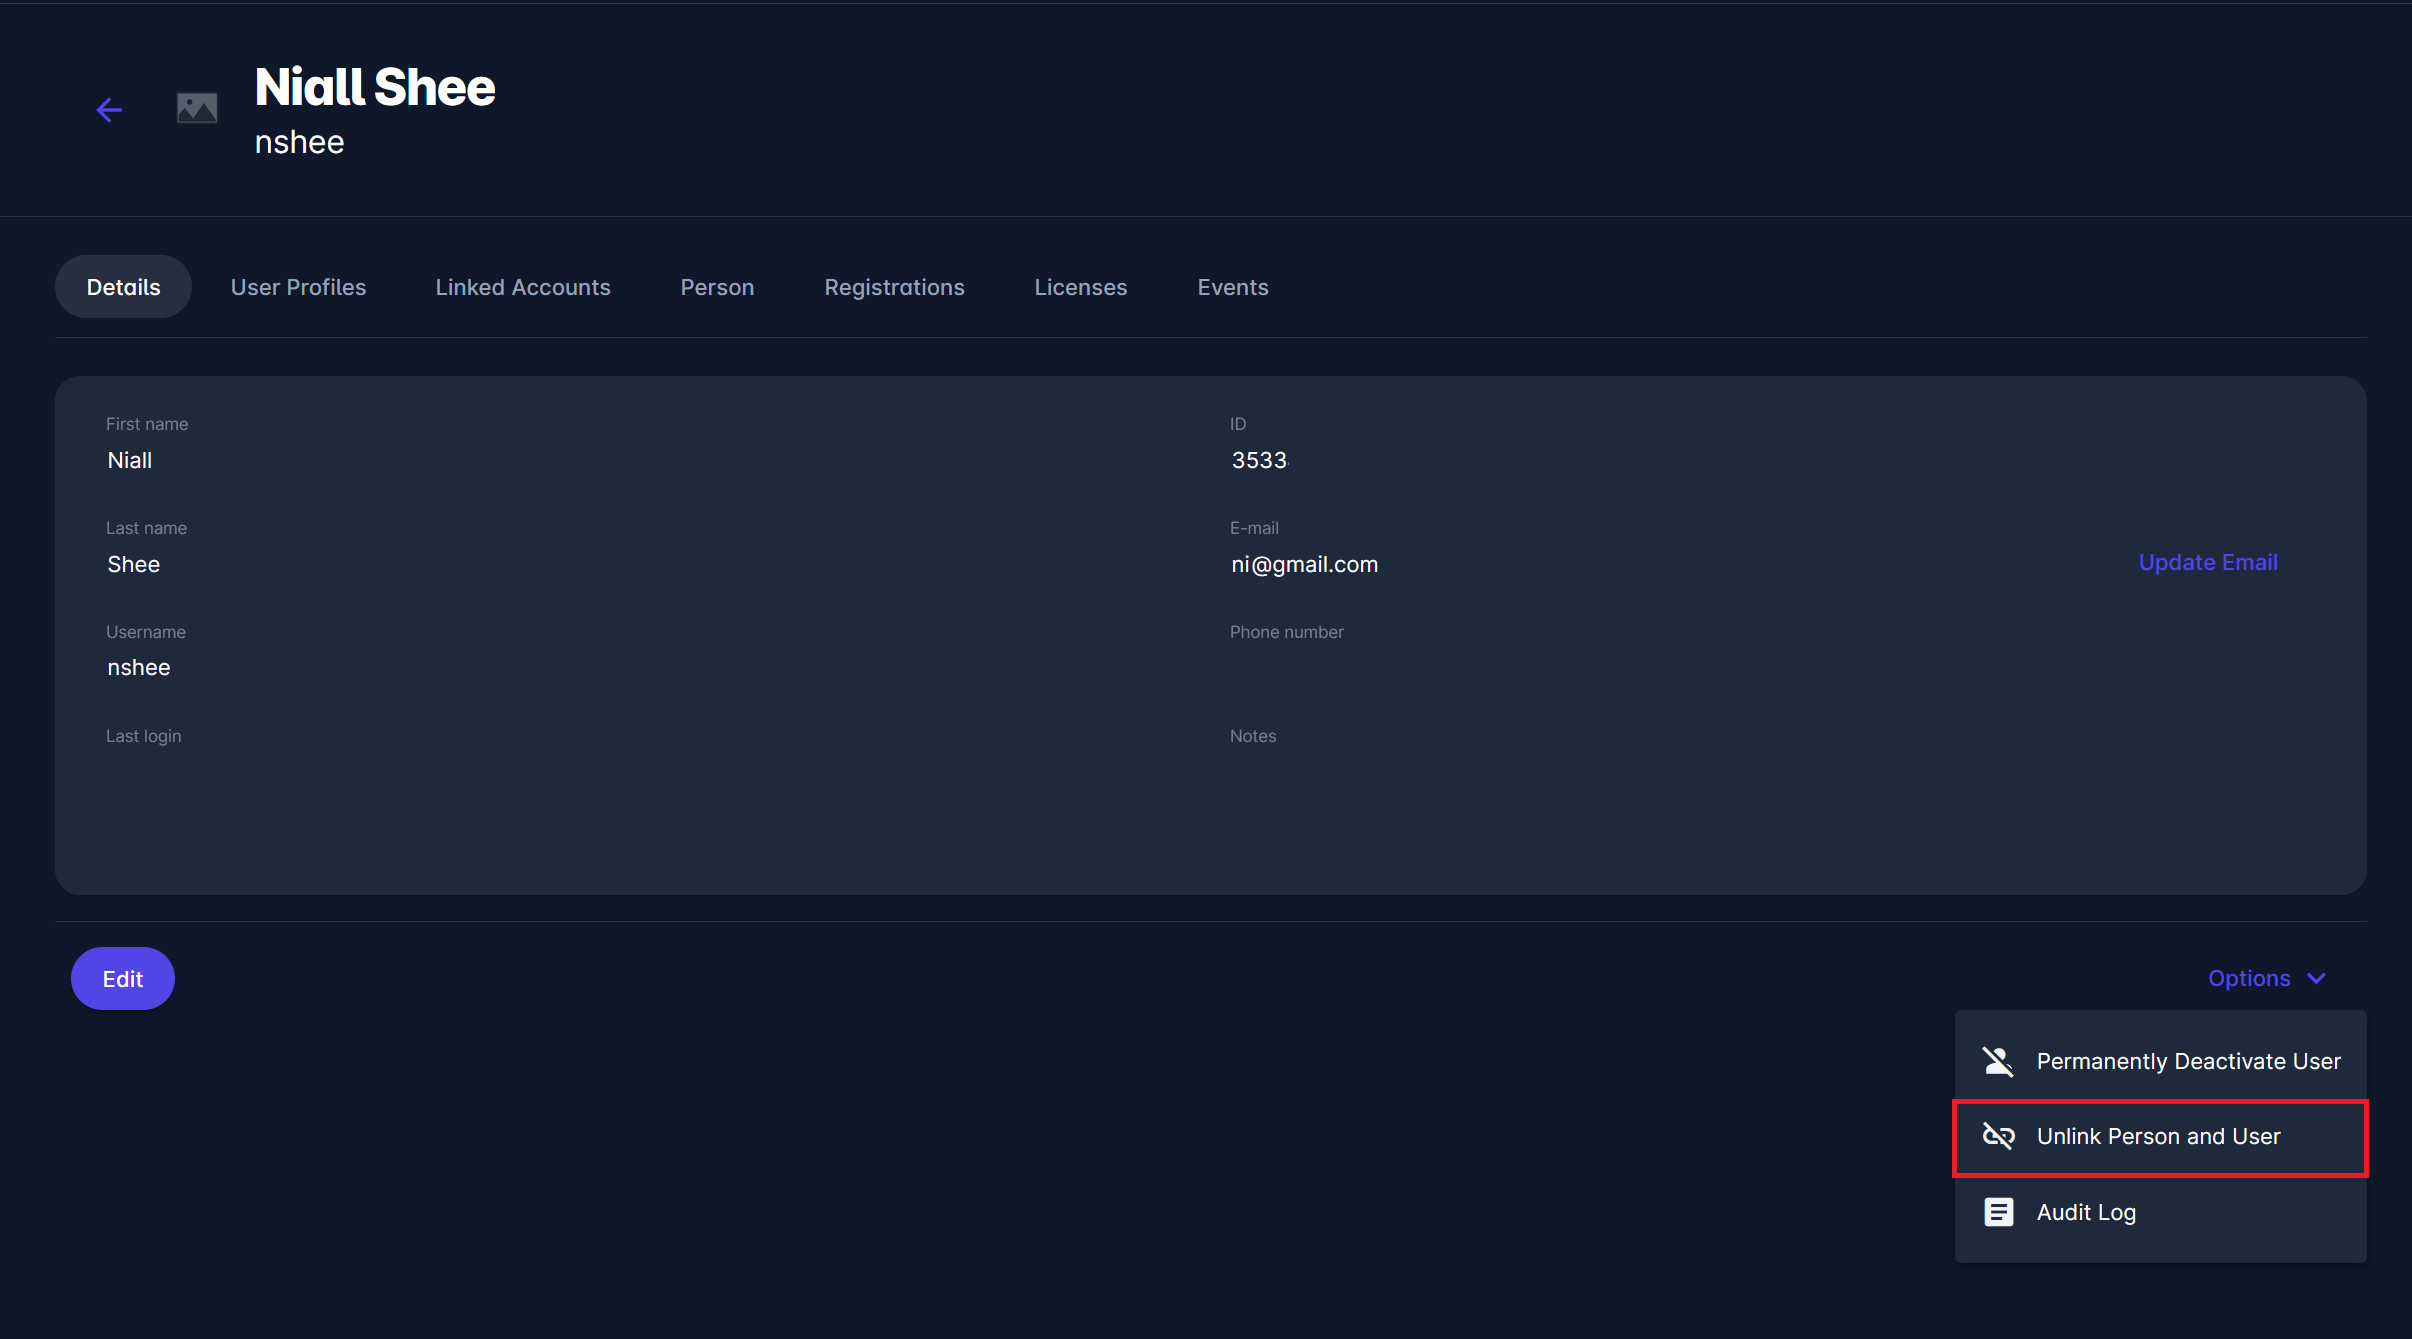
Unlink Person and User
If a person has been linked to a user by mistake, or if for any other reason you want to unlink the User and Person profile, you can do so by clicking on the Unlink Person and User option of the Options menu.
After you confirm unlinking, the Person, Registrations, Licenses, and Events tab won’t be shown on the User Profile.
The Unlink Person and User option is unavailable if no Person profile is linked to the User.
View Audit log
You can also see the Audit log for this user in the same Options menu, where you can Deactivate Users, Remove 2FA, etc.
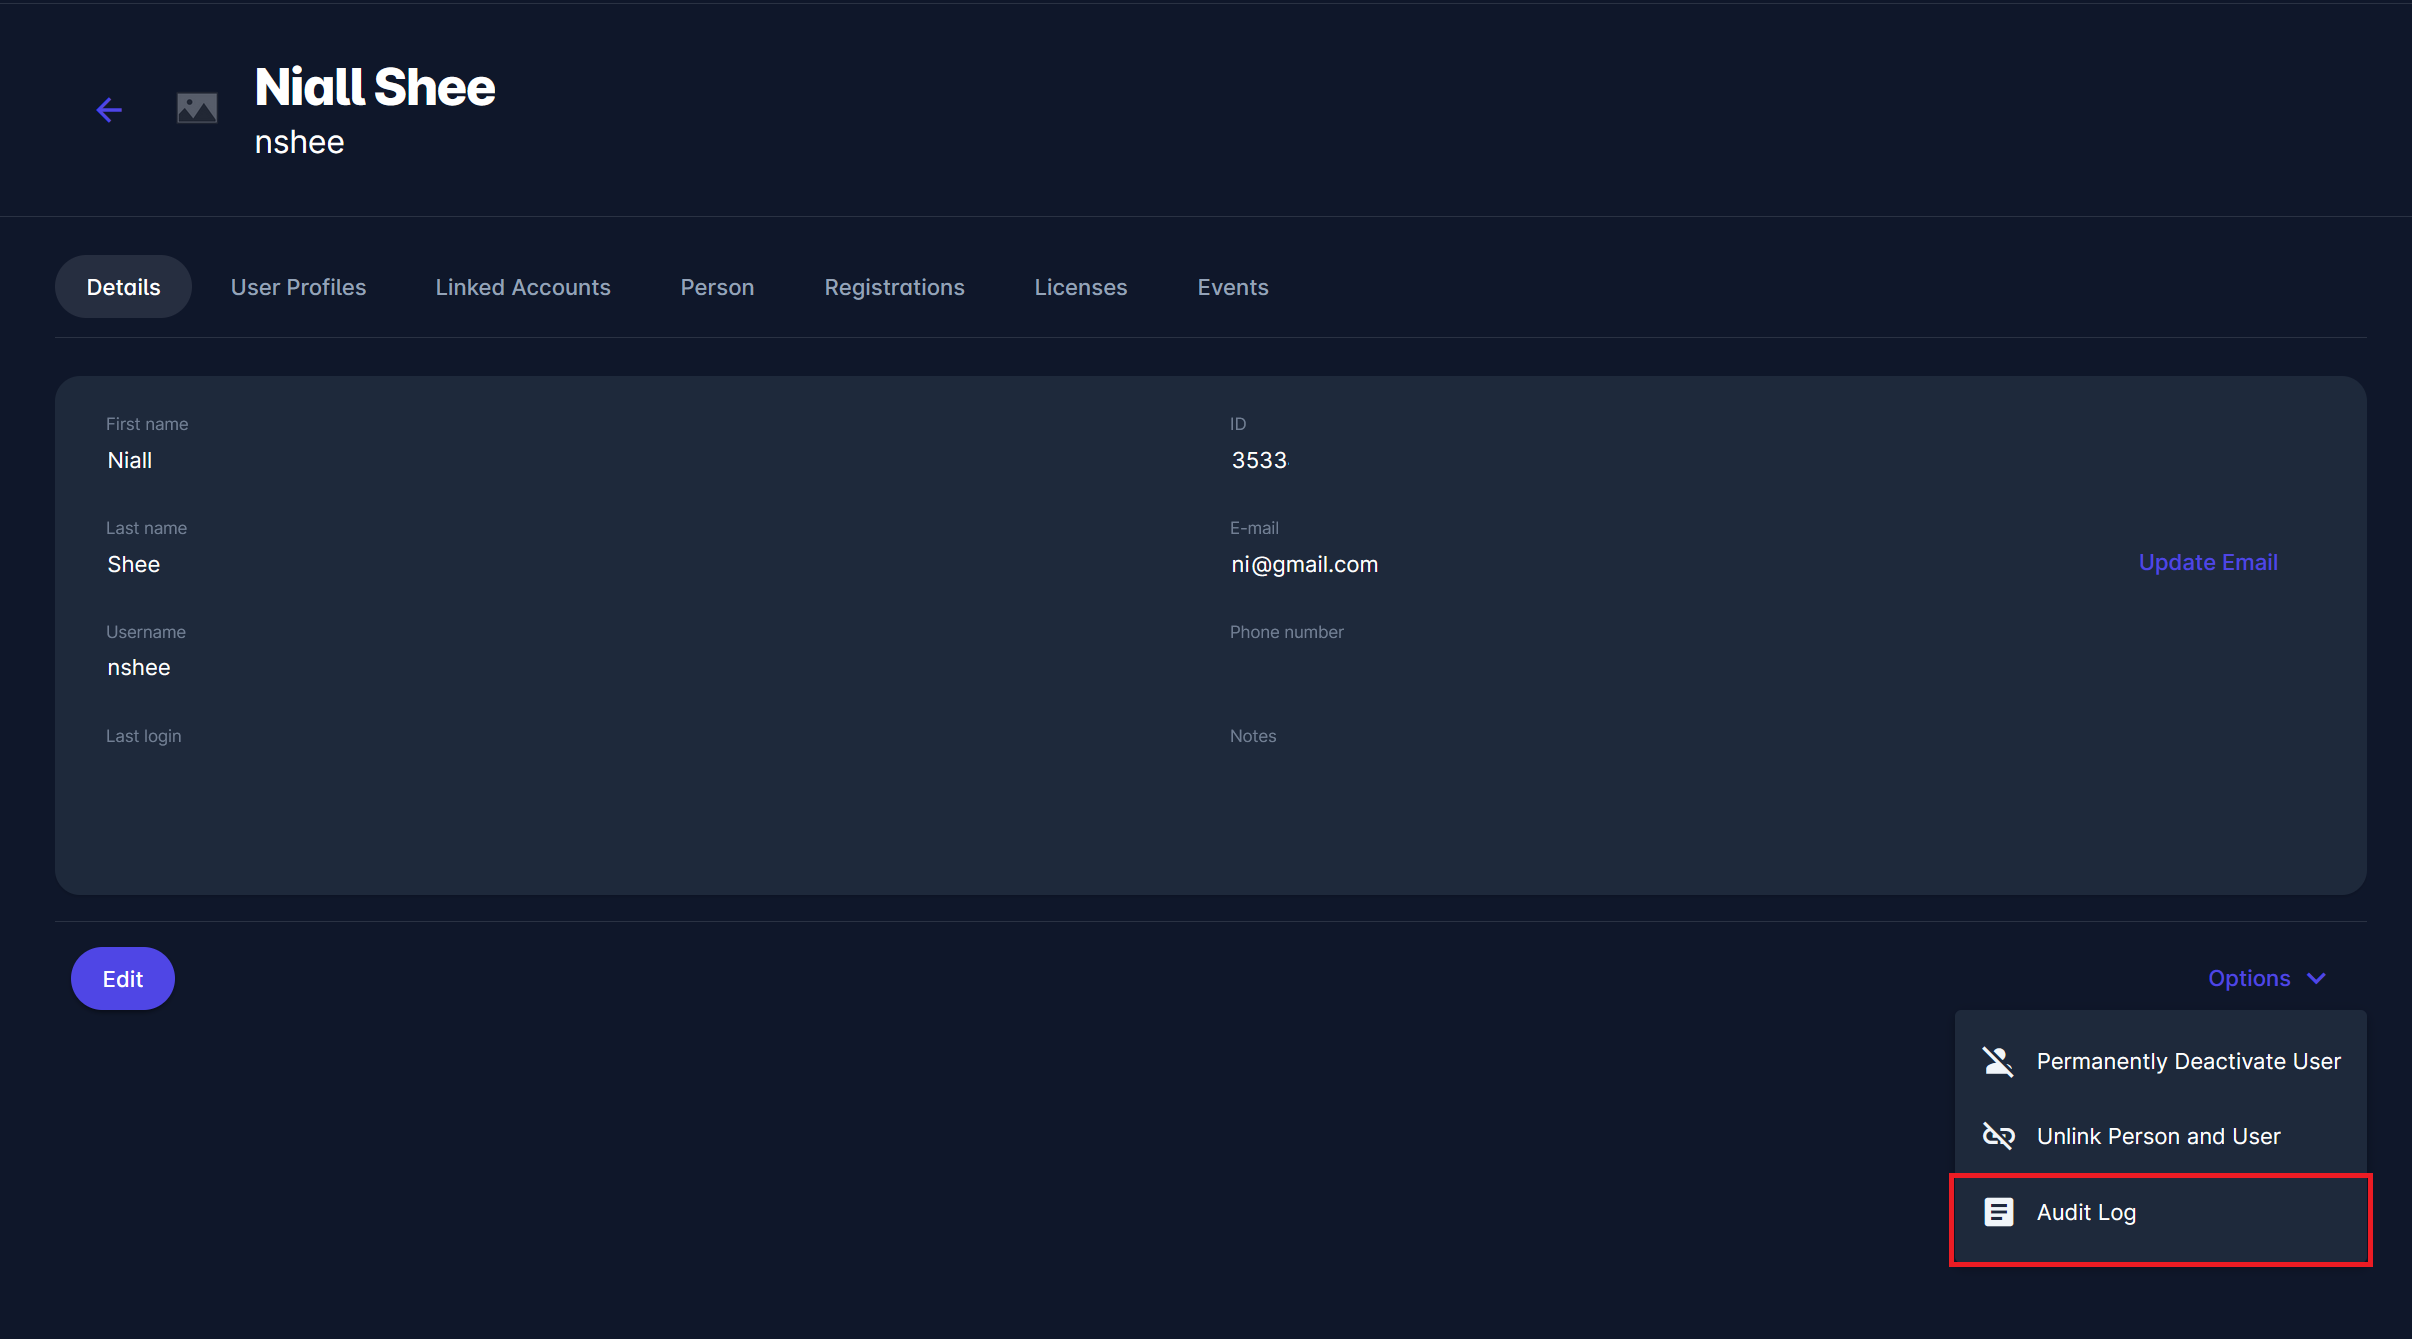
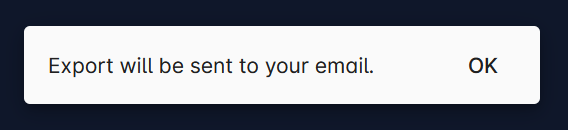
Find more on Audit Logs in the following article: Audit Log Viewer
Managing Linked Accounts
In the Linked Accounts tab, seamlessly link existing accounts, whether they are designated as user’s child or parent account. These functionalities aim to enhance the family experience on our platform, and allow Parents to manage all their child accounts from their own parent account.
To create a new relationship, click the Add button and search for the user you want to link by entering their name or username.
Once selected, the new user will be linked to the account.
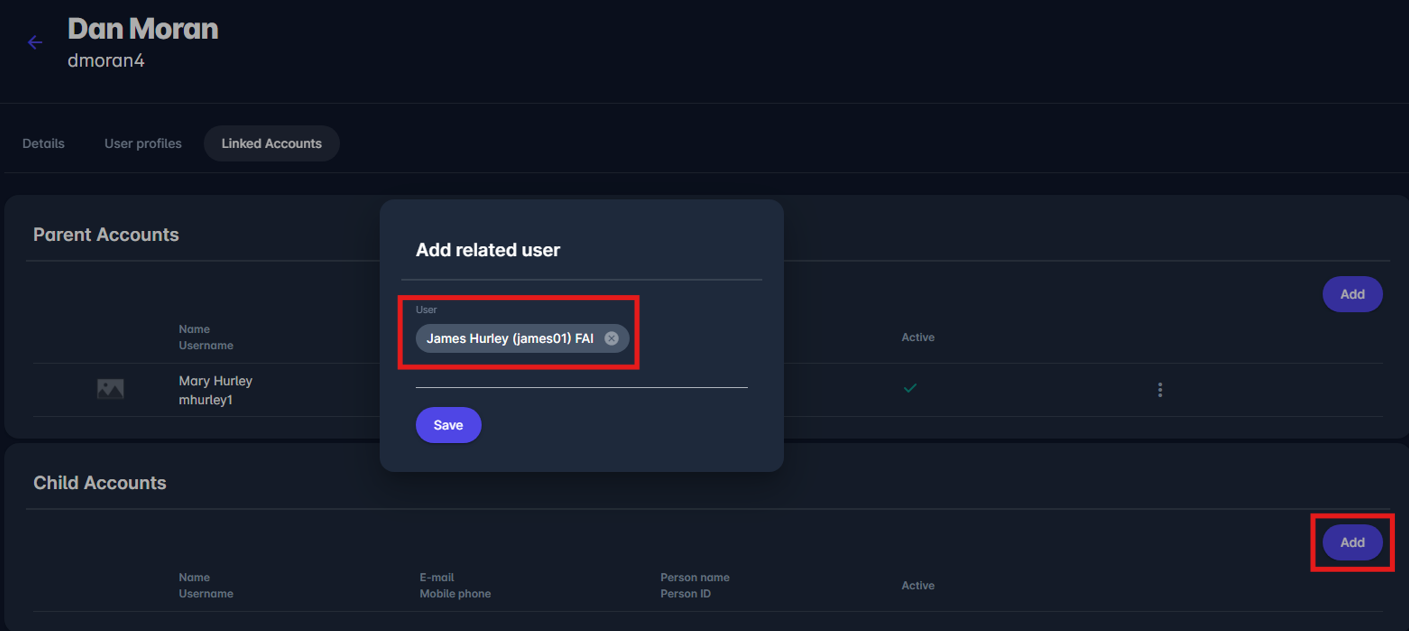
If you need to remove an existing link between two users, click the three dots next to the linked account and select Delete.