In case your tenant is using the COMET Event Management extension for coaching events and licenses, you will be able to access and use the Events menu in both the desktop and Mobile App.
COMET Event Management is accessed by Participants who self-register and apply to events themselves. Below are described the menus that are designed for end-users (event applicants/participants) to manage and organize the events they are applying to.
Events Menu
-
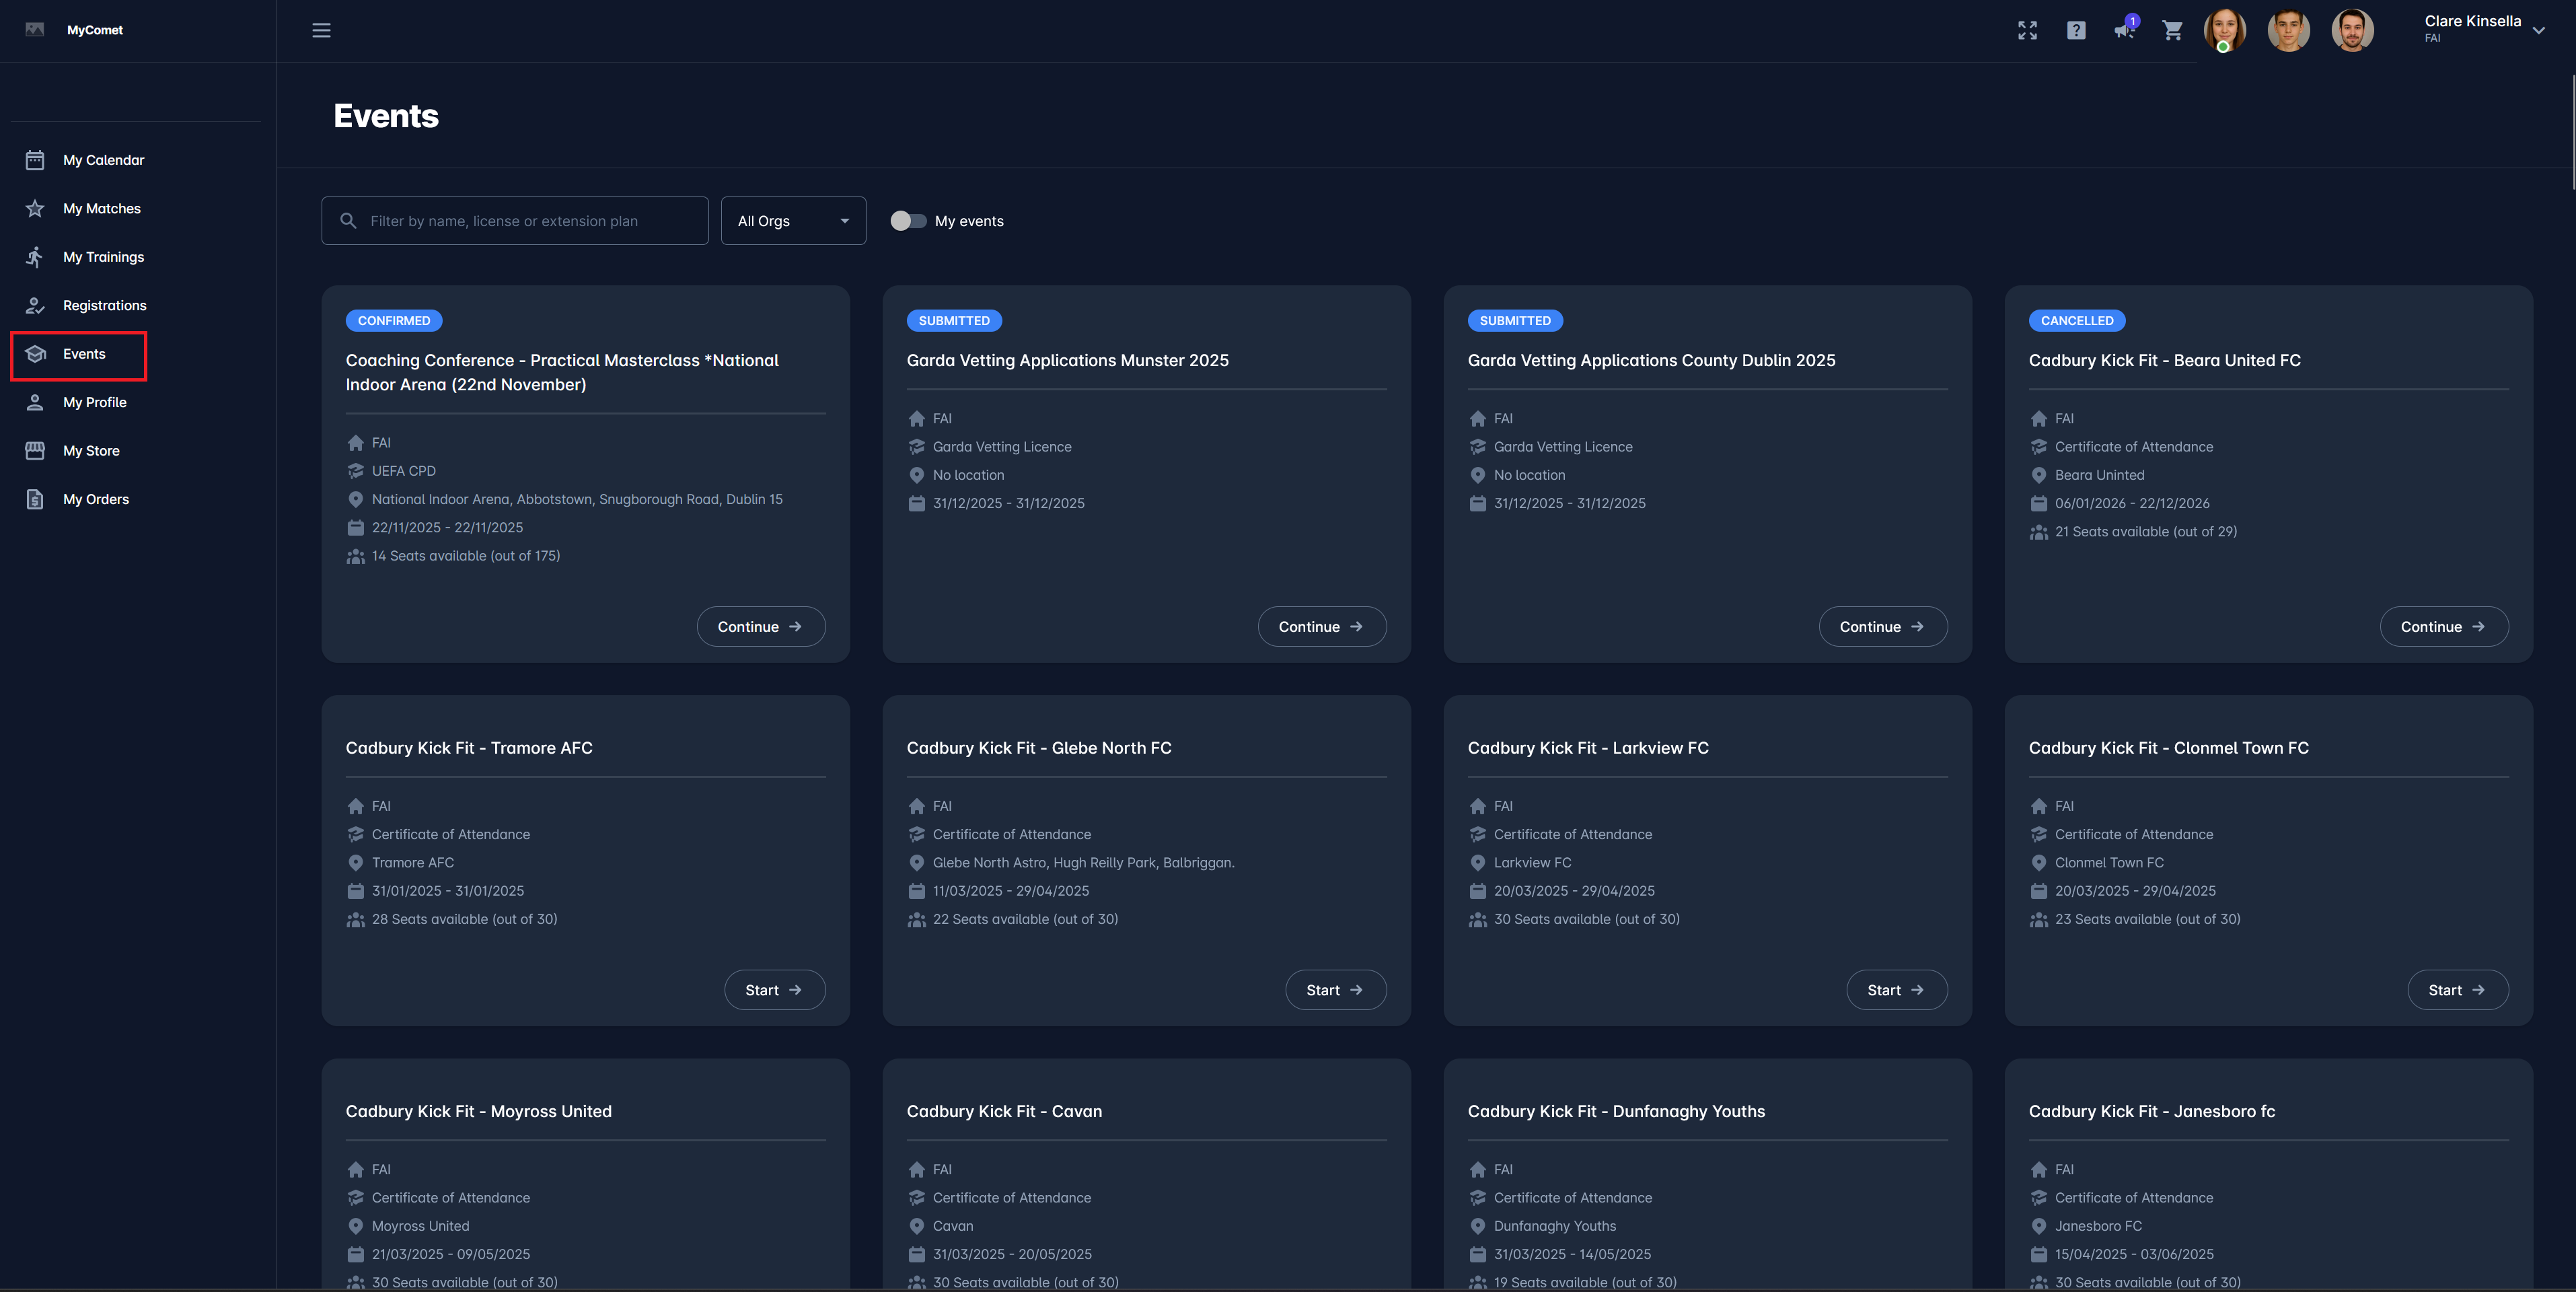
Click on the 🎓 My Events menu item
-
This will open the events menu, which is designed as a searchable “Event Store.” That is, events can be searched/ filtered by name, license, or extension plan
-
Events can also be filtered by organization.
-
My events switch enables you to preview only the events that are related to logged-in participant; i.e., the event is displayed regardless of the applicant’s status.
Please note that to be able to access and use the Events Menu on MyCOMET or on the COMET Football Mobile App:
-
Your tenant should be using the COMET Event Management
-
Your user account must have one of the Event Management-related roles (e.g., coach, referee, Event Admin) to manage events.
-
Your COMET user account needs to be linked to a specific COMET Person Profile
Apply to an Event
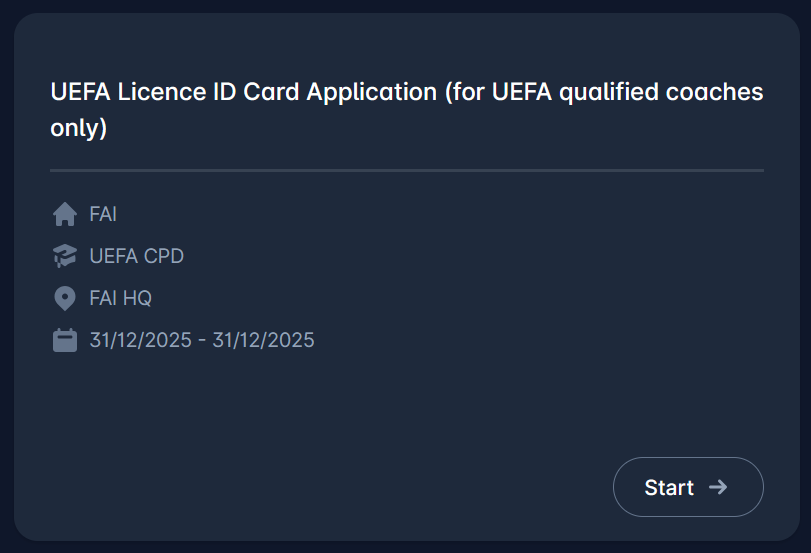
To apply to an event, select the event from the list and click the Start ➡️ button.
This will open the events page of the Details tab with all relevant details about:
-
About section:
-
Status - status of the event, Active or Inactive
-
Organization
-
Event Type
-
Managers
-
Notes - additional information defined by the organizer
-
Location
-
Date
-
Duration
-
-
Application section:
-
Your Application Status
-
Application Period
-
Survey - you can preview your answers if you have filled out a survey before applying
-
-
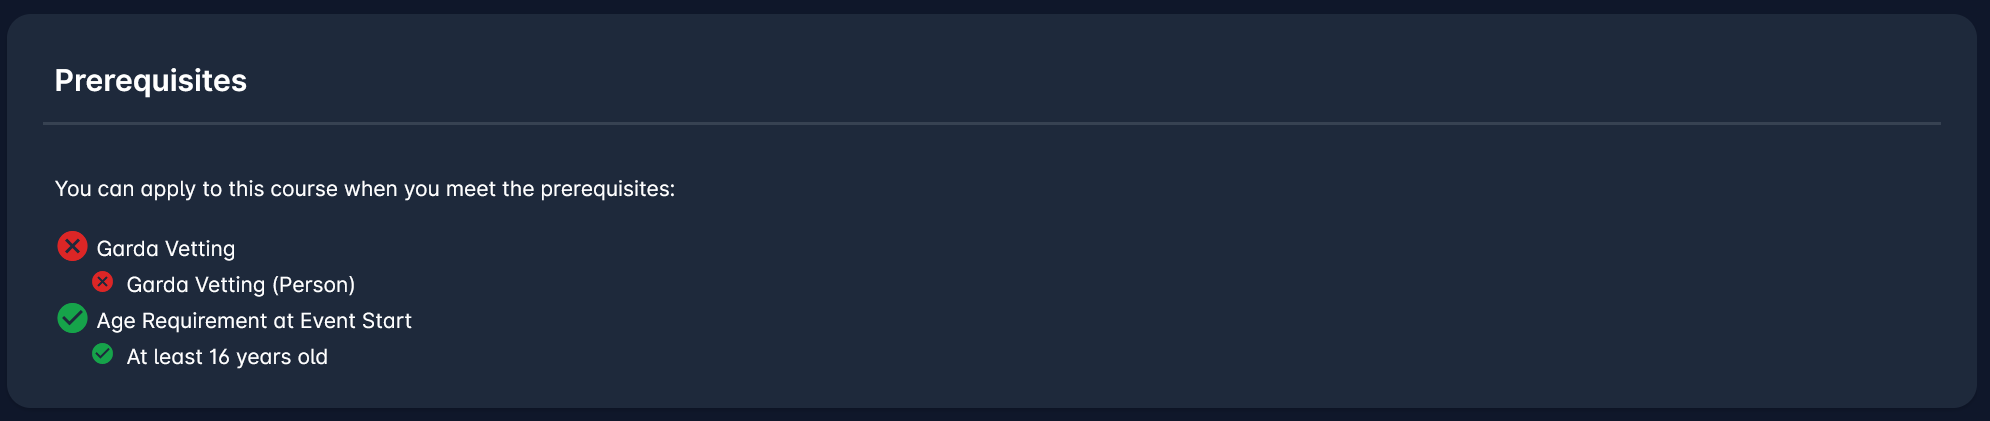
Prerequisites - name of the prerequisite and your status regarding it. If you are not satisfying the requirements, the APPLY button won’t be shown.
-
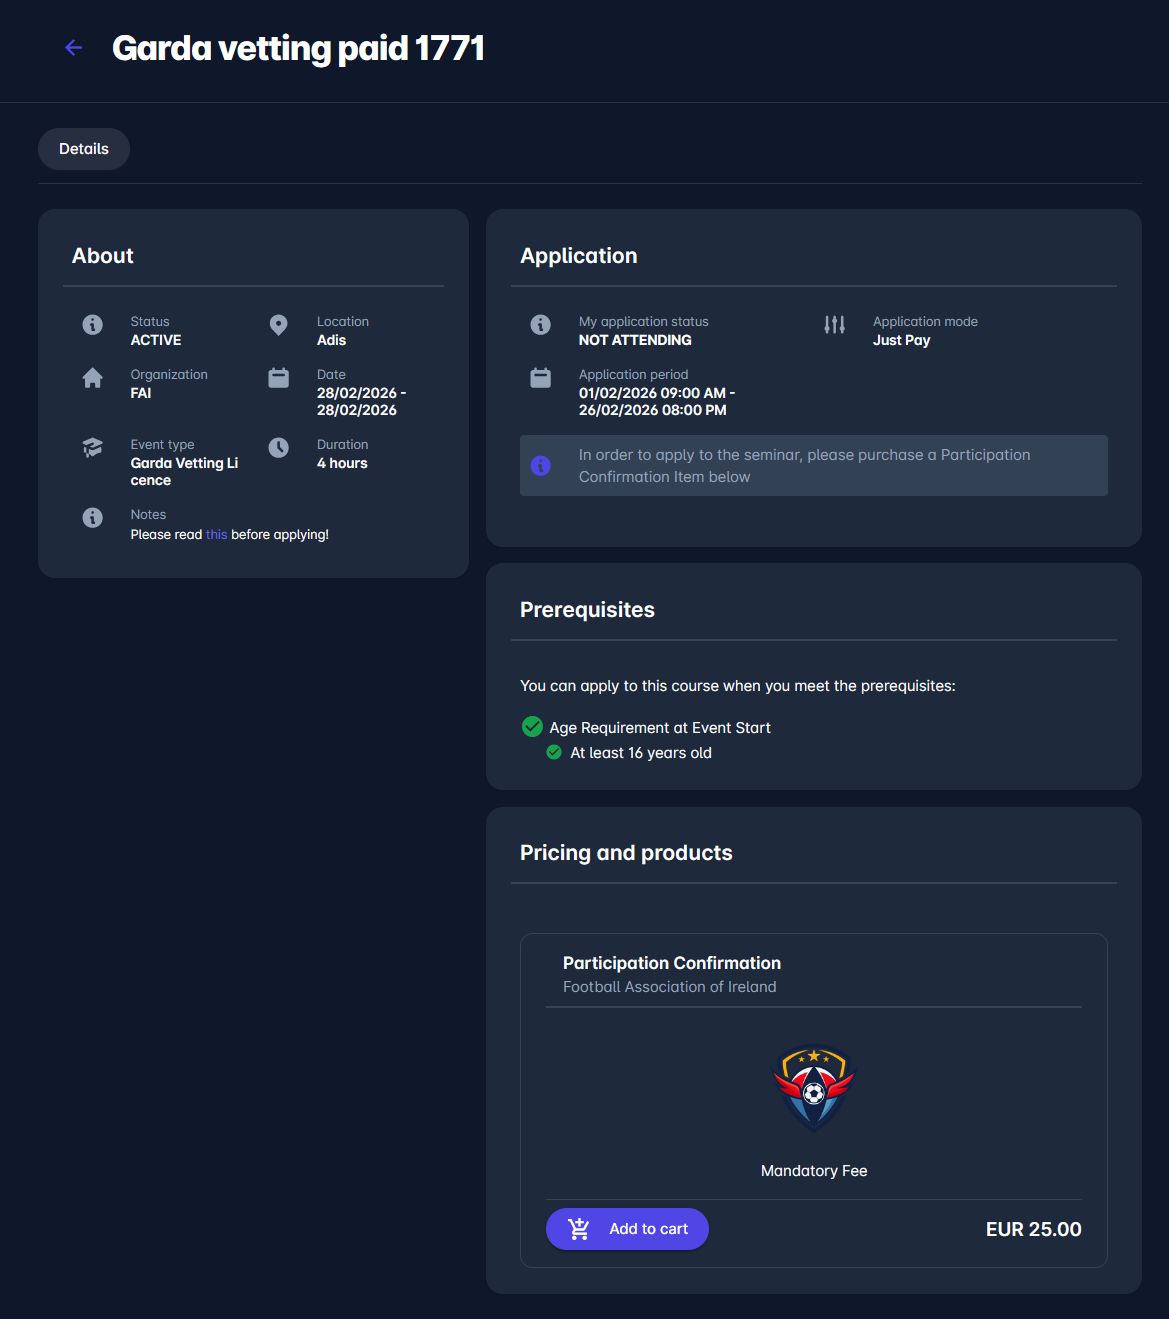
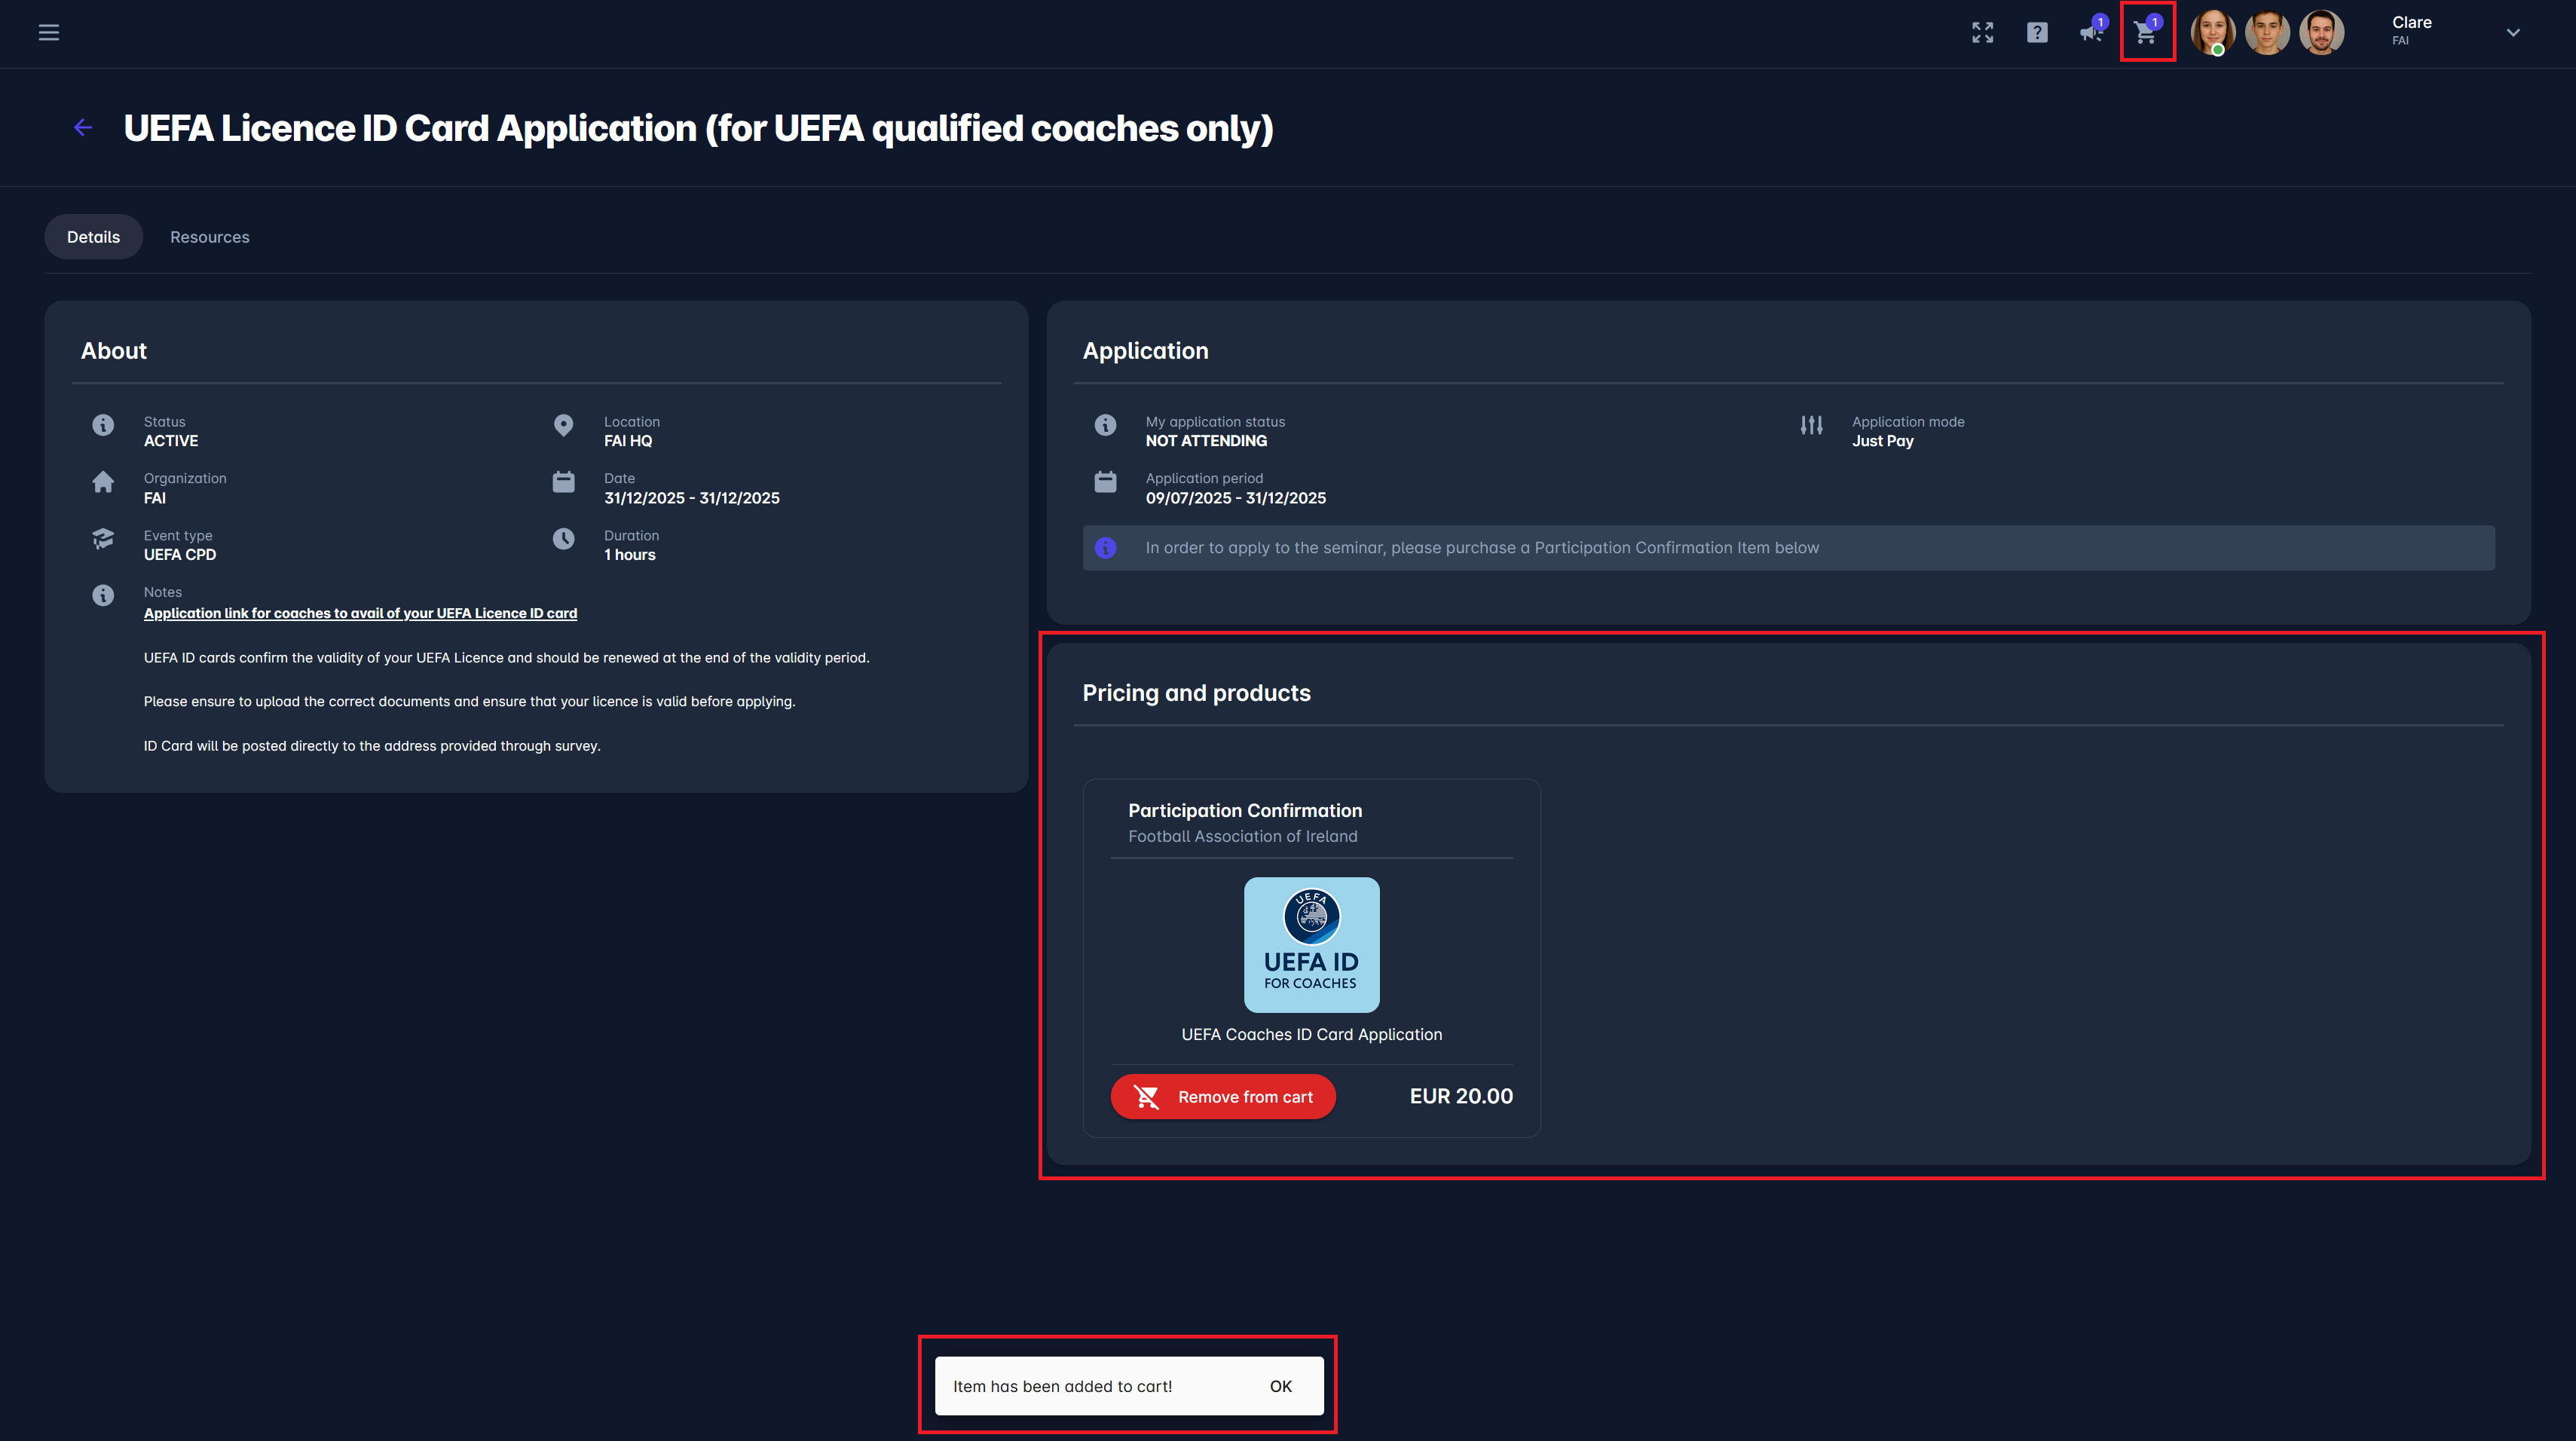
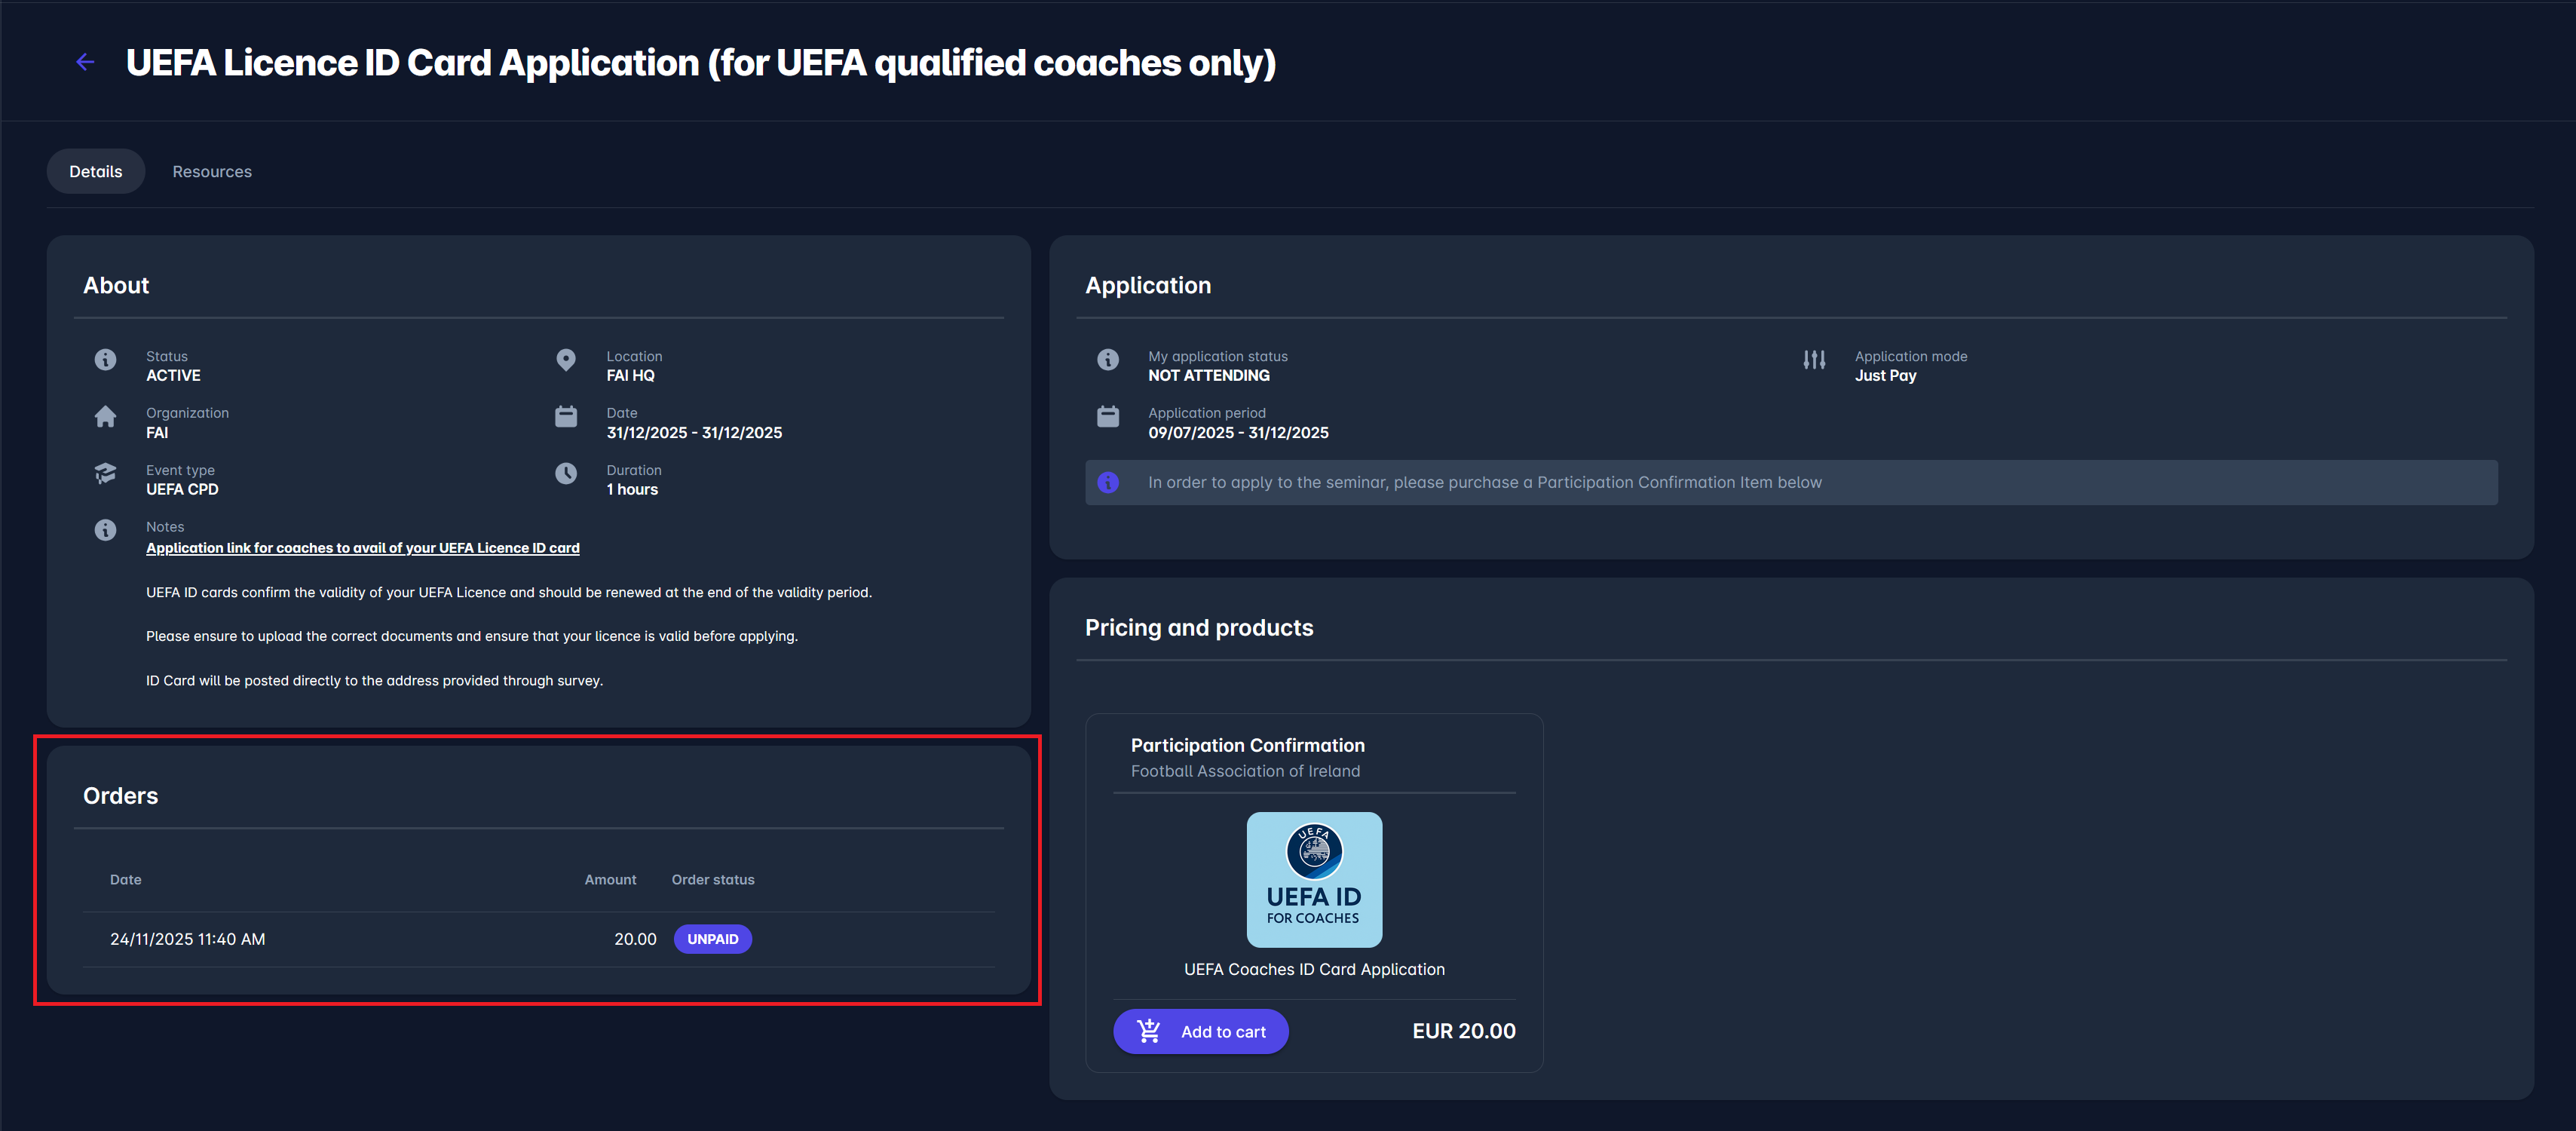
Pricing and Products - If participation in this event requires payment, the related item will be presented in this field, as shown in the image below.
-
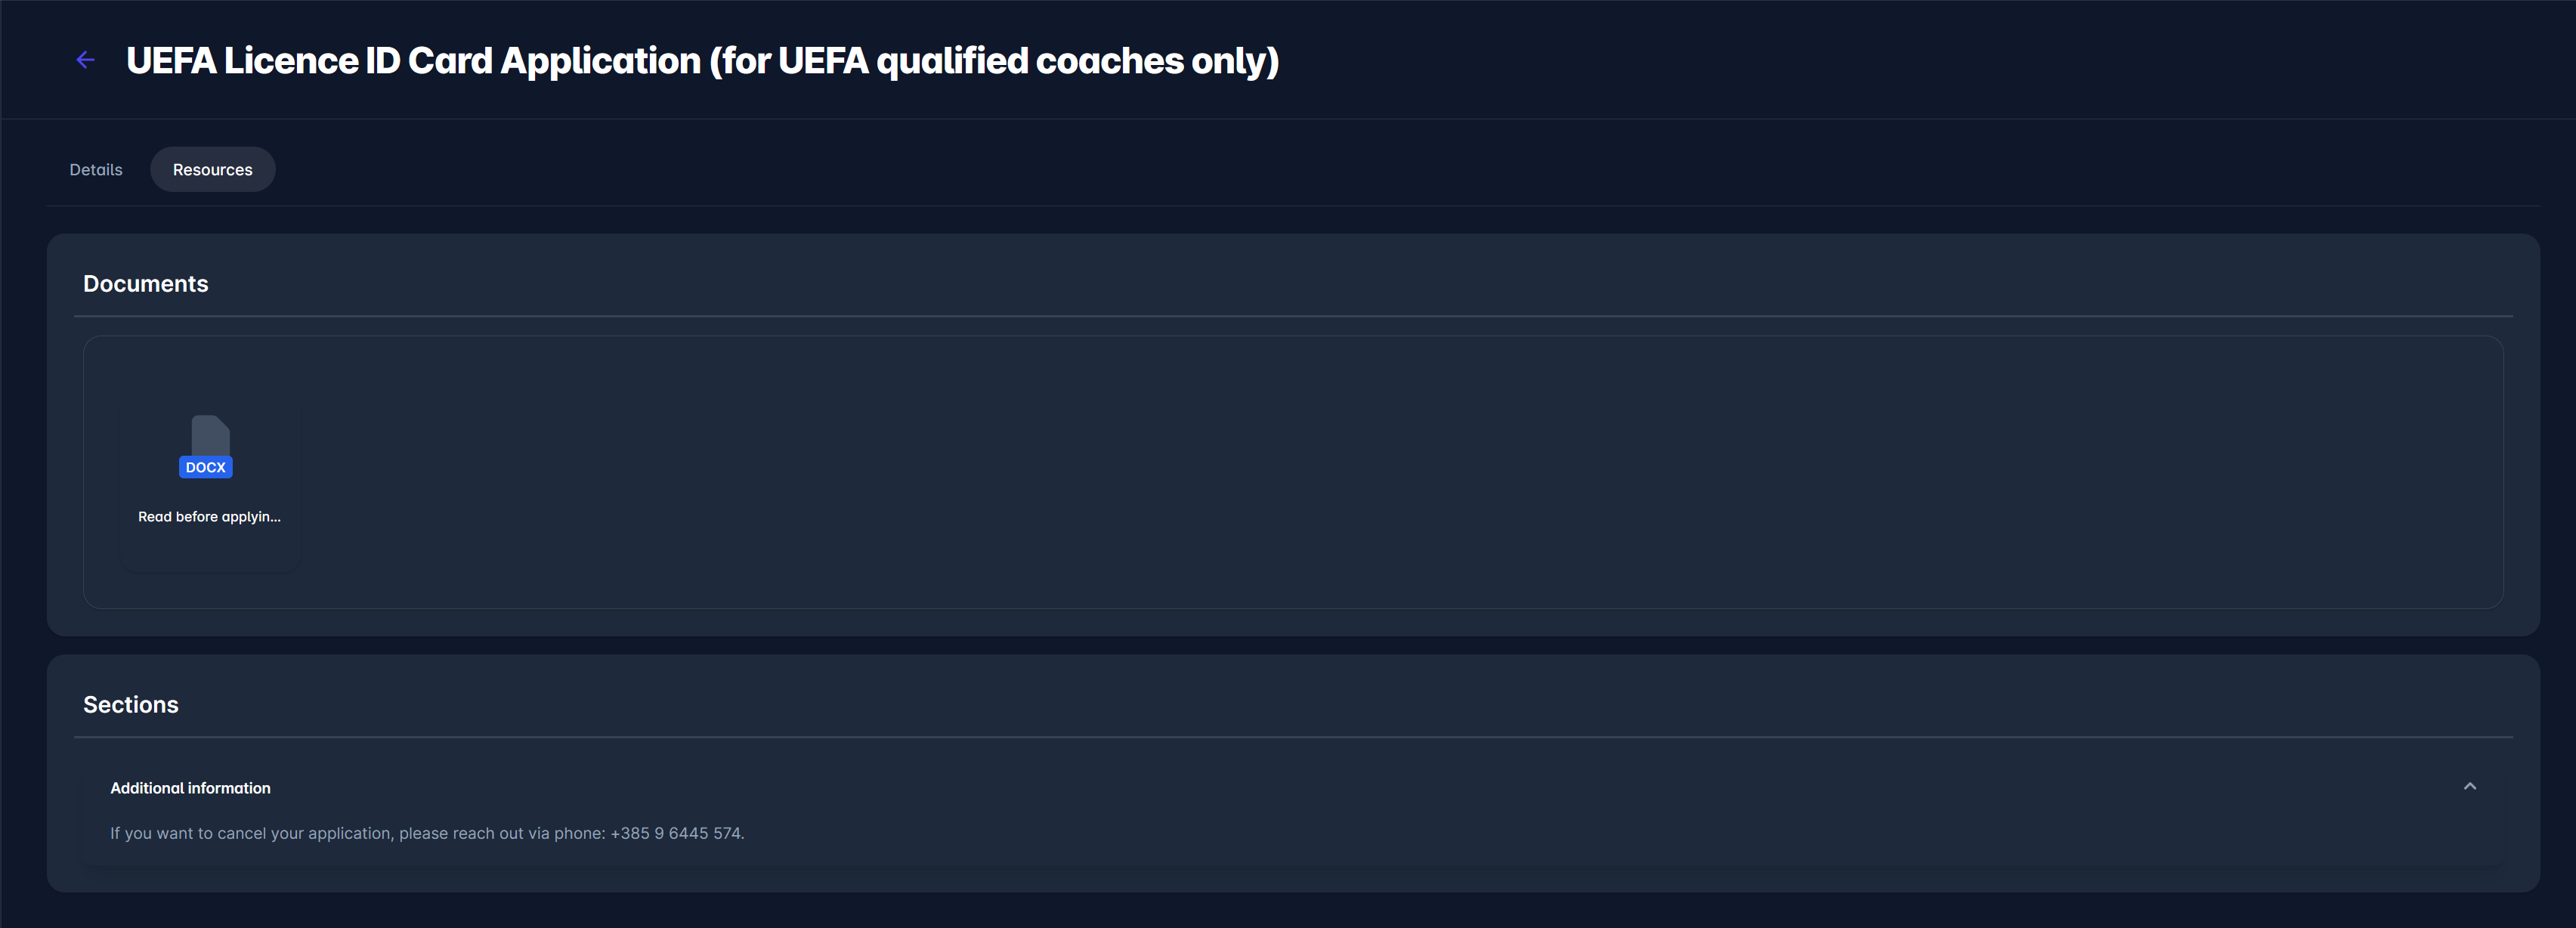
Resources tab
-
Documents section - access public or private documents related to the event.
-
If available, you can see more information in all additional sections below
-
To apply to the event, follow the instructions on the screen (e.g, you might be required to submit the application or purchase a relevant product).
In this example (Just pay mode of application), click the 🛒 Add to cart button below the item description. This action will open a new window requiring you to enter more information (if configured)

Enter the required information, and once again, click on the Add to cart button.
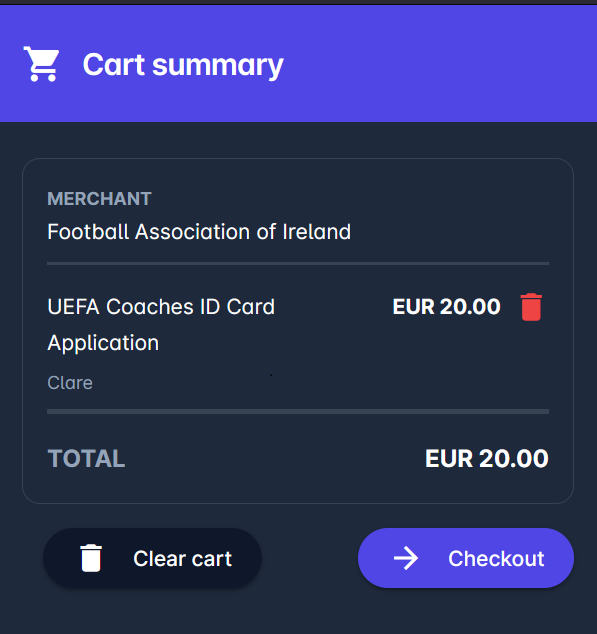
After adding the item, open your Cart Summary to review your purchase. You can remove the item, clear the cart, or continue to checkout.
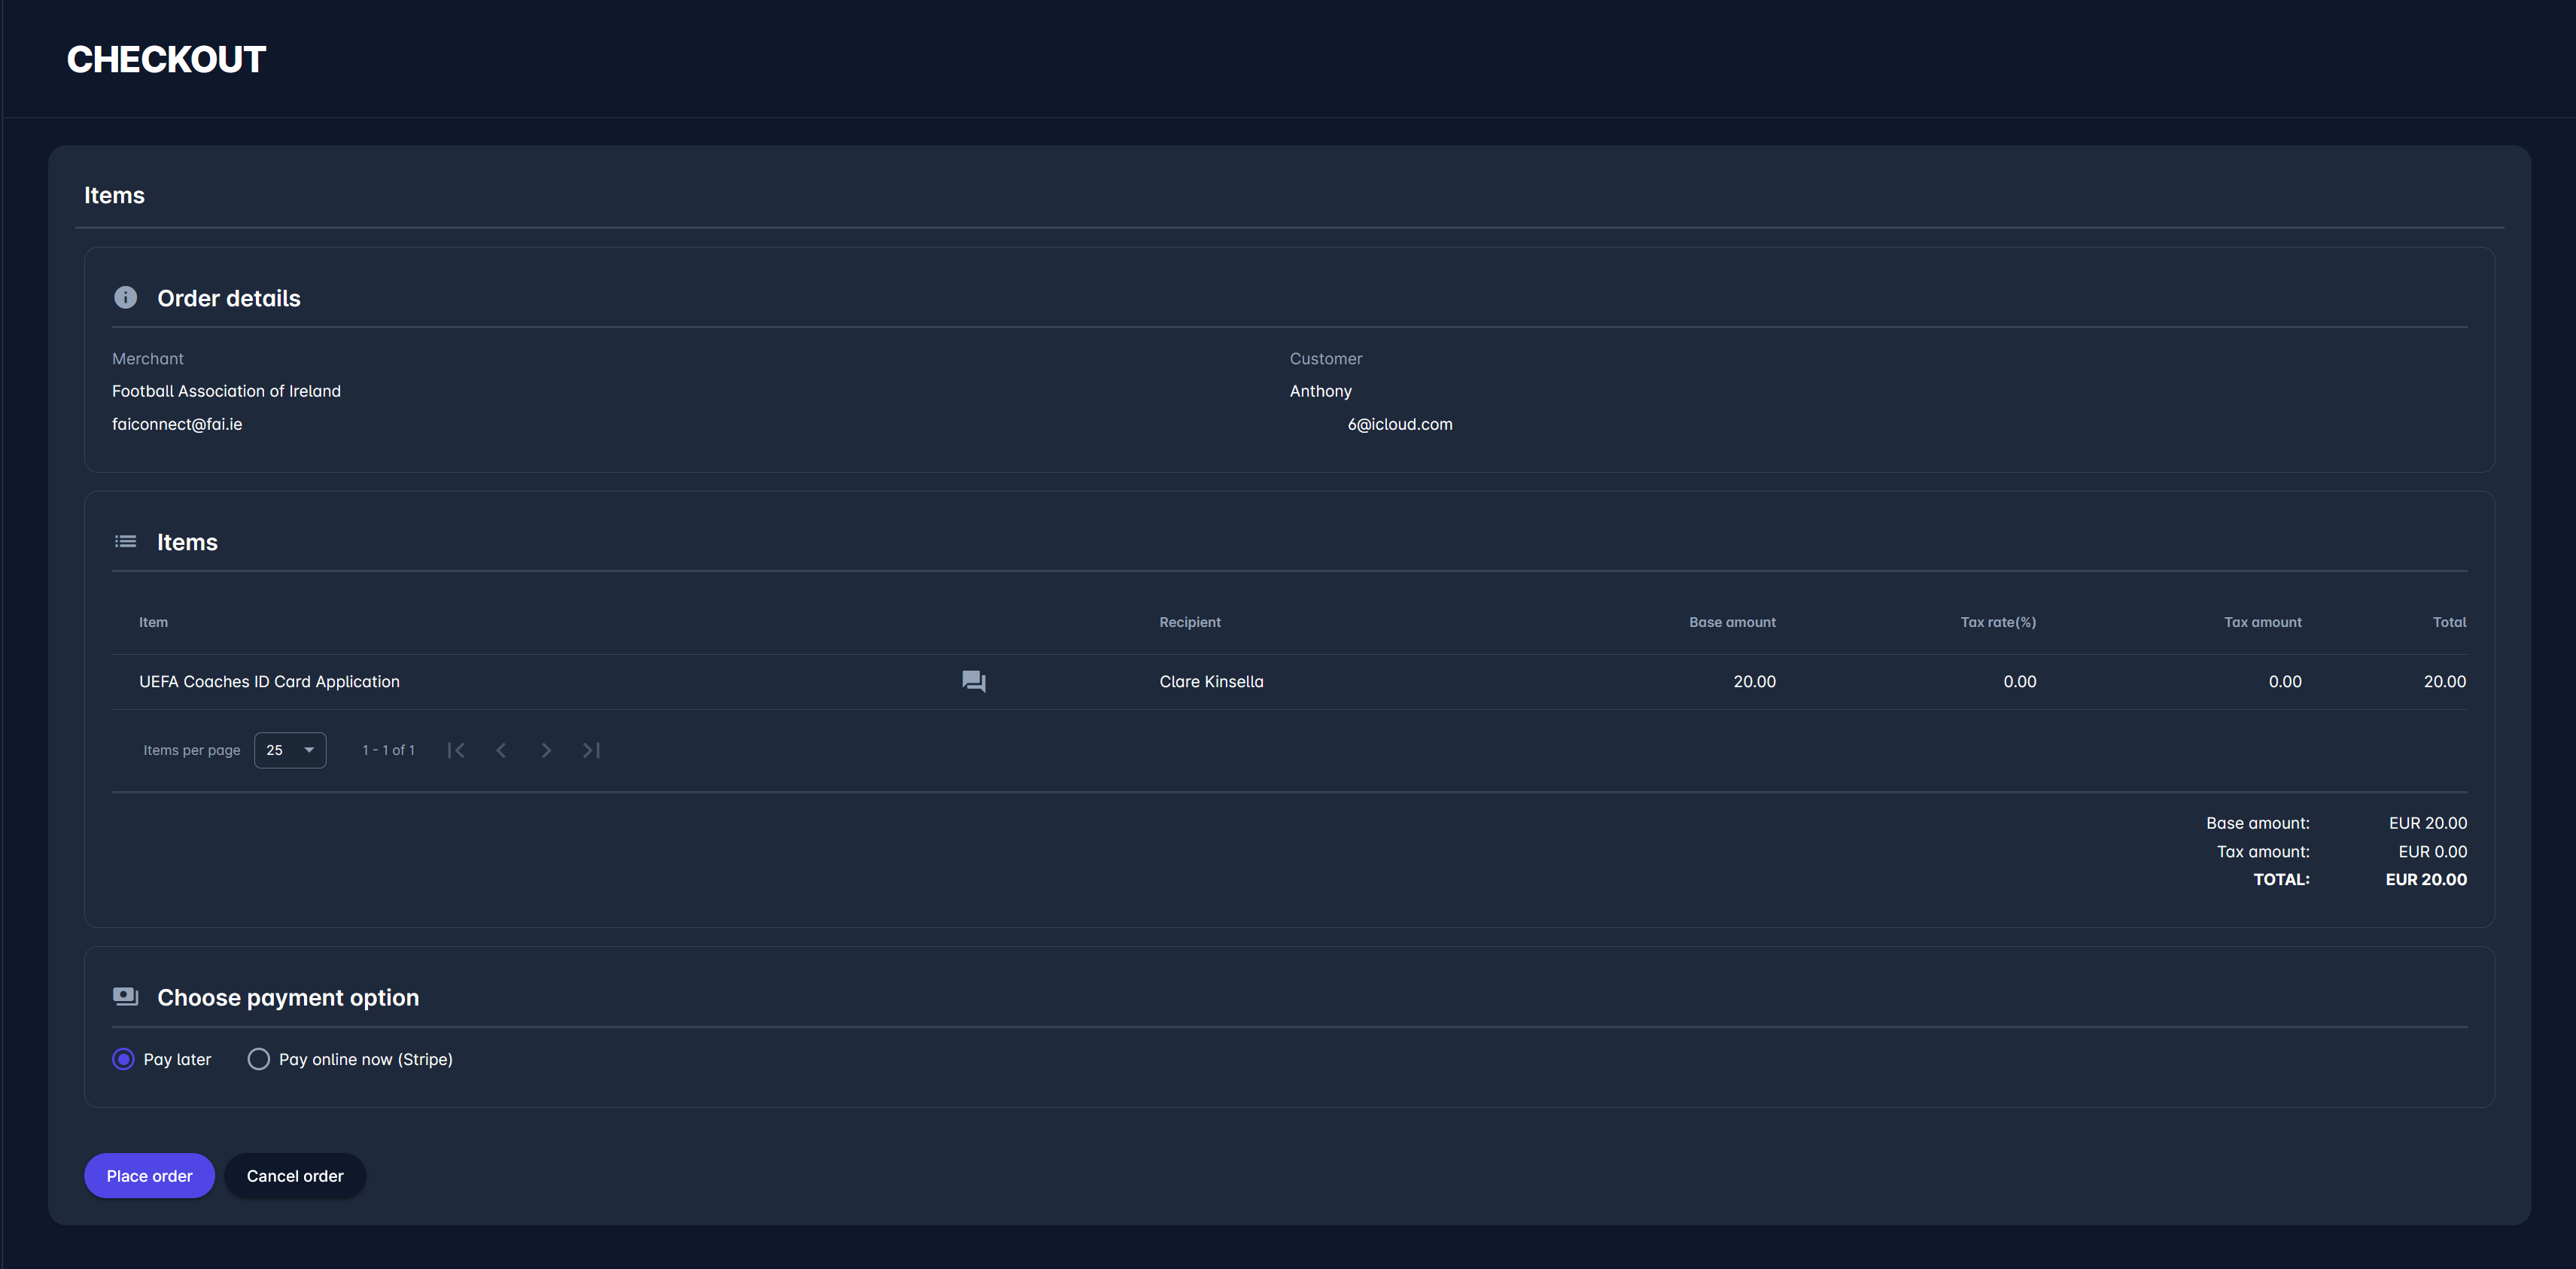
On the checkout page, review your order details, including the merchant, item, recipient, and total amount. Choose your preferred payment option:
-
Pay later (manual payment - the organization will confirm), or
-
Pay online now (immediate Stripe payment, if available).
-
-
Click Place order to submit your application.
After placing your order, a confirmation message will appear.

If you choose the Pay later mode, the order will remain in an Unpaid status until the payment is verified.
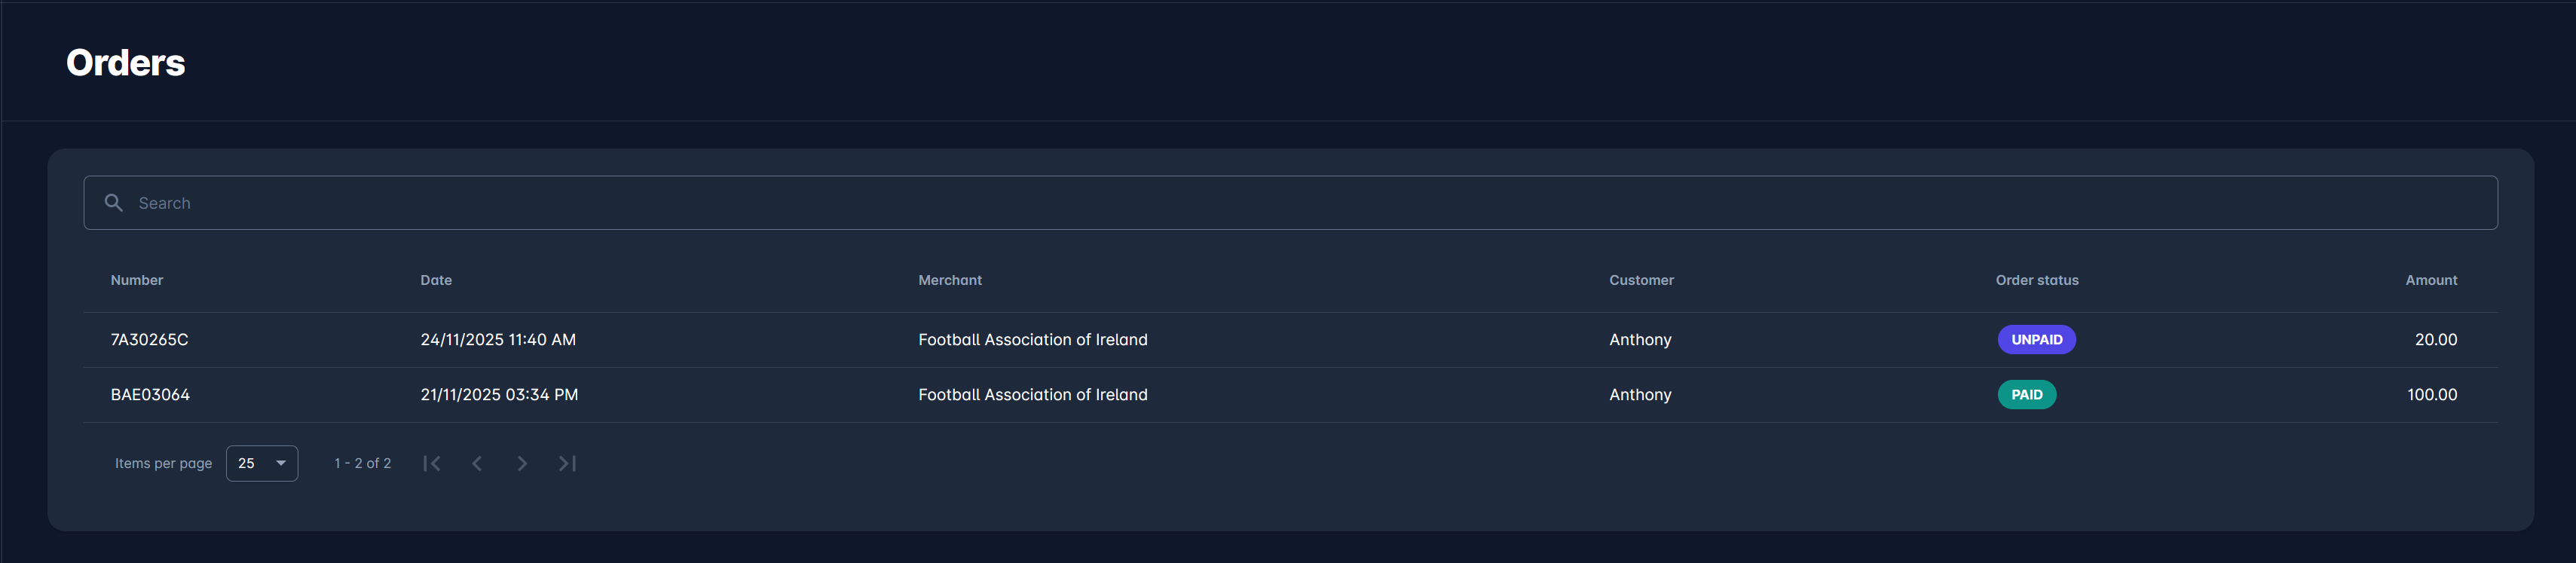
You can track your payment and order status from the Orders menu on the Event page. The order will appear as Unpaid until the organization processes it. Once payment is confirmed, the status will be updated to Paid.
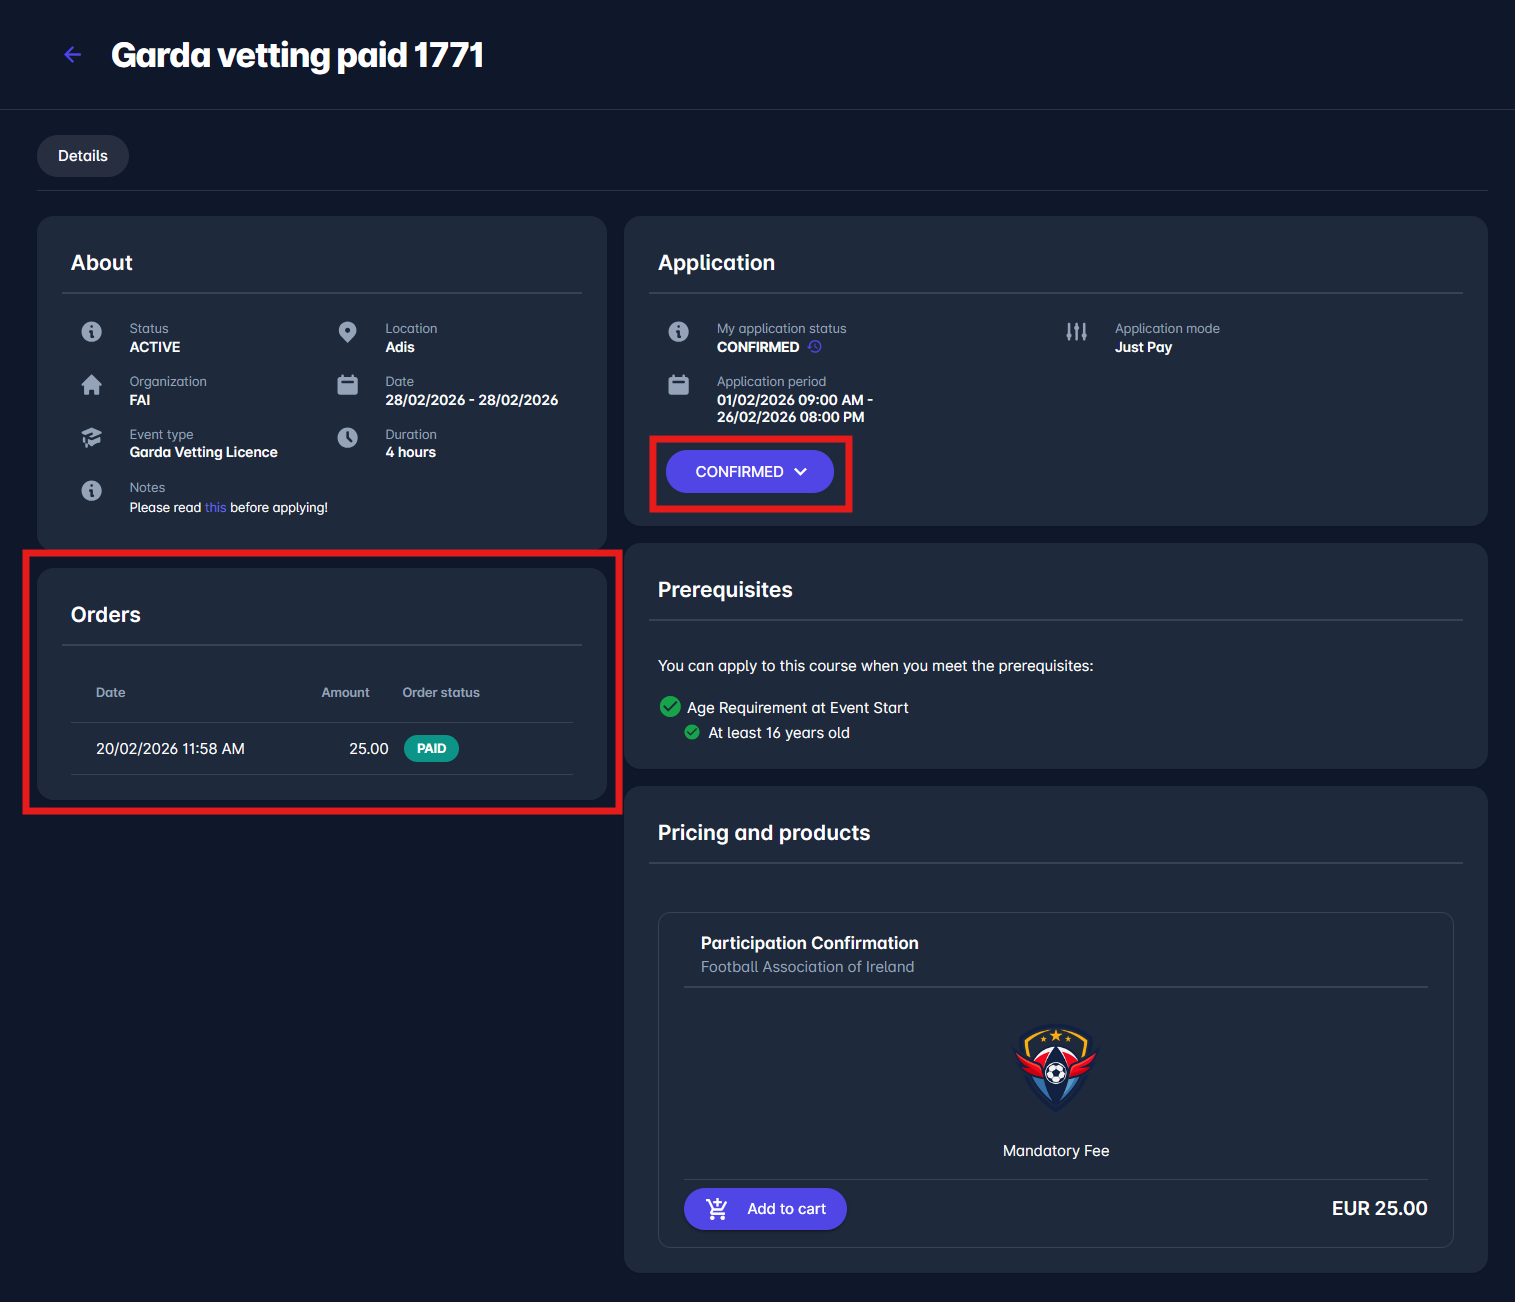
After payment is confirmed, return to the event page; your application status will update automatically to Confirmed. You’ll also see the paid order listed under Orders.
If the workflow for the application were any of the other available options, i.e., Just Apply (with approval), the first status you would receive after applying is SUBMITTED, after which the organizer needs to confirm your application. You are considered a participant of an event only when your application status is set to CONFIRMED.
You can also view the status log for your application by clicking the ⌚ Stopwatch icon in the Application section.

For more details on Event Management functionalities, workflow, and application, please visit the Event Management Manual at the following link: https://analyticom.atlassian.net/l/cp/NUsx0jbh
For more details on purchasing items and paying for events from your mobile app, please visit the following links:My Store | Purchasing Items from the Cart and https://analyticom.atlassian.net/l/cp/G3ZFH43D