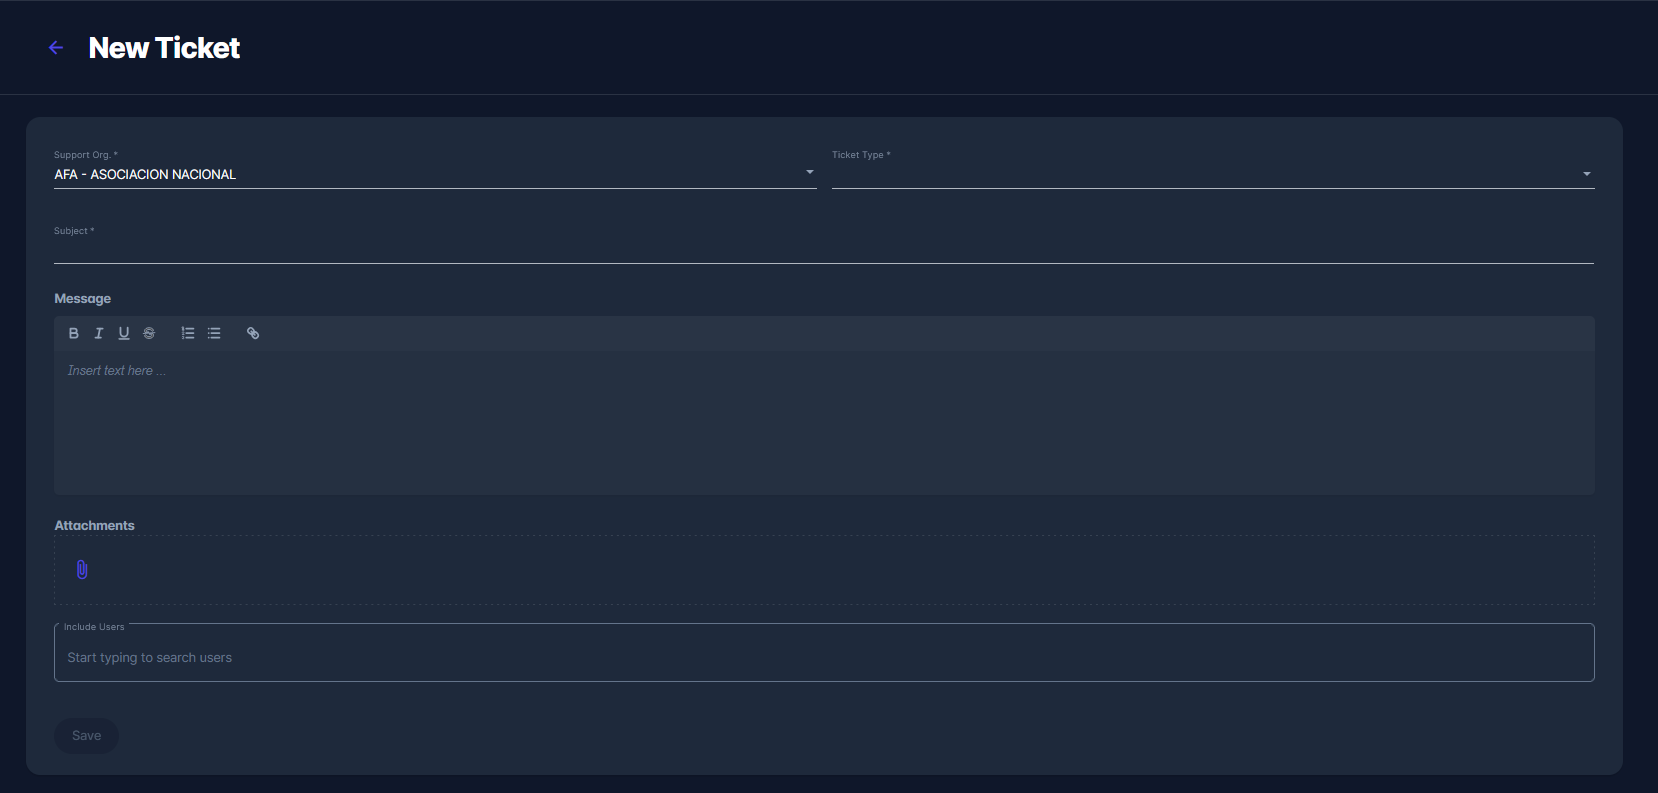
In order to open a new ticket:
-
Click on the New ticket button at the top right of the My Tickets console
-
The system opens a blank form for the user to fill in the information about an issue being reported
-
In order to successfully open a new ticket, the user has to fill in the following fields:
-
Support Organization that will address the ticket: the system presets the first support organization in the user’s organization hierarchy by default, but the end user can update it.
-
Ticket Type - select the type of ticket from the drop-down list. This option will appear only if your association has predefined the ticket types.
-
Subject - type down the subject of your ticket
-
Message describing the issue - a detailed description of an issue with as many specifics as possible (to improve message clarity and effectiveness, the text can also be formatted using simple formatting tools)
-
Attachment - add a photo or a file detailing your issue; this field is optional
-
Include Users - add other users to your ticket so they can contribute and be informed of all updates.
-
-
Once you have entered all the data, press the Save button in order to submit the ticket
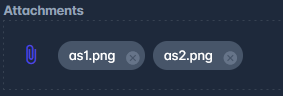
Add Attachment
To further illustrate the issue, the user may attach one or more files to the message. Attaching files to the message is optional.
To add an attachment:
-
Hit the 📎 Paperclip icon button located below the message input field.
-
This action opens a dialog box for selecting a file.
-
When one or more files are added to the message, their file names are shown on the screen.
-
There is the 🇽 button next to each file name to remove the file from the message.
-
When the new ticket information is complete, the user may submit the ticket to Support by clicking on the Save button.
-
The status of this ticket is automatically set to OPEN L1 or OPEN L2, depending on the support hierarchy configuration.
A confirmation message will notify the user if his/her ticket was successfully saved, and the ticket will appear on the list of Active tickets in status OPEN L0/L1. At this point, you may no longer change the submitted information, but you can always add to it.
If the user wants to add new comments to his ticket, simply type new text in the message field and click the Save button again.
Each message added to the ticket contains:
-
Information on who wrote the message
-
Exact date and time when the message was written.
-
If any files were attached to the message, they would appear as links (clicking the link would download the file to the user’s computer).
As described above, the existing information cannot be modified, but you are free to add new comments or add new attachments to an existing issue.